236
11.
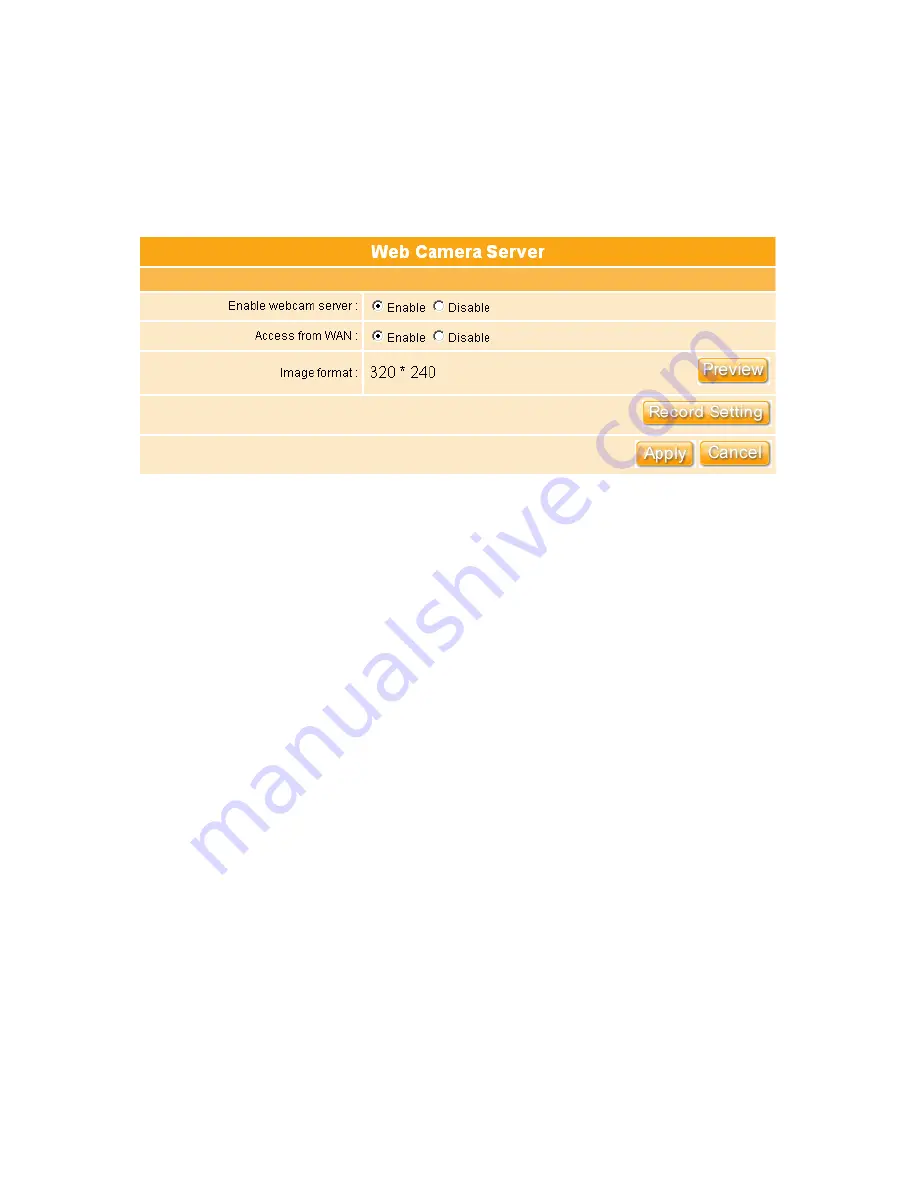
Record Setting: Please see the detail advance setting in 5.5.4.2 Web
Camera Server Advanced Configuration.
12. Apply & Cancel
Click
Apply
to continue or
Cancel
to clear the settings on
this page.
Click
Record Setting
, and the screen below appears.
1.
Enable save image:
If you want to save the image from webcam, please
check on enable.
2.
Save image interval:
For saving image, you can set the save interval time, the
default value is 5 seconds.
3.
Save Location:
Set the save location for webcam image, you may save into
IDE HDD or remote FTP; if select save to remote FTP, please continue
following remote FTP setting.
4.
IDE HDD Directory:
The section provides option of which folder should be
used for saving webcam image.
5.
Remote FTP URL:
Input the FTP URL for saving webcam image.
6.
Remote FTP port:
Input the FTP port number under URL to save image.
7.
Remote FTP user:
Enter the user’s name you like and it will be used to save
the webcam image into the FTP server.
8.
Remote FTP password:
Put in a password for validation while accessing.
9.
Remote FTP Directory:
To provide option of which folder should be used for
saving webcam image.
10. Back:
Click on
Back
button for returning to Webcam Basic Setup screen.
11. Apply & Cancel:
Click
Apply
to continue or
Cancel
to clear the settings on this
page.
Содержание WE-1530
Страница 1: ...1 ...
Страница 15: ...15 Step 1 Go to Start Settings Network Connections and then select Local Area Connection ...
Страница 16: ...16 Step 2 Click on Properties Step 3 Double click on Internet Protocol TCP IP ...
Страница 19: ...19 ...
Страница 67: ...67 ...
Страница 77: ...77 Step 2 Fill in blank address field with 192 168 1 1 ...
Страница 92: ...92 ...
Страница 97: ...97 Step 2 Click on Add a printer item ...
Страница 98: ...98 Step 3 Click on Next button Step 4 Select Local printer attached to this computer and click Next ...
Страница 114: ...114 ...
Страница 116: ...116 ...
Страница 127: ...127 3 After uploading files successfully the photos will be displayed on personal album web page shown as below ...
Страница 136: ...136 A message window will pop up for your confirmation to reboot the system Click Yes to continue ...
Страница 165: ...165 ...
Страница 190: ...190 ...
Страница 194: ...194 Each block shows configuration status you may click Refresh to update the screen list ...
Страница 215: ...215 ...
Страница 217: ...217 5 3 2 Wireless Setup Display connected wireless AP information After setup completed click Next ...
Страница 245: ...245 Notice If you can t open the folder please check with administrator to set up your FTP access right ...
Страница 248: ...248 Step 3 Click on Next button Step 4 Select Local printer attached to this computer and click Next ...
Страница 282: ...282 Step 2 Fill in the form as required and then click on Create Account button ...
Страница 284: ...284 Step 5 Click on login Step 6 Click My Services after logging in ...
Страница 285: ...285 Step 7 Click Add New Hostname Step 8 Please click on Add Dynamic DNS Host ...