Click
SD
in the configuration menu to display the SD MEMORY CARD screen.
Installing an SD memory card into the camera enables you to record alarm video and store log information.
If you install a new SD memory card into the camera, format it on this screen before use.
Required operation privilege: admin, operator1
1
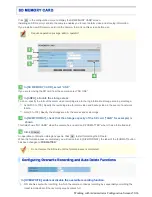
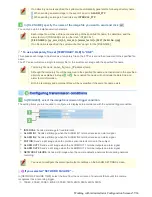
In [SD MEMORY CARD], select “USE”.
If you are removing the SD card from the camera, select “NO USE”.
2
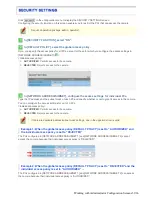
In [AREA], allocate the storage areas.
To do so, specify the ratio of the alarm video recording area to the log information storage area in percentage.
ALARM (0 to 100): Specify the recording area for alarm video and backup video in the event of a network
failure.
LOG (0 to 100): Specify the storage area for the access and system logs.
3
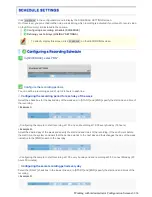
In [SIZE/FORMAT], check that the storage capacity of the SD card (“4GB” for example) is
shown.
This field shows “NO CARD” when the camera has no card and “FORMATTED” when it has a formatted card.
4
Click
FORMAT
.
An operation confirmation dialog box opens. Click
OK
to start formatting the SD card.
When the format process is completed, you will notice that, in [SIZE/FORMAT], the label of the [FORMAT] button
has been changed to“
FORMATTED
”.
Do not remove the SD card until the format process is completed.
In [OVERWRITE], enable or disable the overwrite recording function.
ON: Enables overwrite recording, in which the camera continues recording by sequentially overwriting the
oldest recorded data if the recording area becomes full.
Working with Administrator Configuration Screens 50/66

