English
21
Changing the Camera Settings
(“admin” only)
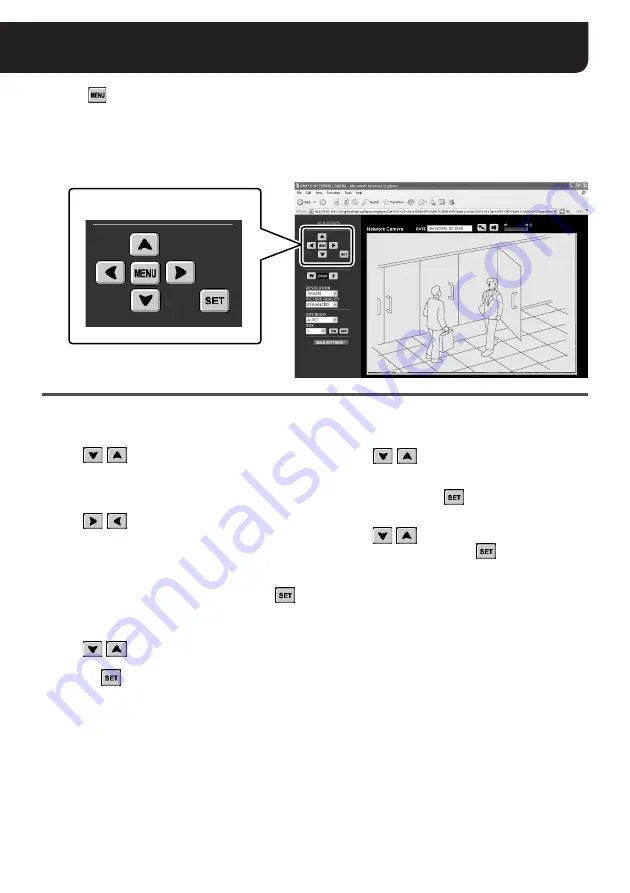
Clicking
on the control panel displays the on-screen camera configuration menu. You can change
the monitoring and operation preferences stored in the camera through the network connection.
MEMO:
The menus displayed depend on the camera model. For details, refer to the instruction manual supplied
with the camera.
Use the camera configuration buttons on the control panel to change the preferences.
• To select a menu
Click /
to move the cursor up/down. Move
the cursor to locate the menu item you want to
change.
• To change the setting value
Click /
repeatedly to switch the value until
the desired value is displayed.
• To open the submenu
Menu items with
y
mark have a submenu for
detailed settings.
Move the cursor to your desired menu and click
to open the submenu.
• To return to the previous screen
Click /
to move the cursor to [MENU] at the
bottom of the submenu, set the value to “BACK”,
and click
.
• To exit from the menu
Click /
to move the cursor to [MENU] at the
bottom of the menu, make sure that the value is set
to “END” (or change to “END” if “BACK” is
displayed), and click
.
• To reset the values to the factory settings
Click /
to move the cursor to [PRESET], set
the value to “ON”, and click
.
·SYNC
SYNC
BLC
BLC
IRIS
IRIS
WHITE BALANCE
WHITE BALANCE
AGC GAIN
AGC GAIN
GAMMA
GAMMA
SHUTTER
SHUTTER
APERTURE
APERTURE
DAY/NIGHT
DAY/NIGHT
OPTION
OPTION
PRESET
PRESET
MENU
MENU
INT
INT
OFF
OFF
SET y
SET y
ATW
ATW
NORM
NORM
0.45
0.45
60
60
HIGH
HIGH
AUTO y
AUTO y
SET y
SET y
OFF
OFF
END
END
·SYNC
BLC
IRIS
WHITE BALANCE
AGC GAIN
GAMMA
SHUTTER
APERTURE
DAY/NIGHT
OPTION
PRESET
MENU
INT
OFF
SET y
ATW
NORM
0.45
60
HIGH
AUTO y
SET y
OFF
END
The camera configuration
buttons


