Chapter 8 Network capture functions
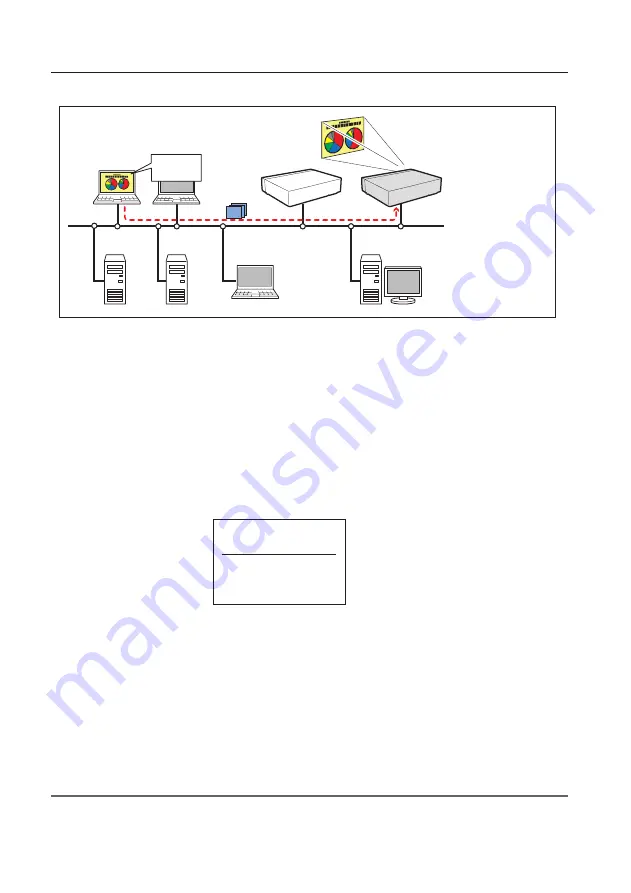
[1] Control by the computer
PC1
PC4
PC3
PC6
Capture
PC5
PC2
PC2
Project this screen
image with PJ2.
* PC provides the Network Capture.
PJ2
PJ1
Select input mode to "Network" previously.
1
Start up Network Capture 5.
2
Select the projector(s) listed on the projector list on the application window and click
Start real time
capture
. The application window will disappear and then the screen image of the computer will
appear on the projected screen in real time.
* You can select multiple projectors (up to 5) on the projector list.
• To stop capturing, click
One-shot capture
on the popup menu appearing by clicking on the Network
Capture 5 icon on the task bar. The captured image of the computer on the screen is frozen.
• To restart capturing, click
Start real time capture
on the popup menu.
3
To end capturing, click
Terminate capture
on the popup menu appeared by clicking on the Network
Capture 5 icon on the task bar.
* Start capturing from the
PC1.
✐
If the error message appears, check the item "Parameter set up" (
+
p.92).
✐
The sound output from the projector can be controlled with the volume slider and mute item on the application
window of the Network Capture 5 software (
+
p.25-26, p.92).
One-shot capture
Terminate Capture
Window show..
Version information..
Shut down
Содержание LC-XB200
Страница 16: ...16 Chapter 1 About LAN functions ...
Страница 112: ...112 Chapter 8 Network capture functions ...
Страница 132: ...132 Chapter 9 Network Viewer functions ...
Страница 133: ...Chapter 133 10 10 Appendix Use of telnet Web browser setting Firewall setting Troubleshooting Terminology ...


