


4
Specify the end point in the same manner, and click
END
.
The end point has been specified.
5
Set the pause period at the start and end points.
1SEC, 2SEC, 3SEC, 4SEC, 5SEC, 10SEC, 20SEC, 30SEC
6
Configure the panning direction.
LEFT (counterclockwise), RIGHT (clockwise)
7
Select a movement speed and click
SET
.
You can confirm the movement speed by clicking
TEST
. A test operation starts; change the setting values as
necessary.
1 (slow) to 15 (quick)
Now the settings for the auto pan 1 have been stored.
You can follow the same steps to configure for the auto pans 2 to 4.
Running the Stored Auto Panning Operation
In [AUTO PAN], select a stored number and click
RUN
to close the menu screen and run a specified operation.
Auto panning operation starts at the start point with specified tilt, focus and zoom conditions.
Auto focus works only when the camera moves slowly or it pauses at the end point for more than five
seconds.
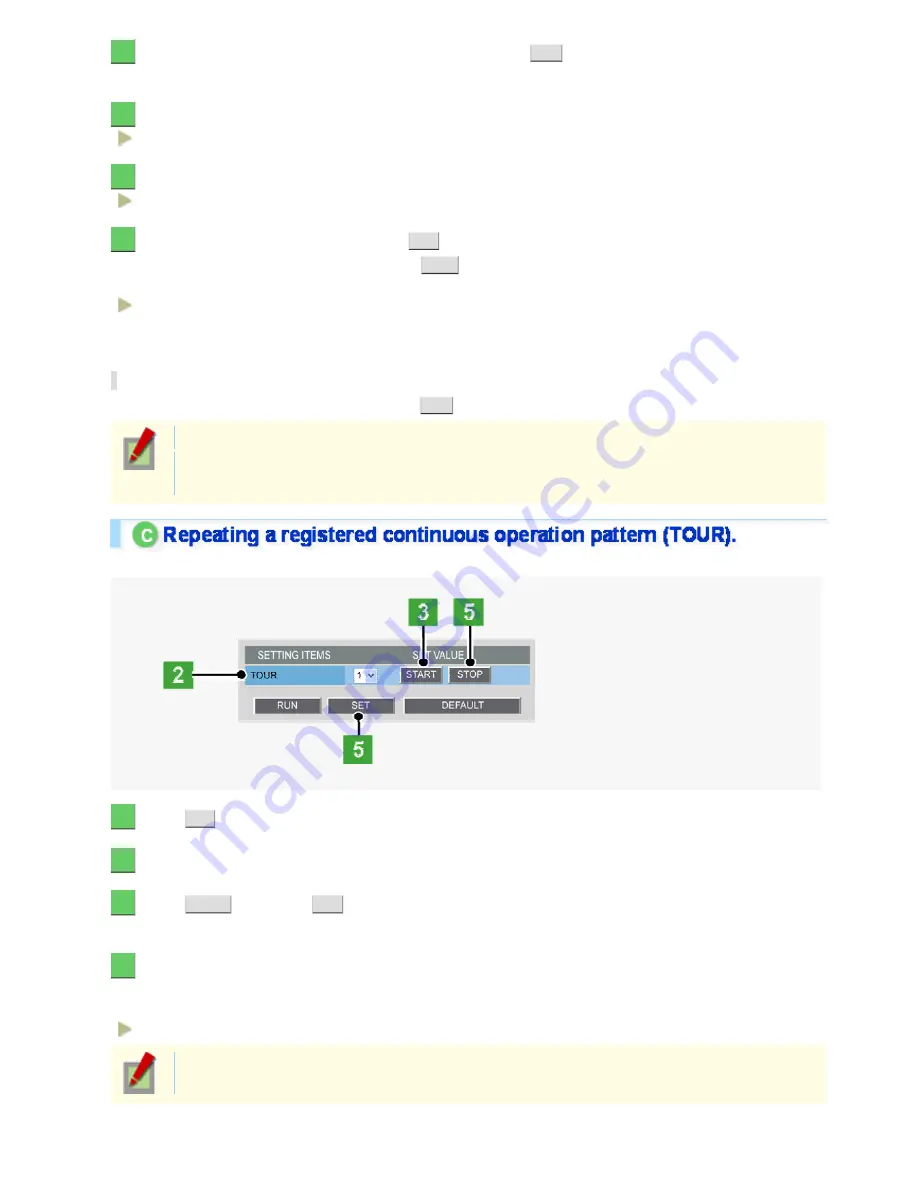
You can configure up to four patterns of sequential operations such as panning, tilting and zooming.
1
Click
PTZ
to view the PTZ controller.
2
Select “1” for [TOUR].
3
Click
START
, and then
YES
in the confirmation dialog box.
The system starts recording a tour operation.
4
Use the controller while monitoring live video displayed on the monitor.
The sequential operations such as panning, tilting and zooming are recorded one after another.
Recordable operations are as follows:
Panning, tilting, move to preset positions, zooming, auto focusing (AF)
Recording capacity is limited for each setting. The memory usage is displayed on the screen in the
format of “n/100”. Recording stops automatically when memory reaches full, indicating “100/100”.
Working with Administrator Configuration Screens 47/77


