24
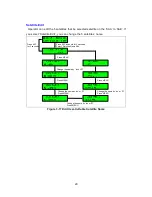
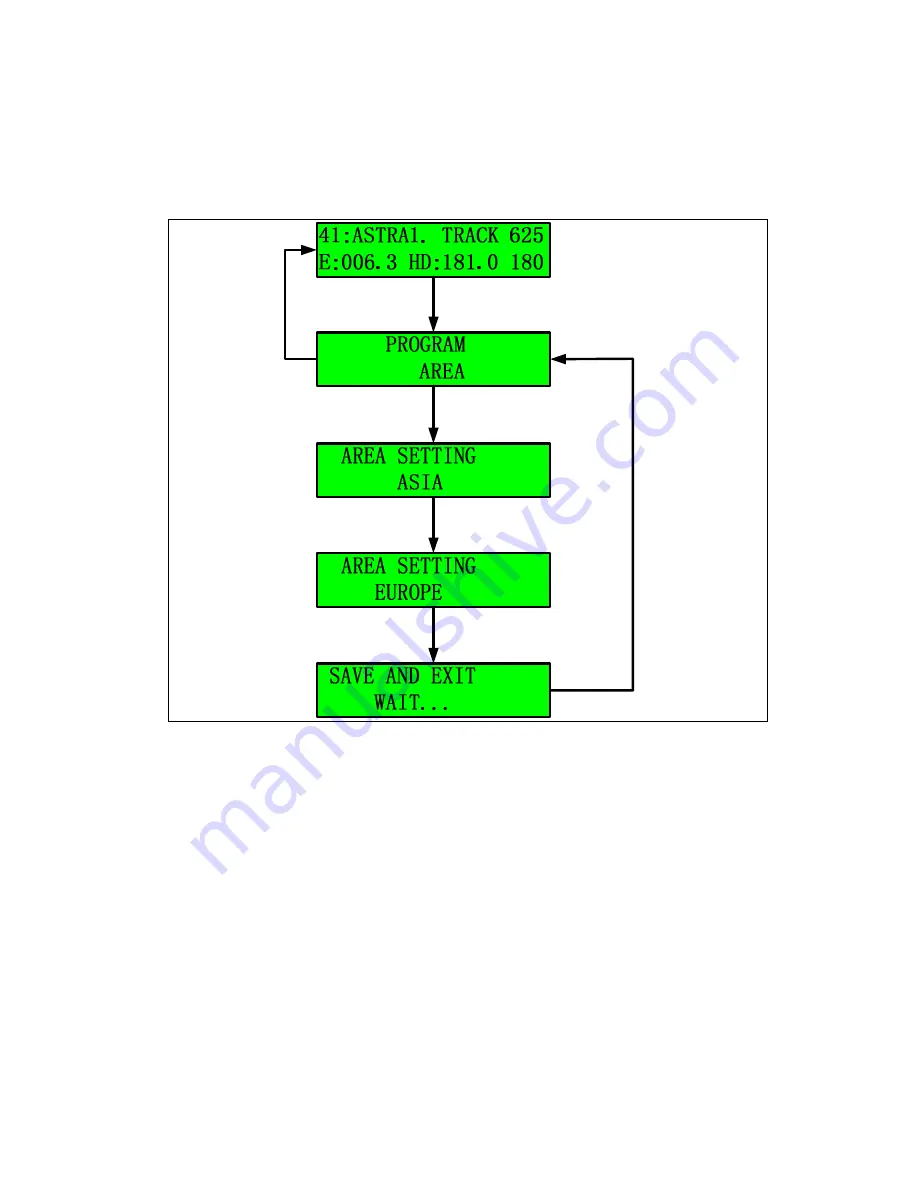
Program Area
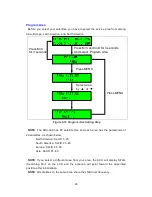
Before you select your satellites, you have to select the service area from among
Asia, Europe, Latin America, and North America.
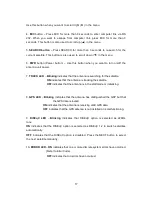
Press M/C and hold for 3 seconds
And select
‘
Program Area
’
Press MENU
Select area
by
‘
▲’ or ‘▼’
Press MENU
Press M/C
for 3 seconds
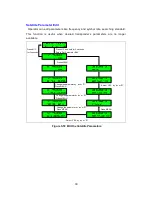
Figure 3-12 Program Area Setting Step
NOTE: The SDA-390 has 80 satellite IDs, and each area has the parameters of
20 satellites, as shown below.
North America: Sat ID 1~20
South America: Sat ID 21~40
Europe: Sat ID 41~60
Asia: Sat ID 61~80
NOTE: If you select a different area from your area, the ACU will display SFAIL
(Searching Fail) on the LCD and the antenna will point toward the appointed
position after initialization.
NOTE: All satellites on the same area share the LNB local frequency.
Содержание SUPERTRACK SDA-390
Страница 7: ...3 Figure 2 2 Best Location II Figure 2 3 Antenna Blockages...
Страница 11: ...7 Figure 2 7 Tighten the nuts from below...
Страница 22: ...18 Figure 3 2 Antenna Control Unit Front Panel Figure 3 3 Antenna Control Unit Back Panel...
Страница 36: ...32 Connection Staus Display of LCD Figure 4 2 Connection Status SDA 390 with PC...
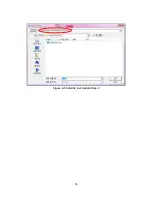
Страница 39: ...35 Figure 4 5 Satellite List Update Step 2...
Страница 48: ...44 C N Graph You can see the graph of C N on Antenna State Figure 4 13 C N Graph...
Страница 55: ...51...
Страница 57: ...53 Click the SAVE to save to PCU...
Страница 58: ...54 Click the Auto Search to search the satellite Then SDA 390 search and track the desired satellite...
Страница 68: ...64 Appendix E Radome and Antenna Mounting Holes Layout Figure E 1 SDA 390 Plastic Radome Layout...

