22
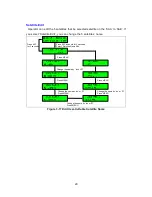
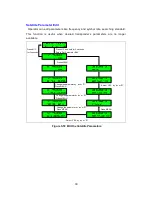
3.3. Set-up Mode
Initial set-up is accomplished by the installer or operator using the SETUP Mode to
configure the system parameters.
Press and hold the “MENU” button for more than 3 seconds to enter the SETUP
mode. To navigate the menu, press the UP or DOWN button. The set-up mode has
10 sub-menus.
Upgrade
The installer or operator can change and configure the current parameters of the
SDA-390 by computer.
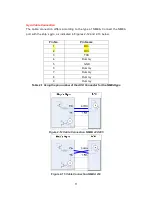
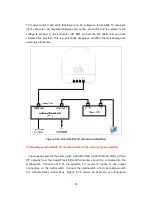
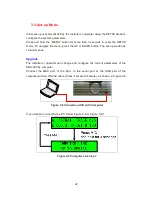
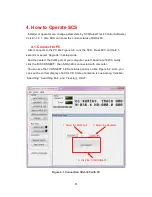
Connect the M&C port of the ACU to the serial port or the USB port of the
computer with an RS-232 cable (Cross: Female to Female), as shown in Figure 3-8.
Figure 3-8 Connection ACU with Computer
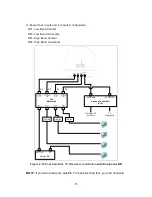
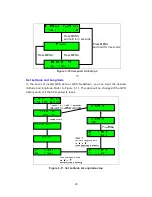
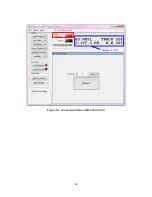
If you want to connect to the PC, follow Figure 3-9 or Figure 3-10.
Figure 3-9 Computer Link step 1
Содержание SUPERTRACK SDA-390
Страница 7: ...3 Figure 2 2 Best Location II Figure 2 3 Antenna Blockages...
Страница 11: ...7 Figure 2 7 Tighten the nuts from below...
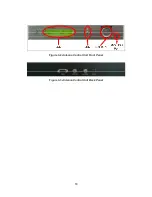
Страница 22: ...18 Figure 3 2 Antenna Control Unit Front Panel Figure 3 3 Antenna Control Unit Back Panel...
Страница 36: ...32 Connection Staus Display of LCD Figure 4 2 Connection Status SDA 390 with PC...
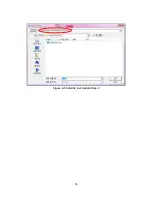
Страница 39: ...35 Figure 4 5 Satellite List Update Step 2...
Страница 48: ...44 C N Graph You can see the graph of C N on Antenna State Figure 4 13 C N Graph...
Страница 55: ...51...
Страница 57: ...53 Click the SAVE to save to PCU...
Страница 58: ...54 Click the Auto Search to search the satellite Then SDA 390 search and track the desired satellite...
Страница 68: ...64 Appendix E Radome and Antenna Mounting Holes Layout Figure E 1 SDA 390 Plastic Radome Layout...

