Installation and Operation Manual
15
2-3 NAVIONICS Secure Digital (SD) Card
This section provides instructions for inserting and removing NAVI01NICS SD card procedure.
Inserting the SD Card
1 Hold the SD card so that you can
see the NAVIONICS label.
2 Open the door, gently push the SD card
into the slot; push the SD card in as far as
you hear click sound, then close door.
Removing the SD Card
1 Turn off the unit.
2 Open the door and push in on the SD card
until it is released.
3 Close the door.
Insert NAVIONICS SD card
correctly.
(DO NOT FORCE)
Close SD card door firmly all
the times.
Do not remove SD card
during reading and writing..
2-4 Manual / Auto Power on and off
Manual power on
Press
and hold until the display shows
the start up page. When the Warning screen
appears, press
to accept.
Manual power off
Press and hold
for 5 seconds. A counter
timer appears on the screen, if you release
the button before the countdown timer
reaches zero, the chart plotter will remain On.
Auto power
If the unit is wired for auto then
:
•
The unit turns on automatically when you
turn on t
he boat’s ignition.
•
You can not turn off the unit if the ignition
is turned on.
•
If Auto power off is set, the unit turns off
automatically when you turn off the boat’s
ignition.
•
If Auto power off is set, the unit will not be
turned off even though th
e boat’s ignition is
turned off. To turn off, you need to turn off
the unit manually.
Installation and Operation Manual
16
2-5 SRM(Safety Related Message)
Users can set up 15 letters. If you push SRM
button, set up message is transmitted.
If you push SRM button long, counter is
displayed. In 3 seconds (3->2->1), setup
message is transmitted.
SRM function of AIS-50N is made to meet
62287-1 Message 14 standard of
IEC(International. Electrotechnical
Commission) Users can set up SRM, which
they want, referring to 3-5-1.
SRM does not work, when
equipment does not receive
GPS signals.
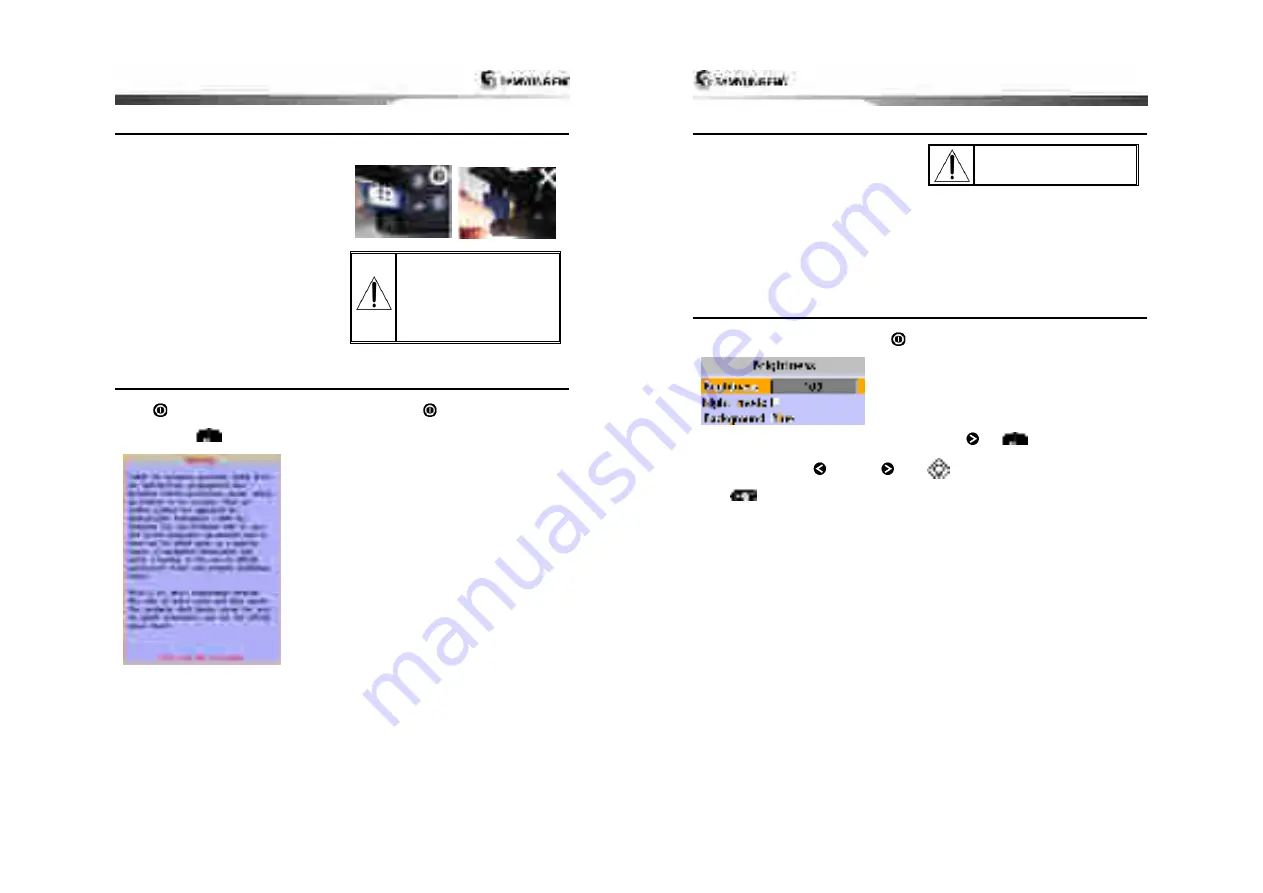
2-6 Brightness, night mode and Background
You can change the screen setting for the
display. To change settings, shortly press
.
Brightness
To change the brightness, select
Brightness
, and press
to dim or
to
brighten.
Press
to return to the previous
screen.
Night mode
The AIS-50N has preprogrammed settings
allowing you to customize the look of the
Chart
window. The default is daytime view.
Select
Night mood
depending on what
mode the display is in at the time of
selection.
To change mode:
1 Highlight
Night mode
.
2 Press
or
.
Tip:
The screen will be difficult to read if
the chart plotter is in
night mood
when the
sun is too bright
Background
You can Changes the background color if
necessary. This selection is a personal
preference. Select the option that gives you
the clearest viewing in your weather
conditions and viewing angle.


