background image

ENGLISH

17

17

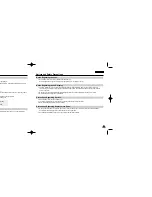
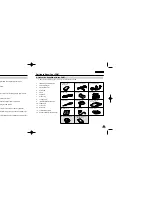
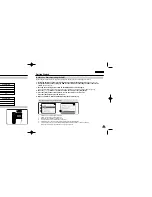
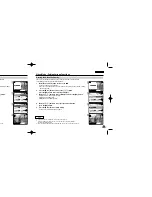
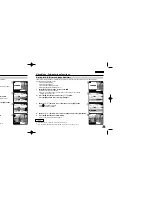
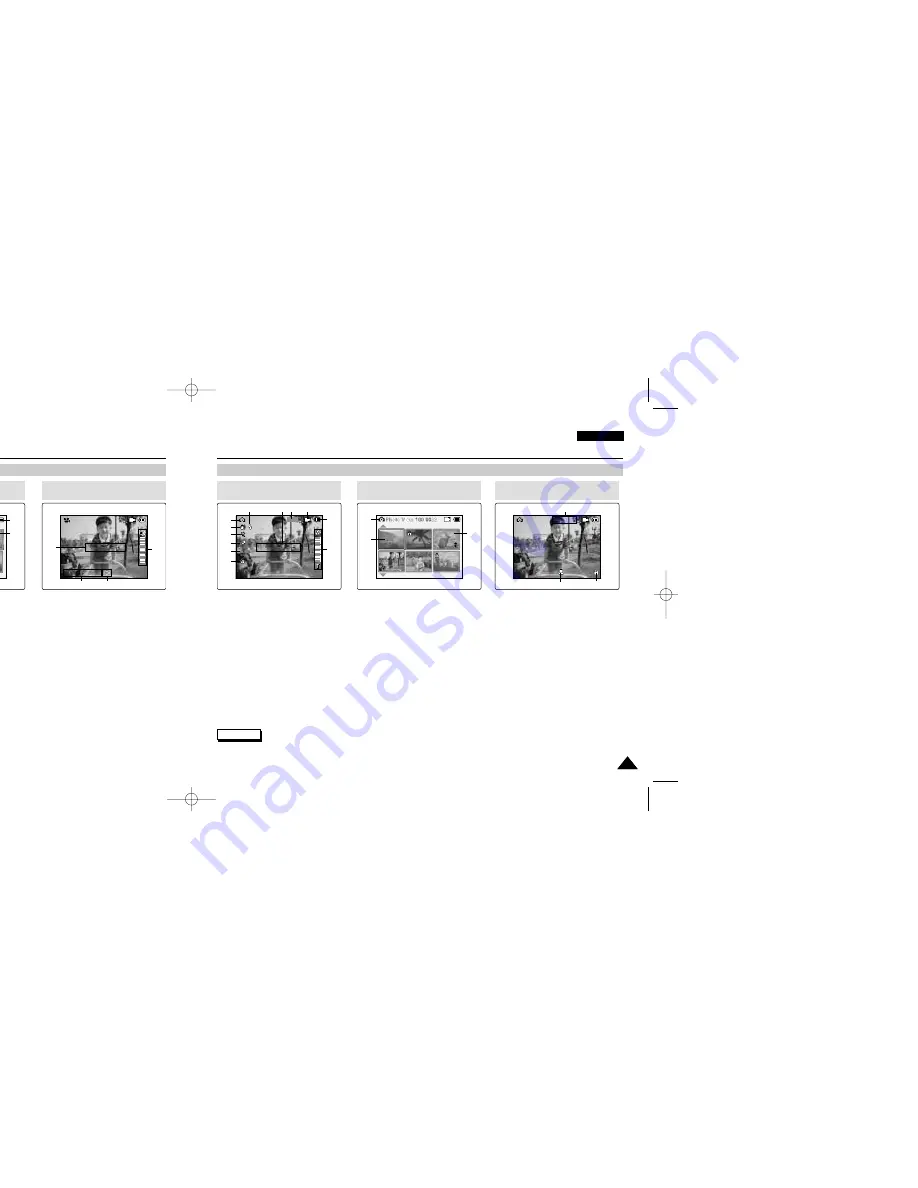
Name of Each Part: LCD Display

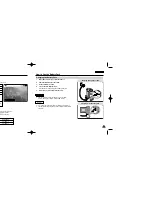
OSD (On Screen Display in Photo Capture Mode / Photo View Mode)

ENGLISH

16

16

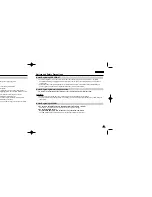
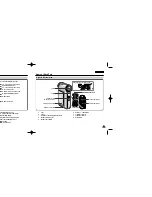
Name of Each Part: LCD Display

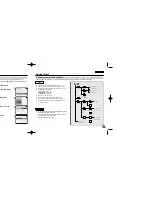
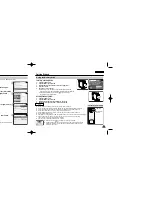
OSD (On Screen Display in Video Record Mode / Video Play Mode)

1.

Mode indicator

2. EIS 

indicator

3. Program 

AE 

indicator

4. 

White balance indicator 

5. BLC 

indicator 

6. Focus 

indicator 

7. 

Zoom in/out indicator

8. 

Battery life indicator

9. 

Memory type indicator

10.  Image size indicator
11.  Warning and note indicator
12. Light 

indicator

Video Record Mode

1. Mode 

indicator 

2. Current 

display 

indicator 

3. 

Number of print 

4. Printer 

indicator 

5. Lock 

indicator 

6. Image 

counter 

(Current image)

1.

Mode indicator

2.

EIS indicator

3.

Program AE indicator

4.

White Balance indicator

5.

BLC indicator

6.

Focus indicator

7.

Counter 
(Elapsed time /Remaining time)

8.

Record/Standby indicator

9.

Record/Standby text

10. Effect indicator
11. Zoom in/Zoom out indicator
12. Battery life indicator
13. Memory type indicator
14. Image quality/size indicator
15. Warning and note indicator

1.

Mode indicator

2.

Current display indicator

3.

Lock indicator

4.

Battery life indicator

5.

Memory type indicator  

6.

Image counter(Current image)

7.

Warning and note indicator

8.

Counter 
(Elapsed time / Recorded time)

9.

Operation indicator 
(Play/Pause/RPS/FPS)

10. Volume indicator

Video Record

BLC

00:16 / 24:32

SF   /   720

STBY

Sepia

1

3

2

4

5

6

7

8

9

10

11

12

13

14

15

Video Play Mode

Video Play 100-0056

1

2

4

3

5

6

Video Play Mode

00:16 / 10:50

Video Play 100-0056

7

8

9

10

Photo Capture Mode

Sepia

800

Photo Capture

BLC

1

3

2

4

5

6

7

8

9

10

11

12

Photo View Mode

1

2

3

Photo View Mode

Photo View 100-0025

2 Copies

6

4

5

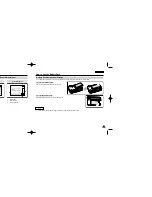
Functions you’ve set will not be canceled if you turn the CAM on again.

Note

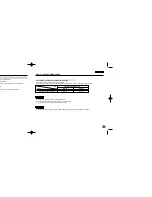
Functions you’ve set will not be canceled if you turn the CAM on again.

Note

 VP-M102 UK_0-Start  2004.12.20  11:34 AM  Page 16

Содержание VP-M102

Страница 1: ...nstruction Book Before operating the unit please read this Instruction Book thoroughly and retain it for future reference This product meets the intent of Directive 89 336 CEE 73 23 CEE 93 68 CEE AF A...

Страница 2: ...pe 32 Using the Memory Stick 33 Mode and Menu Selection 34 Recording 36 Recording 36 Zooming In and Out 37 Playing 38 Playing on the LCD Monitor 38 Selecting File Options 40 Deleting Video files 40 Lo...

Страница 3: ...files 80 Deleting Files or Folders 81 Locking Files 82 Copying Files or Folders 83 Viewing File Information 84 Adjusting the LCD Monitor 86 Adjusting the LCD Brightness 86 Adjusting the LCD Colour 87...

Страница 4: ...Battery 118 Using the CAM Abroad 119 Self Diagnosis Display 120 92 92 93 94 95 96 97 98 98 99 100 101 101 102 103 104 106 106 107 108 109 110 110 112 113 115 115 116 ENGLISH 7 7 Specifications 124 In...

Страница 5: ...ng it to a sudden change of temperature Television programmes movie video tapes DVD titles films and other programme materials may be copyrighted Unauthorized recording of copyrighted materials may in...

Страница 6: ...otes Regarding the Lens Notes Regarding the LCD Display ot operating it han 5 minutes it will automatically turn itself off to e it s The battery pack may be prone to leakage when ry when no charge re...

Страница 7: ...r Adapter 3 Video Audio Cable 4 USB Cable 5 Cradle 6 Earphones 7 Hand Strap 8 Carrying Case 9 Instruction Book Quick Guide 10 Software CD 11 Lens Cover 12 Neck Strap 13 Scart Adapter Option 14 Extende...

Страница 8: ...tton 8 switch Zoom out W Rewind switch 9 OK button Play Pause 11 Record Stop button 12 Power Charging indicator 13 OFF switch Mode Selector 14 Menu button 15 Memory Stick Slot 6 Back Multi Play Mode b...

Страница 9: ...Mode indicator 2 Current display indicator 3 Number of print 4 Printer indicator 5 Lock indicator 6 Image counter Current image e 7 Warning and note indicator 8 Counter Elapsed time Recorded time 9 Op...

Страница 10: ...0 05 12 7 9 8 Battery Pack Installation Ejection It is recommended you purchase one or more additional battery packs to allow continuous use of your CAM Slide the battery pack into the groove until it...

Страница 11: ...ut the recording time becomes shorter When you eject the battery pack from the CAM hold the battery pack to prevent it dropping to the floor If you close the LCD screen it switches off automatically T...

Страница 12: ...o the CAM 3 Fix the CAM into the cradle 4 Connect the jack with the cradle Detach the jack by pressing the buttons of the jack 5 Insert the AC power adapter into the outlet You can charge the battery...

Страница 13: ...ress the OK button to take pictures record hear music or record voice Press the Menu button to view the menu 6 When you finished turn the CAM off moving Mode Selector up For example If you want to sel...

Страница 14: ...4 3 Press the Display button Back Up Select Down Open Close Menu Off Close Mode Selection Select Mode Select Mode Help Back Prev Rew Play Next FF Menu Off Mode Selection Play Help Play Help Play Mode...

Страница 15: ...VTRINT MRK MEMSTICK IND MSTK_PRO IND MSAMSUNG Free MP3 SWAV0001 WAV VOICE SWAV9999 WAV 100SSWAV 999SSWAV SMOV0001 AVI SSMOV SMOV9999 AVI 100SSMOV 999SSMOV MP3 Free Free Refer to page 33 for details ab...

Страница 16: ...k Pro use the Memory Stick Formatter in the supplied software CD Notes 800 600 approx 2509 approx 5019 approx 9803 approx 313 approx 627 approx 1254 approx 2509 approx 5019 approx 9803 ages and the ma...

Страница 17: ...CD monitor 2 Open the Memory Stick slot lid 3 Slightly push the Memory Stick inwards to pop it out 4 Pull the Memory Stick out of the slot and close the lid Ejecting a Memory Stick Do not apply excess...

Страница 18: ...ting the PB Option 43 Setting Various Functions 44 Setting the Video file Size 44 Setting the Video file Quailty 45 Setting the Focus 46 Setting the EIS 47 Setting the White Balance 48 Setting the Pro...

Страница 19: ...720 00 16 10 50 REC BLC Video Record SF 720 00 16 10 50 REC BLC Video Record SF 720 00 16 10 50 REC Zoom In Zoom Out Notes Frequent use of zooming may result in higher battery power consumption Refer...
Страница 20: ...1 00 16 Video Play 100 0056 00 01 00 16 Video Play 100 0056 Video Play 100 0056 00 01 00 16 Video Play 100 0056 Notes You can adjust the volume up to 10 steps You can also play the video file on a TV...

Страница 21: ...followings and press the OK button Selected The selected video file is locked All All video files are locked Cancel Cancel locking video files delete s the OK button OK button OK button Video Record...

Страница 22: ...button and move the switch Press the OK button after selecting Play 3 Move the switch to select the video file you want to set the function 4 Press the Menu button to select File Options and press th...

Страница 23: ...r to page 94 2 Press the Menu button and move the switch Press the OK button after selecting Settings 3 Move the switch to select Quality and press the OK button SF Super Fine Select highest quality F...

Страница 24: ...ove Mode Selector down to turn on the CAM The Video Record screen appears You can select Video mode or Previous mode as the start up mode in System Settings Refer to page 94 2 Press the Menu button an...

Страница 25: ...t The shutter speed automatically varies from 1 60 to 1 250 per second depending on the scene Sports For recording fast moving people or objects It is suitable for sports events recording outside in t...

Страница 26: ...ed setting and press the OK button 5 Press the Menu button to finish setting The letters of selected function is displayed 3 Move the switch to select Effect and press the OK button Off Cancel the Eff...

Страница 27: ...Off Video Settings Video Settings Video Settings Video Record 00 00 10 57 SF 720 STBY Video Record SF 720 00 00 10 57 STBY Play Record Settings Back irectly Capturing 54 Capturing Images 54 Zooming I...

Страница 28: ...s press the Record Stop button again BLC 800 Photo Capture 800 Photo Capture 800 Photo Capture Video Record 00 16 24 32 Zoom In Zoom Out Note Frequent use of zooming may result in higher battery power...

Страница 29: ...View 6 Move the switch to select Delete and press the OK button 7 Move the switch to select the followings and press the OK button Selected The selected photo file is deleted All All photo files are d...

Страница 30: ...copies you want to print K button the OK button Setting DPOF Digital Print Order Format Function 800 Photo Capture View Capture Settings Back 01 03 Photo View 100 0022 View File Options Capture Back 0...

Страница 31: ...EIS Light Auto On White Balance Auto Focus AF Photo Settings Photo Settings EIS Light Auto On White Balance Auto Focus AF Size 640 Photo Capture it down again e OK button o copy the OK button 1 Move...

Страница 32: ...OK button K button s the OK button 4 Move the switch to select Focus and press the OK button AF Set the focus automatically When the CAM turns on AF is selected in default MF Set the focus manually 5...

Страница 33: ...Light Auto Photo Settings Photo Settings Size 800 x 600 White Balance Auto Focus AF Light Auto EIS On Size White Balance Auto Focus AF Light Auto 800 x 600 Photo Settings Photo Settings Size White Ba...

Страница 34: ...Photo Settings White Balance Program AE BLC Focus AF EIS On Auto Auto On Capturing 800 Photo Capture BLC Setting the BLC Backlight Compensation The Backlight Compensation function helps to make the su...

Страница 35: ...cking Music files 74 Copying Music files 75 MP3 Mode Recording 76 Recording Voice 76 Playing 77 Playing Voice files 77 Selecting File Options 78 Deleting Voice files 78 Locking Voice files 79 Copying...

Страница 36: ...witch to select MP3 mode and press the OK button 4 Move the switch to find the music you want to hear and press the OK button The selected music is played 5 Press the OK button again to stop hearing m...

Страница 37: ...ppears 3 Move the switch to select File Options and press the OK button 4 Move the switch to select Delete and press the OK button 5 Move the switch to select the followings and press the OK button Se...

Страница 38: ...Press the Menu button when the music list appears 3 Move the switch to select File Options and press the OK button 4 Move the switch to select Copy To and press the OK button If you selected the Stor...

Страница 39: ...ove the switch to select the file you want to play 6 Press the OK button to play the recorded voice Press the OK button to pause playing Voice Record 9 Stereo 8KHz 128Kbps STBY 00 00 16 00 24 32 Voice...

Страница 40: ...2004 01 07 11 54 00 AM Voice Play Play File Options Record Back 1 01 01 2005 12 22 00 AM 2 01 01 2005 1 23 00 AM 3 01 02 2005 5 39 00 AM 4 2004 01 07 7 13 00 AM 5 2004 01 07 11 54 00 AM Voice Play Lo...

Страница 41: ...tor down to turn on the CAM and press it again The Mode Selection screen appears 2 Move the switch to select File Browser and press the OK button 3 Move the switch to select the folder to find the fil...

Страница 42: ...ct the folder to find the file you want to copy Press the OK button Press the Menu button if you want to copy the selected folder Perform these steps repeatedly until the file you want to copy appears...

Страница 43: ...nal Memory 101 System Environment 102 Using PC Cam 103 Connecting the CAM to a Printer 104 Setting the CAM 4 4 Adjusting the LCD Monitor 85 Adjusting the LCD Brightness 86 Adjusting the LCD Colour 87...

Страница 44: ...Brightness 30 Note If you select Back in the menu the previous menu appears 1 Move Mode Selector down to turn on the CAM and move it down again The Mode Selection screen appears 2 Move the switch to s...

Страница 45: ...Selection MP3 Voice Recorder File Browser System Settings Back System Settings Date Time System Display Memory Back Settings Date Time Time Format Back Date Format YY MM DD 12 Hour Set Date Set Time 2...

Страница 46: ...screen appears 2 Move the switch to select System Settings and press the OK button 3 Move the switch to select Date Time and press the OK button 4 Move the switch to select Time Format and press the O...

Страница 47: ...Mode Selection screen appears 2 Move the switch to select System Settings and press the OK button 3 Move the switch to select System and press the OK button 4 Move the switch to select Demo and press...

Страница 48: ...the file number resets to its default value 100 0001 6 Press the Back button to finish setting Mode Selection MP3 Voice Recorder File Browser System Settings Back System Settings Date Time System Dis...

Страница 49: ...System Settings Date Time System Display Memory Back Settings System Version Info File No Series Start up Video Mode Off On Demo Beep Sound Settings System Version Info Start up Previous Mode English...

Страница 50: ...message is displayed to confirm 6 Press the OK button to format Select Cancel to cancel formatting 7 Press the Back button to finish setting System Settings Date Time System Display Memory Back Settin...

Страница 51: ...iver manually on Windows 98SE operating system 4 Disconnect the USB cable if you finish storing Back USB Mode PC Cam PictBridge USB 2 0 MassStorage USB 1 1 MassStorage Notes Select USB 1 1 MassStorage...

Страница 52: ...ver and Software to be installed Refer to page 112 for further details The CAM can be used as a PC Camera for programs such as Windows Messenger The use of the PC Cam varies depending on the Software...

Страница 53: ...es 1 PictBridge 100 0056 Print Next Photo Previous Photo Date On Copies 1 PictBridge 100 0056 Connecting the CAM with other Devices 106 Connecting the CAM to TV 106 Connecting the CAM to VCR or DVD Re...

Страница 54: ...ded files to the video tape 1 Connect the Video Audio cable to the AV Input Output Jack of the CAM 2 Connect the Video Audio cable to the external input terminal of your VCR set by matching the colour...

Страница 55: ...Connecting the CAM with other Devices Connecting the CAM to a PC using the USB cable You can connect the CAM to a PC that supports USB connections Use the provided USB cable for connection to a PC 1 I...

Страница 56: ...he monitor You can use ImageMixer after restarting your PC Macintosh Notes If Image Mixer appears to not be installed re install it again but you should first attempt to uninstall it Uninstalling Imag...

Страница 57: ...e drive on Windows98SE you may need to install the Windows98SE Driver 1 Insert the program CD into the CD ROM drive 2 Fix the CAM into the cradle and connect it to a PC with the USB cable The PC recog...

Страница 58: ...screen appears automatically 3 Move the switch to select PictBridge and press the OK button 4 Move the switch to select Copies and press the OK button 5 Move the switch to select desired number and pr...

Страница 59: ...many starts and stops frequent zooming and recording in low temperatures will shorten actual recording times Dispose of used battery packs promptly Do not dispose of them in fire The battery pack will...

Страница 60: ...ll outlets Power Sources You can view your video files using the built in LCD monitor However to view your recordings on a television set or to copy it to a video cassette recorder VCR the television...

Страница 61: ...ttery pack or connect the AC Adapter e hold key and operate the CAM e Memory Stick or replace it with new one e Memory Stick e memory space or format the memory e file r JPEG file that is not supporte...

Страница 62: ...HS Shutter BLC Off On Back MP3 Voice Recorder File Browser System Settings USB Mode White Balance Auto Hold Outdoor Indoor Delete Selected All Cancel Lock Selected All Cancel Copy To Selected All Canc...

Страница 63: ...ter Power Requirement DC Output Dimensions Weight 3 5 Stereo Video 1 0p_p 75 Audio 7 5dBm 47K Stereo Special 22Pin Connector Special 22Pin Connector AC 100 240V 50 60Hz DC 4 8V 1 0A 70mm x 30mm x 42mm...

Страница 64: ...66 R Repeat Play 72 S Start up Mode 94 Storage type 98 T Time 88 Troubleshooting 120 U USB Cable 13 USB mode 101 Y Version Information 97 W White Balance 48 65 Z Zooming In and Out 37 55 ENGLISH Inde...

Страница 65: ...t will be made for repairs carried out by non Samsung Dealers and any such repair work and damage to the products caused by such repair work will not be covered by this warranty 4 This product is not...

Страница 66: ...elevgcou sunthvrhsh kai episkeuhv hv antikatavstash merwvn pou ofeivlontai se fusiologikhv fqorav Ta evxoda kai tou kinduvnou metaforav pou scetivzontai me thn egguvhsh autouv tou proiovnto Zhmiva se...

Отзывы: