ENGLISH
Setting the CAM : Using USB Mode
101
101
ENGLISH
Setting the CAM : Setting Memory
100
100
2
3
4
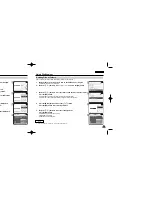
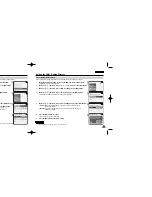
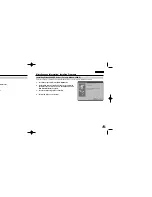
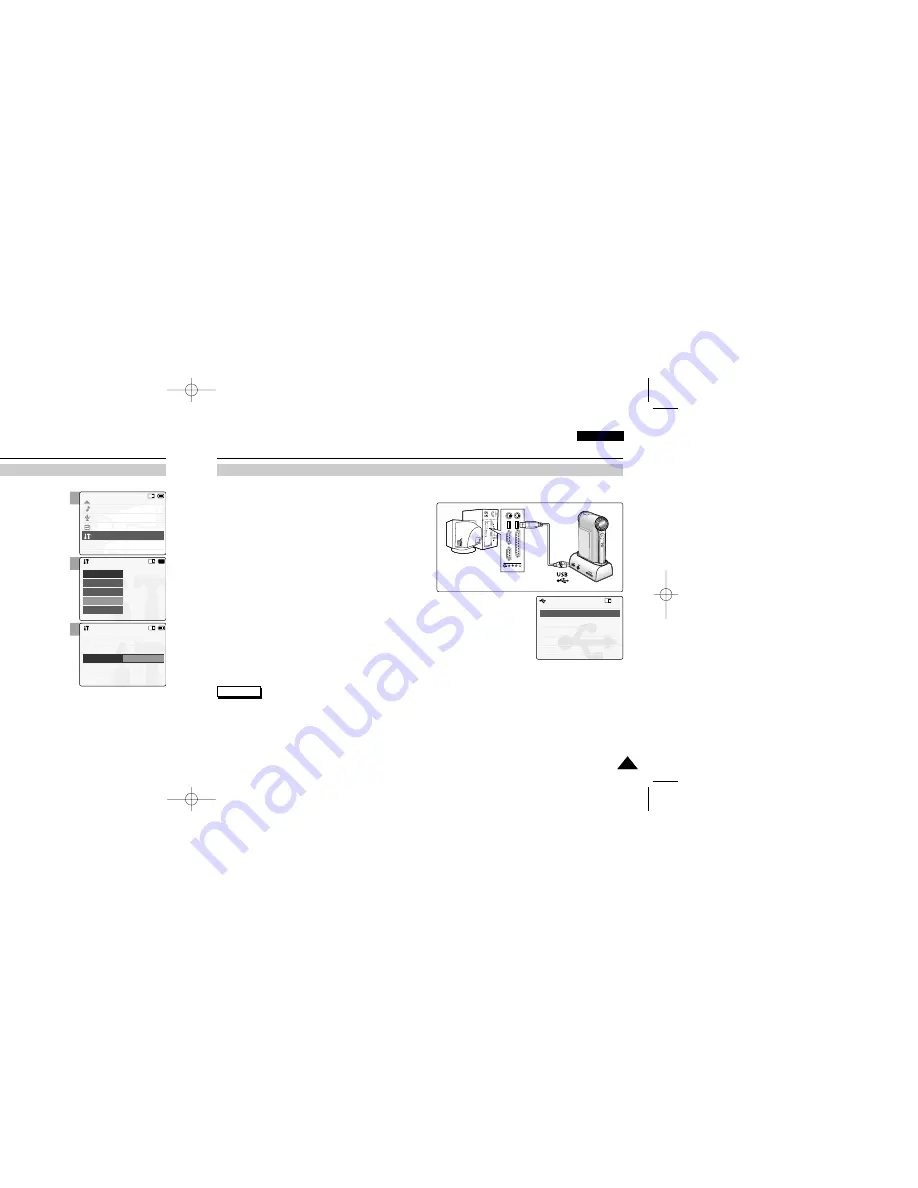
Viewing Memory Space
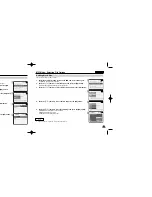
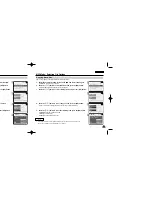
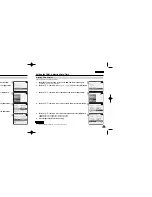
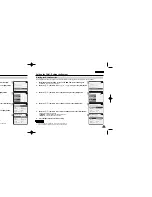
You can view usable memory and total memory space of the CAM.
1.
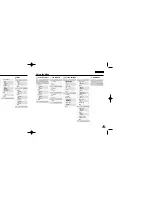
Move [Mode Selector] down to turn on the CAM and move it down again.
◆
The Mode Selection screen appears.
2. Move
the
[
▲
/
▼
] switch to select
System Settings
and press the [OK] button.
3.
Move the [
▲
/
▼
] switch to select <Memory> and press the [OK] button.
4. Move the [
▲
/
▼
] switch to select <Memory Space>.
5.
Press the [Back] button to finish setting.
Mode Selection
MP3
Voice Recorder
File Browser
System Settings
Back
System Settings
Date/Time
System
Display
Memory
Back
Settings: Memory
Back
External
Internal
Format
Storage Type
Memory Space 000MB/000MB
Note
✤
If you select <Back> in the menu, the previous menu appears.
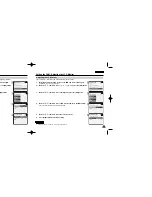
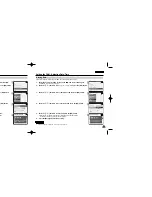
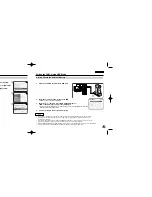
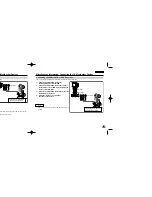
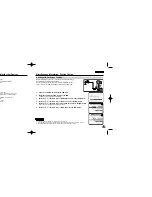
Storing Files to the External Memory
1.
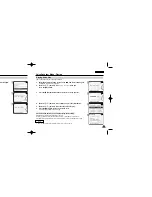
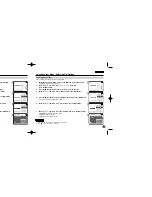
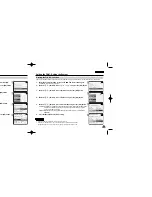
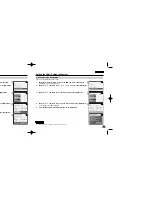
Connect the CAM to the PC with the USB cable.
2.
Move [Mode Selector] down to turn on the CAM.
◆
USB menu screen appears automatically.
3.
Move the [
▲
/
▼
] switch to select <USB 2.0 MassStorage> or
<USB 1.1 MassStorage> and press the [OK] button.
◆
Your PC recognises the USB device automatically. You may install the USB Driver manually
on Windows 98SE operating system.
4.
Disconnect the USB cable if you finish storing.
Back
USB Mode
PC-Cam
PictBridge
USB 2.0 MassStorage
USB 1.1 MassStorage
Notes
✤
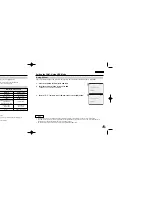
Select <USB 1.1 MassStorage> when <USB 2.0 MassStorage> does not work depending on your PC environment.
✤
If you disconnect the USB cable from the PC or the CAM during the data transfer, the data transfer will stop and
the data may be damaged.
✤
If you connect the USB cable to a PC using a USB HUB or with other device at the same time, it might cause conflict
and may not work properly. If this occurs, remove all other devices and try the connection again.
✤
Install the Windows 98SE Driver on Windows 98SE operating system using supplied CD. Refer to page 113 for further details.
✤
It takes about 30 minutes if you download or upload the file of 1GB by connecting the USB cable.
VP-M102 UK_4-Setting 2004.12.20 11:38 AM Page 100

