3
4
5
6
3
5
6
7
ENGLISH
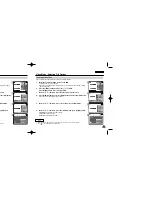
Photo Mode : Setting Various Functions
61
61
ENGLISH
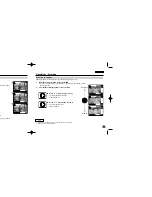
Photo Mode : Selecting File Options
60
60
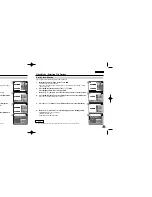
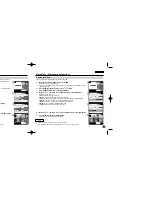
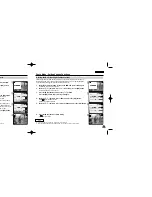
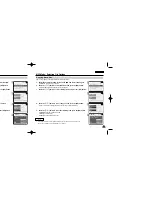
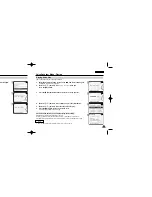
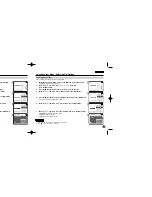
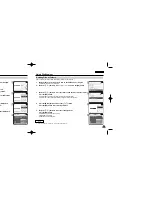
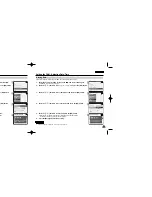
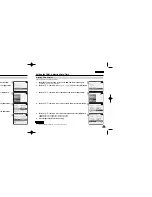
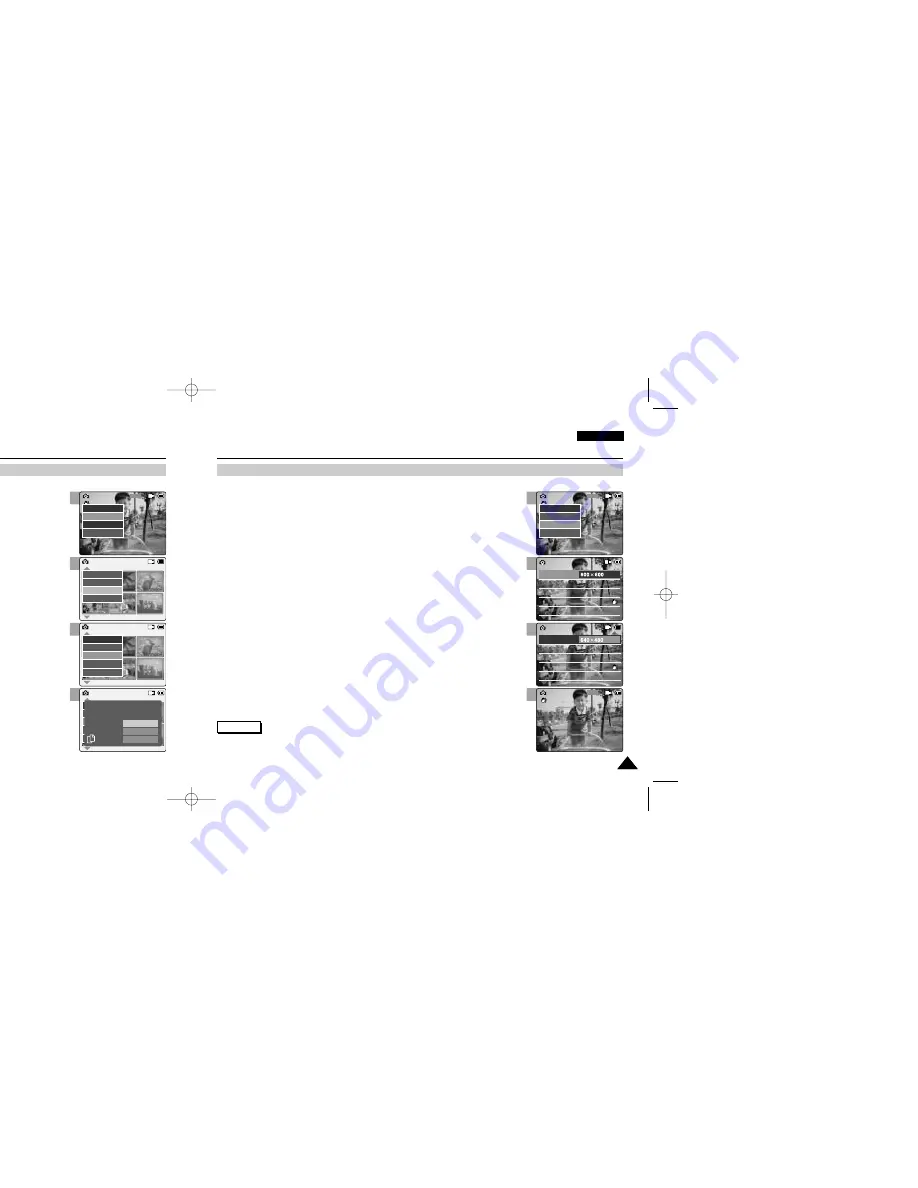
Setting the Photo file Size
You can set the photo files size. The number of stored files varies depending on the Memory Stick capacity, photo files size.
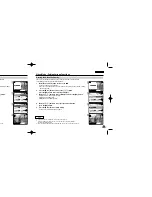
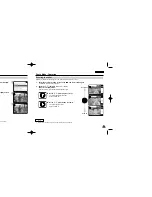
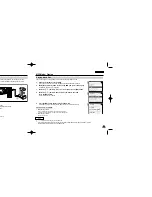
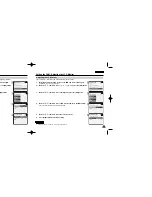
Copying Photo files
You can copy photo files to the internal or external memory.
800
Photo Capture
View
Capture
Settings
Back
01
03
Photo View 100-0022
View
File Options
Capture
Back
01
03
Photo View 100-0022
Lock
Copy To
Delete
DPOF
Back
Photo View 100-0022
01
03
Lock
Copy To ext.
Delete
DPOF
Back
Selected
All
Cancel
Choose the file(s) to copy
to memory stick?
800
Photo Capture
View
Capture
Settings
Back
EIS
Light
Auto
On
White Balance
Auto
Focus
AF
Photo Settings
Photo Settings
EIS
Light
Auto
On
White Balance
Auto
Focus
AF
Size
EIS
Light
Auto
On
White Balance
Auto
Focus
AF
Photo Settings
Photo Settings
EIS
Light
Auto
On
White Balance
Auto
Focus
AF
Size
640
Photo Capture
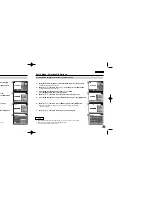
1.
Move [Mode Selector] down to turn on the CAM and move it down again.
◆
The Mode Selection screen appears.
2.
Move the [
▲
/
▼
] switch to select
Photo
mode and press the [OK] button.
◆
The Photo Capture screen appears.
3.
Press the [Menu] button and move the [
▲
/
▼
] switch.
Press the [OK] button after selecting <View>.
4.
Move the [
▲
/
▼
] switch to select the photo file you want to copy.
5.
Press the [Menu] button to select <File Options> and press the [OK] button.
◆
You can select <File Options> only in <View>.
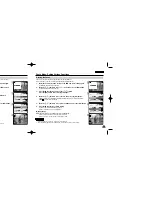
1.
Move [Mode Selector] down to turn on the CAM and move it down again.
◆
The Mode Selection screen appears.
2.
Move the [
▲
/
▼
] switch to select
Photo
mode and press the [OK] button.
◆
The Photo Capture screen appears.
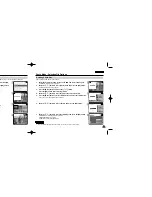
3.
Press the [Menu] button and move the [
▲
/
▼
] switch.
Press the [OK] button after selecting <Settings>.
4.
Move the [
▲
/
▼
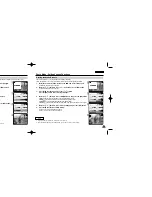
] switch to select <Size> and press the [OK] button.
◆
You can select 800x600 or 640x480 size.
5.
Move the [
▲
/
▼
] switch to select desired setting and press the [OK] button.
6.
Press the [Menu] button to finish setting.
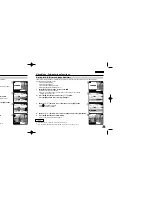
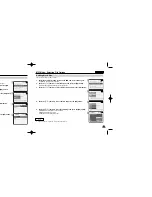
6.
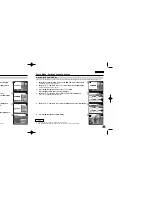
Move the [
▲
/
▼
] switch to select <Copy To> and press the [OK] button.
◆
If you selected the Storage type
‘
External
’
, the file is copied to
‘
Internal
’
.
7.
Move the [
▲
/
▼
] switch to select the followings and press the [OK] button.
◆
Selected
: Copy the selected photo file.
◆
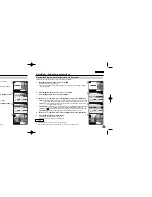
All
: Copy all photo files.
◆
Cancel
: Cancel copying photo files.
Notes
✤
If you select <Back> in the menu, the previous menu appears.
✤
Press and hold the [Menu] button in Photo View, you can move to <File Options> directly.
Note
✤
Press and hold the [Menu] button in Photo View, you can move to <File Options> directly.
VP-M102 UK_2-Photo 2004.12.20 11:37 AM Page 60

