40
advanced recording
CHANGING THE MENU SETTINGS
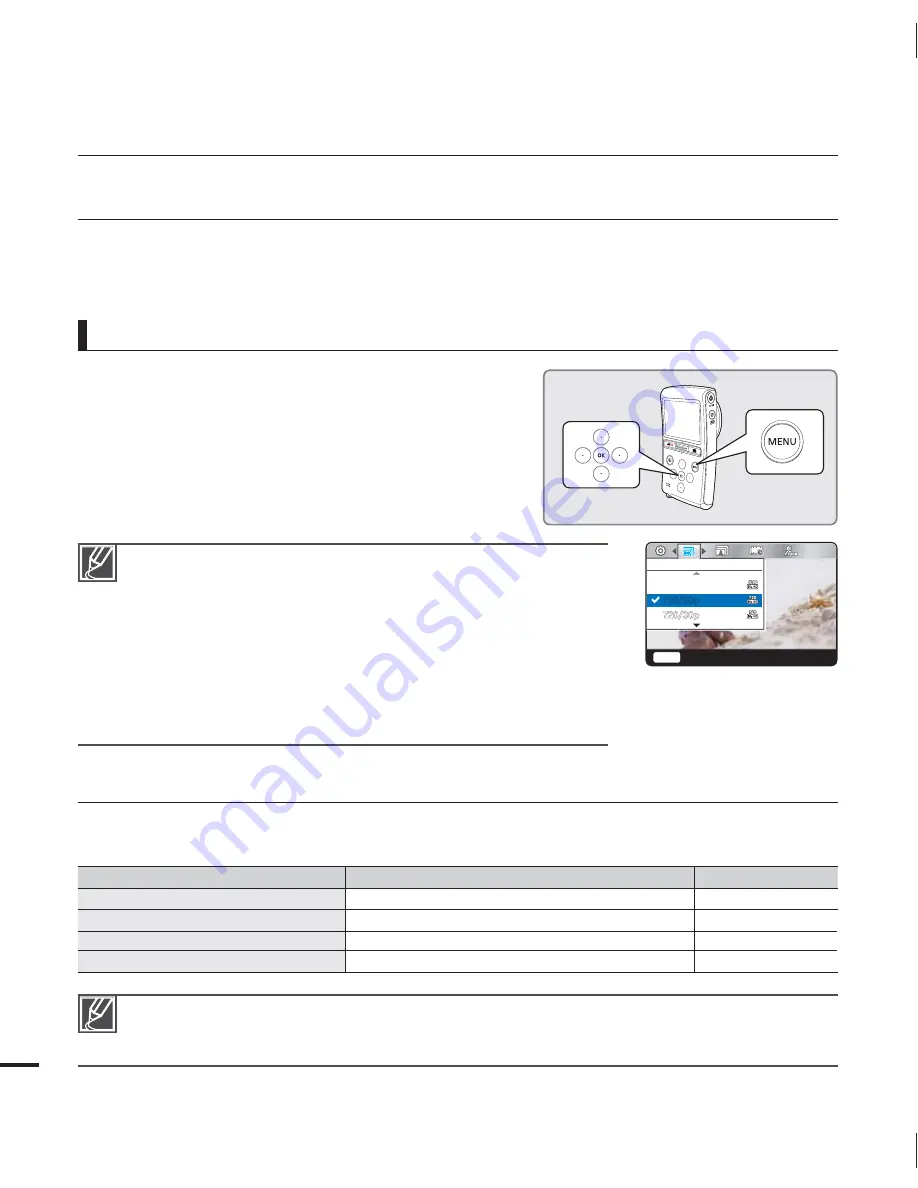
You can change the menu settings to customize your camcorder.
Access the desired menu screen by following the steps below, then change the various
settings.
•
•
1.
Press the
MENU
button.
The menu screen appears.
2.
Press the
/
button to select "
Video Resolution
."
3.
Select the desired submenu item with the
/
button, and then press the
OK
button.
4.
To exit, press the
MENU
button.
•
For example: Setting the Video Resolution in the record mode
The menu item you selected is applied and the indicator is
displayed.
- However, if you’ve selected “
Auto
”, the camcorder may not
display the item’s indicator on the screen.
- You can check the selected mode indicator only when the on-
screen information mode is set to full display.
page 21
There are some functions you cannot activate simultaneously
in the menu. You cannot select the grayed menu items. Refer
to troubleshooting for examples of unworkable combinations of
functions and menu items.
page 79
•
•
RECORDING MENU ITEMS
The menu items you can access depend on the operation mode.
For operation details, see the corresponding page.
Items
Default value
Page
Video Resolution
720/60p
41
Photo Resolution
10M(3648x2736)
42
Zoom Mute
On
42
Time Lapse REC
Off
43
These items and default values may be changed without notice.
The camcorder takes photos at 8 mega pixels. When you set the resolution to 10M, the camcorder
up-scales the photos you take to 10 mega pixels.
•
•
7JEFP3FTPMVUJPO
Q
Q
Menu
&YJU
Q


