System setup
241
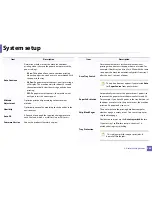
3. Useful Setting Menus
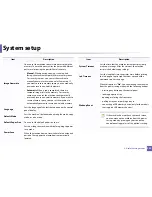
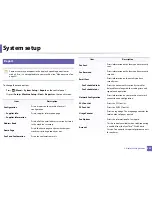
ImageOverwrite
You can set the machine to overwrite data stored in the
memory. The machine overwrites the data with different
patterns eliminating the possibilities of recovery.
•
Manual:
When printing, copying, scanning, and
faxing, the machine temporarily uses memory space.
For security reasons, you can set the machine to
manually overwrite secure non-volatile memory. If
you want to secure memory space, you can manually
overwrite secure non-volatile memory.
•
Automatic:
When a job is completed, there are
temporal images left in the memory. For security
reasons, you can set the machine to automatically
overwrite secure non-volatile memory. If you want to
secure memory space, you can set the machine to
automatically overwrite secure non-volatile memory
Language
Sets the language of the text that appears on the control
panel display.
Default Mode
Sets the machine’s default mode among fax mode, copy
mode, or scan mode.
Default Paper Size
You can set the default paper size to use.
Power Save
Sets how long the machine waits before going to power
save mode.
When the machine does not receive data for an extended
period of time, power consumption is automatically
lowered.
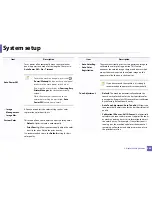
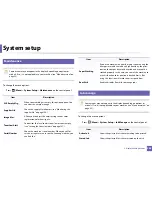
Item
Description
System Timeout
Sets the time that the machine remembers previously
used copy settings. After the timeout, the machine
restores the default copy settings.
Job Timeout
Sets the length of time the printer waits before printing
the last page of a print job that does not end with a
command to print the page.
Wakeup Event
When this option is "
On
", you can wake up the machine
from the power saving mode with the following actions:
•
pressing any button on the control panel
•
loading paper in a tray
•
opening or closing the front cover
•
pulling a tray out or pushing a tray in
•
connecting a USB memory device (only for the models
that support USB memory devices)
If the machine does not have the touch screen,
you can wake up the machine from the power
saving mode by pressing any button on the
control panel regardless of this option’s setting.
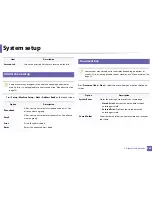
Item
Description
Содержание CLX-6260ND
Страница 96: ...Redistributing toner 96 3 Maintenance...
Страница 98: ...Replacing the toner cartridge 98 3 Maintenance CLX 419xN CLX 419xFN CLX 419xFW Series 5 6...
Страница 99: ...Replacing the toner cartridge 99 3 Maintenance CLX 626xND CLX 626xFD CLX 626xFR CLX 626xFW Series...
Страница 101: ...Replacing the waste toner container 101 3 Maintenance 1 2 1 2 1 2...
Страница 105: ...Installing accessories 105 3 Maintenance 1 2 1 2...
Страница 110: ...Cleaning the machine 110 3 Maintenance...
Страница 123: ...Clearing paper jams 123 4 Troubleshooting 6 In optional tray CLX 626xND CLX 626xFD CLX 626xFR CLX 626xFW Series only...
Страница 124: ...Clearing paper jams 124 4 Troubleshooting If you do not see the paper in this area stop and go to next step...
Страница 126: ...Clearing paper jams 126 4 Troubleshooting CLX 626xND CLX 626xFD CLX 626xFR CLX 626xFW Series...
Страница 127: ...Clearing paper jams 127 4 Troubleshooting If you do not see the paper in this area stop and go to next step 1 2 3...
Страница 130: ...Clearing paper jams 130 4 Troubleshooting If you do not see the paper in this area stop and go to next step...
Страница 132: ...Clearing paper jams 132 4 Troubleshooting If you do not see the paper in this area stop and go to next step...
Страница 155: ...Specifications 155 5 Appendix Free HDD space Up to 100 MB Items Requirements...
Страница 168: ...Regulatory information 168 5 Appendix 26 China only...


