


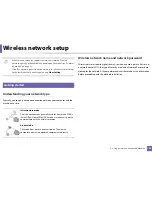


Wireless network setup
195
2. Using a Network-Connected Machine
Machines with a display (or touch) screen
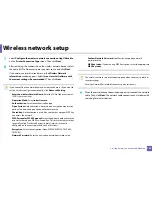
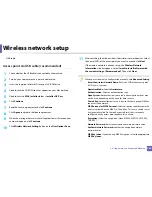
Connecting in PBC mode
1
For models that have the touch screen on the control panel, press
Setup
>
Machine Setup
>
Next
>
Network Setup
>
Wireless
>
WPS Settings
.
2
Press
PBC
(or
Connect via PBC
).
3
Press
OK
when the confirmation window appears.
Information window appears showing 2 minutes connection processing
time.
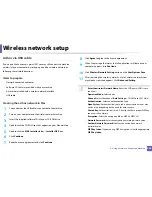
4
Press the
WPS (PBC)
button on the access point (or wireless router).
The messages are displayed on the display screen in the order below:
a Connecting:
The machine is connecting to the access point (or
wireless router).
b Connected:
When the machine is successfully connected to the
wireless network, the WPS LED light stays on.
c AP
SSID:
After completing the wireless network connection process,
the AP’s SSID information appears on the display.
5
Insert the supplied software CD into your CD-ROM drive, and follow the
instructions in the window to set up the wireless network.
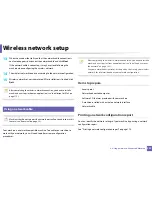
Connecting in PIN mode
1
For models that have the touch screen on the control panel, press
Setup
>
Machine Setup
>
Next
>
Network Setup
>
Wireless
>
WPS Settings
.
2
Press
PIN
(or
Connect via PIN
).
3
Press
OK
when the confirmation window appears.
4
The eight-digit PIN appears on the display.
You need to enter the eight-digit PIN within two minutes on the
computer that is connected to the access point (or wireless router).
The messages are displayed on the display screen in the order below:
a Connecting:
The machine is connecting to the wireless network.
b Connected:
When the machine is successfully connected to the
wireless network, the WPS LED light stays on.
c SSID
Type:
After completing the wireless network connection
process, the AP’s SSID information is displayed on the LCD display.
5
Insert the supplied software CD into your CD-ROM drive, and follow the
instructions in the window to set up the wireless network.
Содержание CLX-6260ND
Страница 96: ...Redistributing toner 96 3 Maintenance...
Страница 98: ...Replacing the toner cartridge 98 3 Maintenance CLX 419xN CLX 419xFN CLX 419xFW Series 5 6...
Страница 99: ...Replacing the toner cartridge 99 3 Maintenance CLX 626xND CLX 626xFD CLX 626xFR CLX 626xFW Series...
Страница 101: ...Replacing the waste toner container 101 3 Maintenance 1 2 1 2 1 2...
Страница 105: ...Installing accessories 105 3 Maintenance 1 2 1 2...
Страница 110: ...Cleaning the machine 110 3 Maintenance...
Страница 123: ...Clearing paper jams 123 4 Troubleshooting 6 In optional tray CLX 626xND CLX 626xFD CLX 626xFR CLX 626xFW Series only...
Страница 124: ...Clearing paper jams 124 4 Troubleshooting If you do not see the paper in this area stop and go to next step...
Страница 126: ...Clearing paper jams 126 4 Troubleshooting CLX 626xND CLX 626xFD CLX 626xFR CLX 626xFW Series...
Страница 127: ...Clearing paper jams 127 4 Troubleshooting If you do not see the paper in this area stop and go to next step 1 2 3...
Страница 130: ...Clearing paper jams 130 4 Troubleshooting If you do not see the paper in this area stop and go to next step...
Страница 132: ...Clearing paper jams 132 4 Troubleshooting If you do not see the paper in this area stop and go to next step...
Страница 155: ...Specifications 155 5 Appendix Free HDD space Up to 100 MB Items Requirements...
Страница 168: ...Regulatory information 168 5 Appendix 26 China only...


