Disassembly and Reassembly
3-16
Samsung Electronics
No
Parts
Procedure
Remark
3
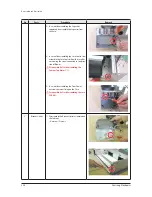
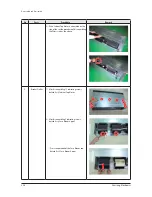
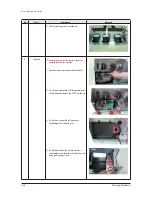
Bell-Mouth
1) Unscrew the screw fixed on the Bell-Mouth.
(Use +Screw Driver)
2) Push the Bell-Mouth in the direction
opposite to where it’s installed on the
Control-Box to remove it.
4
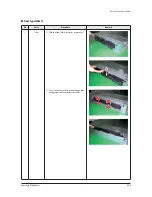
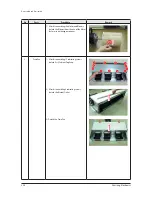
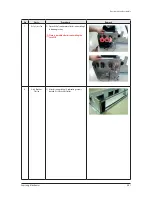
Drain Pan
1) Unscrew the screws on the 4 corners
of the indoor unit. (Use +Screw Driver)
2) Remove the Drain Pan from the indoor unit.
Содержание AM032MNQDCH/AA
Страница 343: ...PCB Diagram and Parts List Samsung Electronics 5 13 Duct type HSP Small MA 2 Drain Pump Built in cont BLDC PCB 2 3 4 1...
Страница 345: ...PCB Diagram and Parts List Samsung Electronics 5 15 Duct type BIG Duct cont EMI PCB 1 2 3 5 4...
Страница 347: ...PCB Diagram and Parts List Samsung Electronics 5 17 5 1 6 Celing type 1 2 3 4 5 6 7 19 18 9 10 11 12 17 15 14 13 8...
Страница 364: ...PCB Diagram and Parts List 5 34 Samsung Electronics OAP DUCT AM6JNESCH AA cont BLDC Driver PCB 6 5 4 3 2 1...
Страница 378: ...PCB Diagram and Parts List 5 48 Samsung Electronics 5 1 16 360 cassette MAIN PCB 1 2 3 4 5 6 7 8 9 10 11 12 13...
Страница 384: ...Wiring Diagram Samsung Electronics 6 3 6 1 3 BIG Duct This Document can not be used without Samsung s authorization...
Страница 385: ...Wiring Diagram 6 4 Samsung Electronics 6 1 4 Ceiling This Document can not be used without Samsung s authorization...
Страница 387: ...Wiring Diagram 6 6 Samsung Electronics 6 1 6 RAC Neo Forte This Document can not be used without Samsung s authorization...
Страница 393: ...6 12 Samsung Electronics 6 1 12 OAP Duct type This Document can not be used without Samsung s authorization...
Страница 394: ...Samsung Electronics 6 13 6 1 13 Wall Mounted type Boracay This Document can not be used without Samsung s authorization...


