Disassembly and Reassembly
Samsung Electronics
3-59
No
Parts
Procedure
Remark
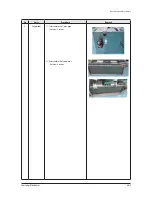
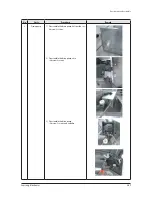
8) Loosen the set fixing bolts.
(with a M3 wrench)
9) Detach the Fan.
3
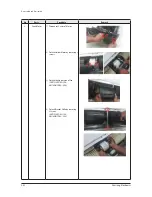
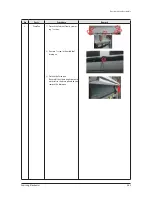
Drain Pan
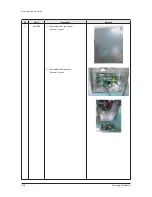
1) Disconnect the Display PCB Wire
as shown in picture. (white housing)
2) Disconnect the Step Motor Wire as shown
in picture. (blue housing)
3) Disassemble the Hanger Bracket by
removing the 1 screw.
Содержание AM032MNQDCH/AA
Страница 343: ...PCB Diagram and Parts List Samsung Electronics 5 13 Duct type HSP Small MA 2 Drain Pump Built in cont BLDC PCB 2 3 4 1...
Страница 345: ...PCB Diagram and Parts List Samsung Electronics 5 15 Duct type BIG Duct cont EMI PCB 1 2 3 5 4...
Страница 347: ...PCB Diagram and Parts List Samsung Electronics 5 17 5 1 6 Celing type 1 2 3 4 5 6 7 19 18 9 10 11 12 17 15 14 13 8...
Страница 364: ...PCB Diagram and Parts List 5 34 Samsung Electronics OAP DUCT AM6JNESCH AA cont BLDC Driver PCB 6 5 4 3 2 1...
Страница 378: ...PCB Diagram and Parts List 5 48 Samsung Electronics 5 1 16 360 cassette MAIN PCB 1 2 3 4 5 6 7 8 9 10 11 12 13...
Страница 384: ...Wiring Diagram Samsung Electronics 6 3 6 1 3 BIG Duct This Document can not be used without Samsung s authorization...
Страница 385: ...Wiring Diagram 6 4 Samsung Electronics 6 1 4 Ceiling This Document can not be used without Samsung s authorization...
Страница 387: ...Wiring Diagram 6 6 Samsung Electronics 6 1 6 RAC Neo Forte This Document can not be used without Samsung s authorization...
Страница 393: ...6 12 Samsung Electronics 6 1 12 OAP Duct type This Document can not be used without Samsung s authorization...
Страница 394: ...Samsung Electronics 6 13 6 1 13 Wall Mounted type Boracay This Document can not be used without Samsung s authorization...

