Revised 3/04/11
7.1
Section 7
TROUBLESHOOTING
General Information
The following section is divided into two sections to
explain how to recover from a situation that may occur
during operation. In the first section, a detailed explanation
of the necessary steps that must be followed to correct an
error is provided. The second section lists the possible error
codes and the actions to be taken to correct the problem.
When dealing with any problem, it is essential to determine
which part of the system is the source and isolate it as
quickly as possible to prevent further damage.
If additional assistance is required concerning an
instrument problem, or if the problem cannot be isolated or
is beyond the scope of this manual, please contact the
Sakura Technical Support Department by calling 800-725-
8723 menu option 2(U.S. customers only). If outside the
U.S., contact a local authorized Sakura distributor or
representative.
NOTE:
When an error message is displayed the LED in
the error key flashes continuously.
Error Elimination:
1. Determine
the
cause of
the
error
(see
Troubleshooting Chart
on page 7.3).
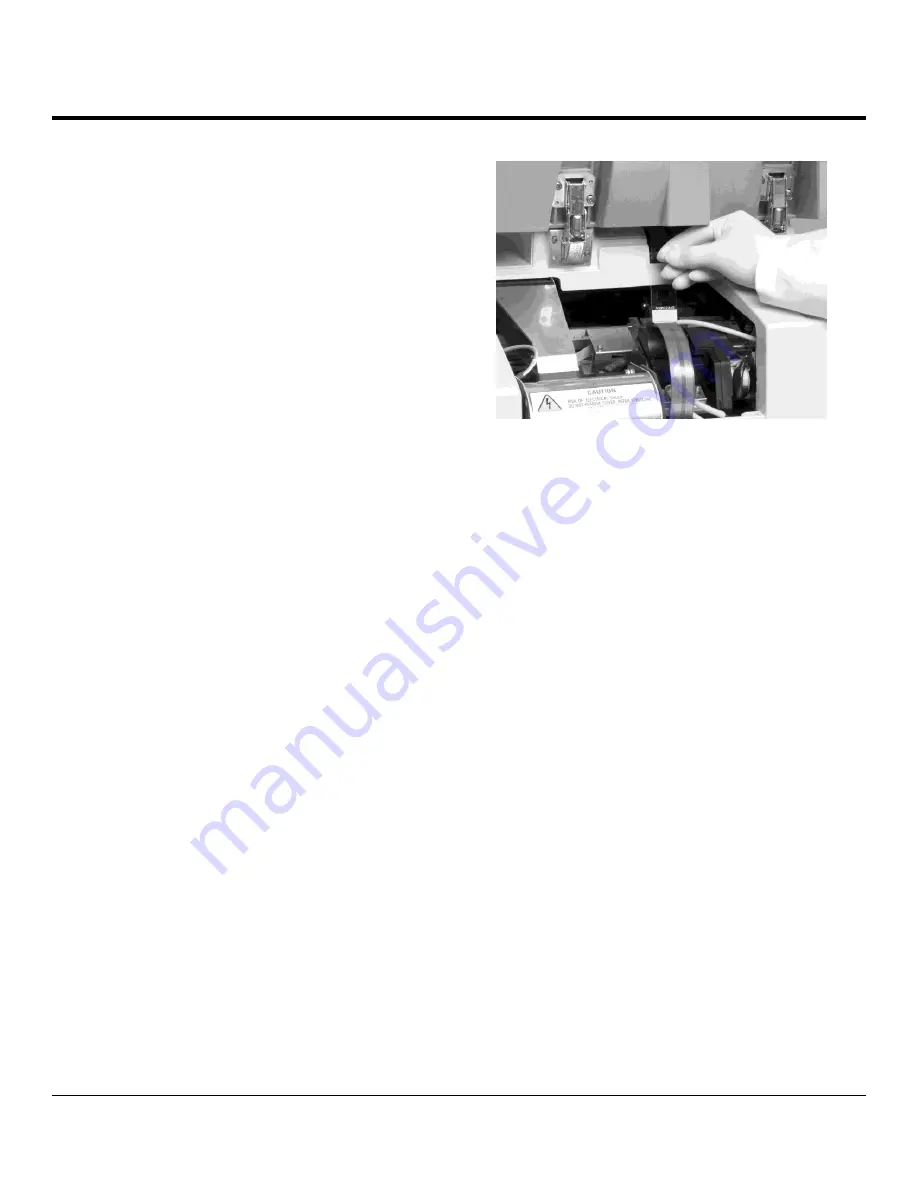
2. Open the cover of the instrument and remove
obstructions if required (Figure 7-A).
3. Remove all slides which may be in the following
areas:
Delivery chute
0
In or next to the print sledge
0
Drying station
0
NOTE:
Do not reuse slides to avoid overstrike printing.
4. Close the lid and press the
[ERROR]
key to confirm
to the printer that the source of the error has been
eliminated.
5. The printer then verifies that all processing paths are
unobstructed and the source of the error eliminated.
6. If there are still obstructions or if the source of the
error has not been thoroughly eliminated, the printer
will continue to display an error code.
Figure 7-A
NOTE:
If an error code is displayed several times although
all possible causes have been eliminated, a reset should
be carried out.
NOTE:
Interrupted print jobs will resume where previously
left off.
Reset
Press
the
[LOADED]
and
[ERROR]
keys
simultaneously. A reset reinstates the status the printer
was in directly after switching on. All print jobs in the print
queue are deleted. If the same error continues after a
reset, turn the printer off via the power switch located on
the rear of the instrument. Wait approximately 30 seconds
and power instrument back on. If this does not eliminate
the problem, call the Sakura Technical Support Department
(U.S. customers only). If outside the U.S., contact a local
authorized Sakura distributor or representative.
Содержание Tissue-Tek Autowrite
Страница 1: ...3 4 2011 Tissue Tek Autowrite Slide Printer ...
Страница 18: ...1 14 Revised 3 04 11 INTRODUCTION ...
Страница 32: ...2 14 Revised 3 04 11 INSTALLATION SETUP ...
Страница 43: ...Revised 3 04 11 3 11 Section 3 ...
Страница 62: ......
Страница 68: ...8 2 Revised 3 04 11 SERVICE AND REPLACEMENT PARTS ...


