ROYAL ENFIELD WORKSHOP MANUAL
Section G2k Page 3
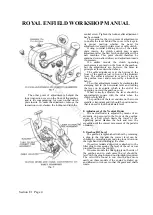
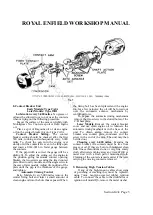
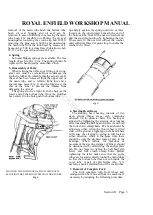
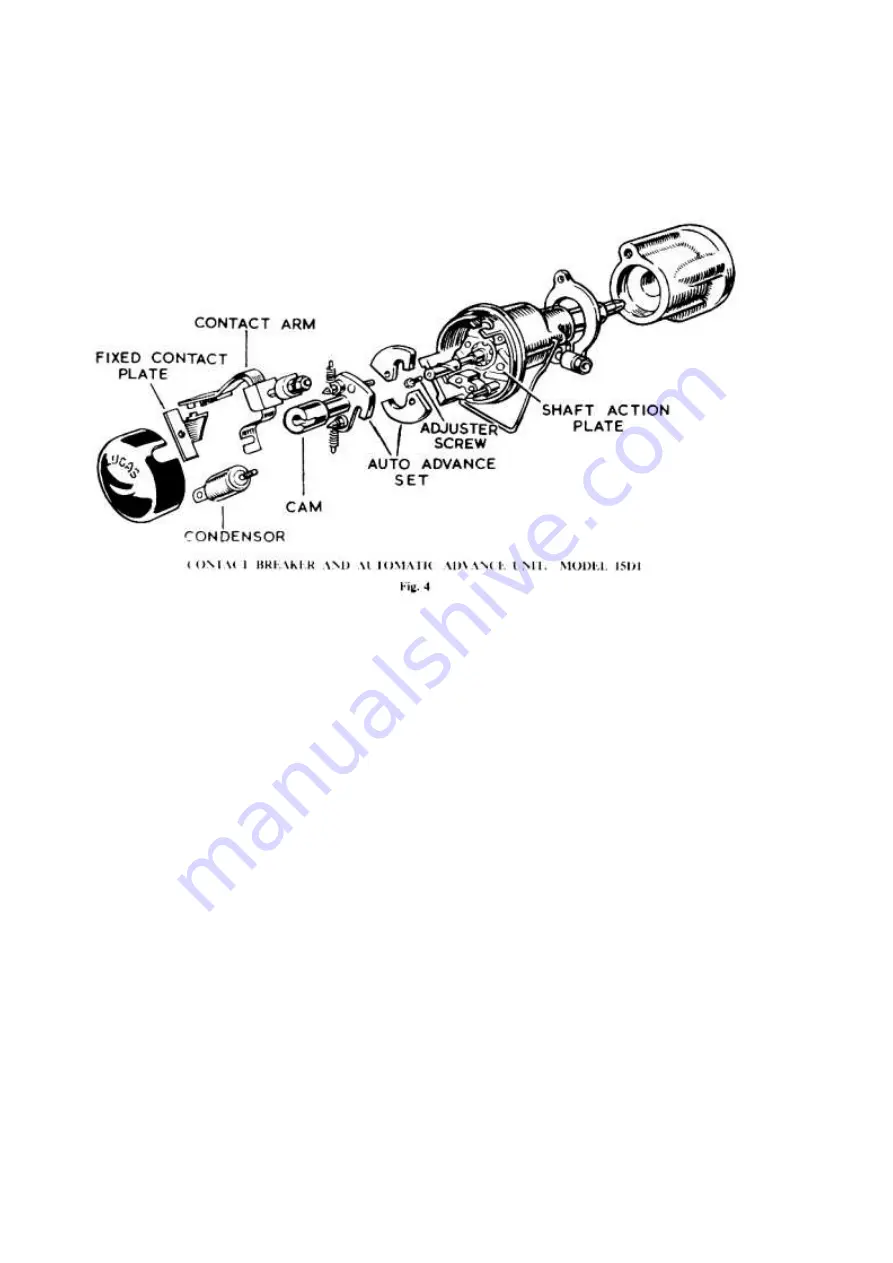
8. Contact Breaker Unit
Early Models: Type CA1A
Later Models: Type 15D1
Lubrication every 3,000 miles. No grease or
oil must be allowed to get on or near the contacts
when carrying out the following procedure.
Smear the surface of the cam very lightly with
Mobilgrease No. 2 non-creep oil or clean engine
oil.
Place a spot of Ragosine oil or clean engine
oil on the contact breaker pivot of type CA1A.
Contact Breaker Setting. The contact
breaker setting should be checked after the first
500 mile, running and subsequently every 6,000
miles. To check the gap, turn the engine over
slowly until the contacts are seen to be fully open
and insert a 0014-0016 in. feeler gauge between
the contacts.
If the gap width is correct the gauge will be a
sliding fit. To adjust the setting, set the engine in
the position giving maximum contact opening.
Slacken the two screws securing the fixed contact
plate fitted to early models, and the single screw in
the case of later models. Adjust tile position of the
plate until the gap is the thickness of the gauge,
and tighten.
Automatic Timing Control
Early Models. Every 3,000 miles remove the
central fixing bolt and inject a small amount of
clean engine oil into the hole thus exposed. When
the fixing bolt has been replaced and the engine
run for a few minutes, the oil will be forced out
over the automatic advance mechanism by
centrifugal force.
To expose the automatic timing mechanism
remove the two screws in the slotted holes of the
C/B base plate.
Later Models. Remove the contact breaker
cover and use clean engine oil to lubricate the
automatic timing mechanism in the base of the
unit. To obtain access, remove the contact
breaker arm, contact plate, condenser and the
screw in the end of the cam. The unit may then
be lifted out.
Cleaning every 6,000 miles. Examine the
contact breaker; the contacts must be free from
grease or oil. If they are burnt or blackened, clean
with fine carborundum stone or very fine emery
cloth, afterwards wiping away any trace of dirt or
metal dust with a clean petrol moistened cloth.
Cleaning of the contacts is made easier if the lever
carrying the moving contact is removed.
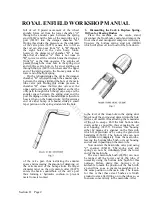
9. Renewing High Tension Cables
If any of the high-tension cables show signs
of perishing or cracking they must be replaced,
using 7mm. neoprene-covered rubber ignition
cable. To connect the cable to the distributor or
ignition coil model Q6, remove the metal washer
www.hitchcocksmotorcycles.com
Содержание 350 BULLET 1956
Страница 3: ...ROYAL ENFIELD WORKSHOP MANUAL 350 BULLET 1961 w w w h i t c h c o c k s m o t o r c y c l e s c o m ...
Страница 5: ...ROYAL ENFIELD WORKSHOP MANUAL 500 BULLET 1956 w w w h i t c h c o c k s m o t o r c y c l e s c o m ...
Страница 7: ...ROYAL ENFIELD WORKSHOP MANUAL w w w h i t c h c o c k s m o t o r c y c l e s c o m ...
Страница 21: ...ROYAL ENFIELD WORKSHOP MANUAL 350 CLIPPER 1958 w w w h i t c h c o c k s m o t o r c y c l e s c o m ...
Страница 23: ...ROYAL ENFIELD WORKSHOP MANUAL Section E1 Page 2 w w w h i t c h c o c k s m o t o r c y c l e s c o m ...
Страница 28: ...ROYAL ENFIELD WORKSHOP MANUAL Section F4 Page 3 w w w h i t c h c o c k s m o t o r c y c l e s c o m ...
Страница 30: ...ROYAL ENFIELD WORKSHOP MANUAL Section F4 Page 5 w w w h i t c h c o c k s m o t o r c y c l e s c o m ...
Страница 42: ...ROYAL ENFIELD WORKSHOP MANUAL Section H5 Page 1 w w w h i t c h c o c k s m o t o r c y c l e s c o m ...
Страница 57: ...ROYAL ENFIELD WORKSHOP MANUAL w w w h i t c h c o c k s m o t o r c y c l e s c o m ...
Страница 69: ...ROYAL ENFIELD WORKSHOP MANUAL w w w h i t c h c o c k s m o t o r c y c l e s c o m ...
Страница 71: ...ROYAL ENFIELD WORKSHOP MANUAL Section M2 Page 2 w w w h i t c h c o c k s m o t o r c y c l e s c o m ...
Страница 72: ...ROYAL ENFIELD WORKSHOP MANUAL Section M2 Page 3 w w w h i t c h c o c k s m o t o r c y c l e s c o m ...
Страница 73: ...ROYAL ENFIELD WORKSHOP MANUAL Section M2 Page 4 w w w h i t c h c o c k s m o t o r c y c l e s c o m ...
Страница 74: ...ROYAL ENFIELD WORKSHOP MANUAL Section M2 Page 5 w w w h i t c h c o c k s m o t o r c y c l e s c o m ...
Страница 75: ...ROYAL ENFIELD WORKSHOP MANUAL Section M2 Page 6 w w w h i t c h c o c k s m o t o r c y c l e s c o m ...
Страница 76: ...ROYAL ENFIELD WORKSHOP MANUAL Section M4 Page 1 w w w h i t c h c o c k s m o t o r c y c l e s c o m ...
Страница 77: ...ROYAL ENFIELD WORKSHOP MANUAL w w w h i t c h c o c k s m o t o r c y c l e s c o m ...
Страница 79: ...ROYAL ENFIELD WORKSHOP MANUAL Section P1 Page 2 w w w h i t c h c o c k s m o t o r c y c l e s c o m ...
Страница 80: ...ROYAL ENFIELD WORKSHOP MANUAL Section P1 Page 3 w w w h i t c h c o c k s m o t o r c y c l e s c o m ...

