31
--
12.6) COOLING RADIATOR CLEANING --
The cooling liquids of the compressor and motor are cooled by a radiator which must therefore be kept clean
to ensure that the ventilation air can easily pass through its honeycomb flaps.
Should the flaps become clogged with dust of other particles, there is a risk of harmful overheating of the
mechanical parts of the screw compressor, seriously jeopardising its function and duration. It is therefore
advisable to check it regularly and clean it using compressed air or wash it using a pressurized water jet.
-- 12.7) MINIMUM PRESSURE CHECKING AND SETTING
--
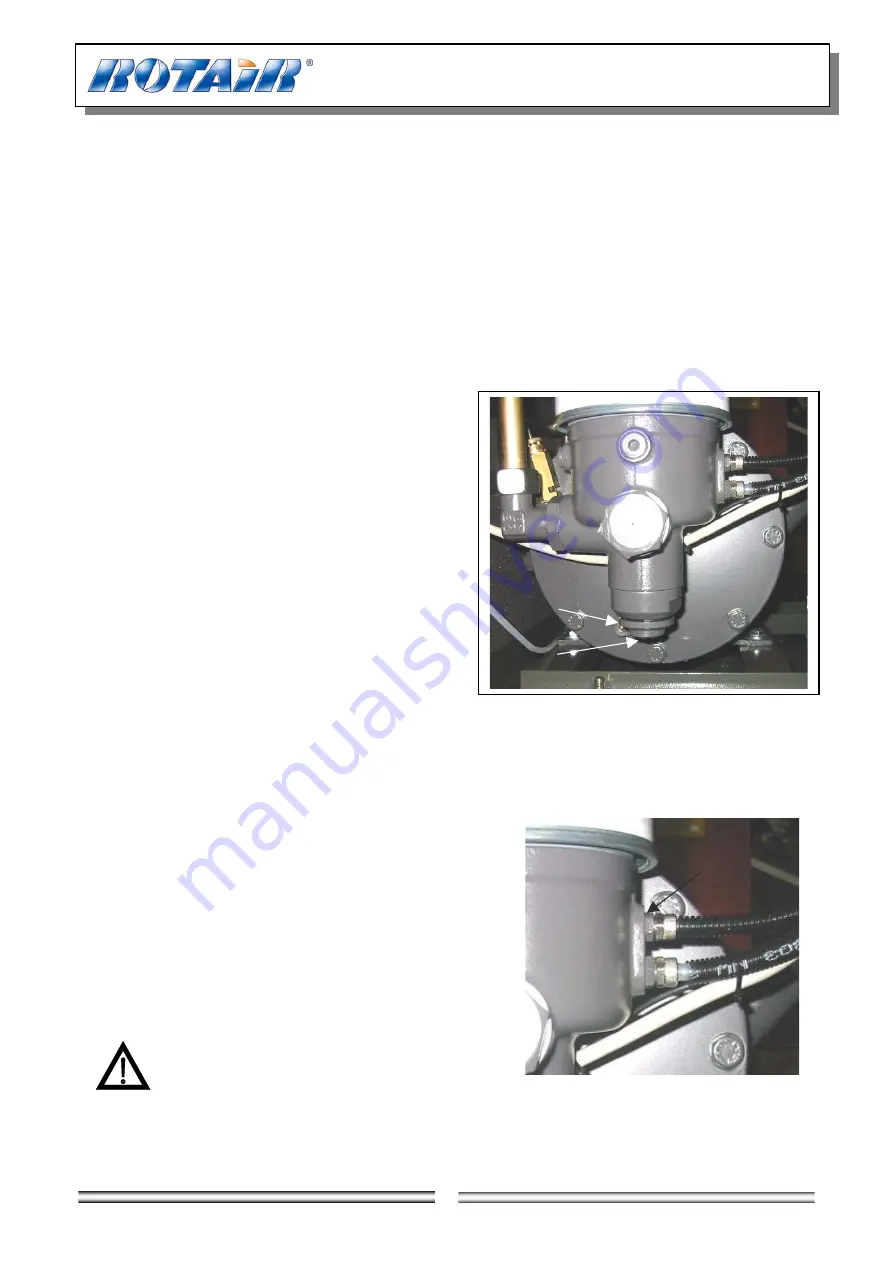
The purpose of this valve is to ensure that during operation the pressure in the oil separator tank does not
drop under the minimum value, in order to ensure the necessary oil circulation.
CHECKING AND SETTING:
1)
Start up the machine
2)
With motor warm, at right temperature, gradually
proceed to fully open the air cock the pressure of
between 4.5 - 5 bar must appear on the gauge.
Should a different pressure appear than that indicated
above, proceed with setting as follows (fig. 10):
3)
Release the lock-nut (1) .
4)
Tighten the regulation screw (2) to increase the
pressure to the desired value.
5)
Loosen the regulation screw (2) to reduce the
pressure to the desired value
6)
Tighten the lock nut (1) and close the cocks.
7)
Slowly re-open the air cock and then close it again
repeating the operations several times in order to permit
the valve to settle into place.
--
12.8) OIL RECOVERY NOZZLE CHECKING AND CLEANING
--
This must be undertaken in the event of any leakage of nebulized oil mixed with compressed air, as follows
(fig. 11):
•
Unscrew the connection (R)
•
Inside the connection (R) is a nozzle (U); ensure that its
gauged hole is not clogged (blow with a jet of compressed
air).
•
Re-assemble.
WARNING: During the regular function of the
compressor it is normal to note a certain amount of
oil flow out of the transparent piping which starts
from the connection (R), towards the compressor head.
Fig. 10
2
1
R
Fig.11


