


How to Open the Utility Window
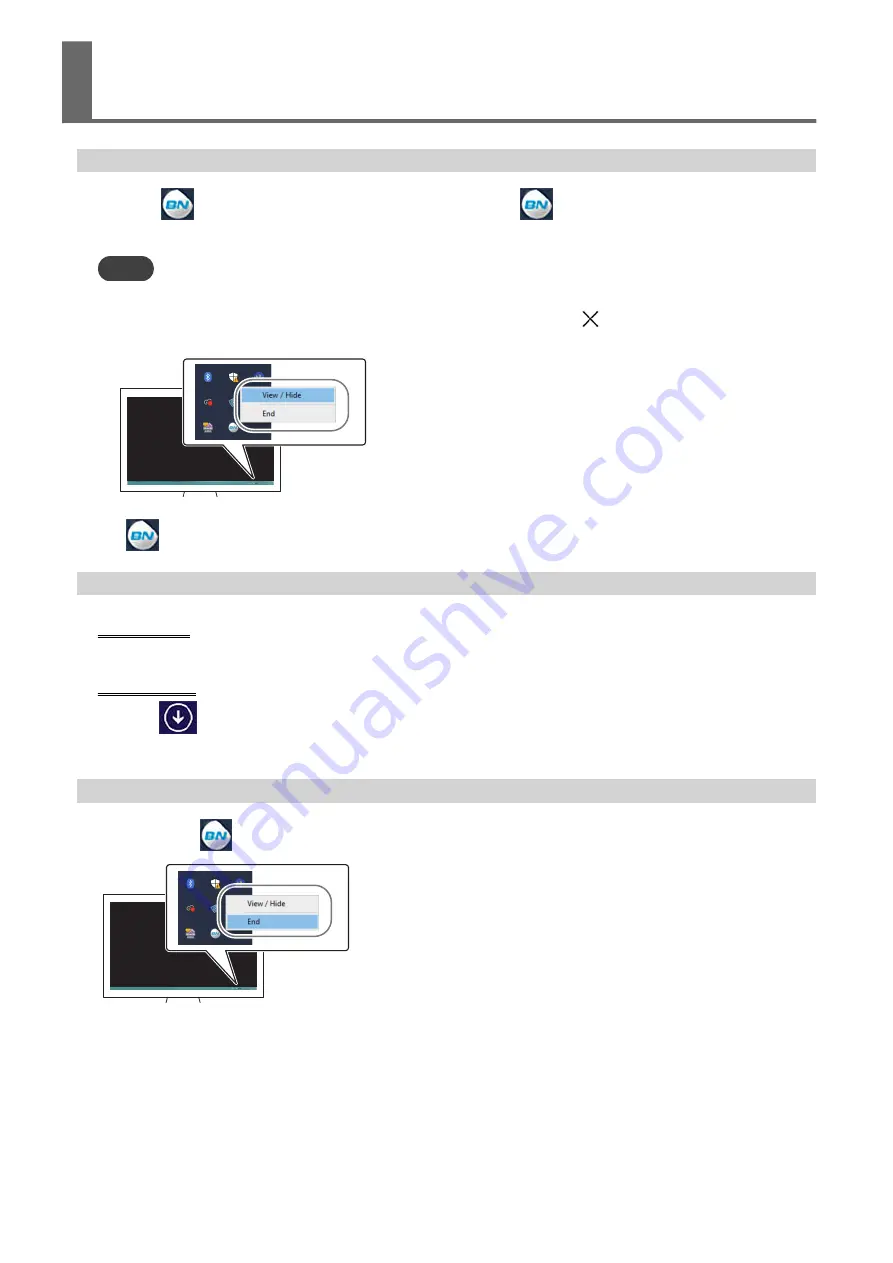
Click the
Utility icon on the task tray. (Or, right-click the
, and then click [View/Hide].)
The Utility window is displayed.
MEMO
Utility is resident software
Utility is “resident software” that is always running. To hide the window, click
at the upper right of the win-
dow or click [Close]; Utility will not terminate.
If
is not displayed on the task tray, start Utility from the Windows start menu.
Starting from the Windows start menu
Windows 10
From the start menu, click [BN-20 Utility for Windows]>[BN-20 Utility for Windows].
Windows 8.1
1. Click
on the [Start] screen.
2. From the [Apps] screen, click [BN-20 Utility for Windows]>[BN-20 Utility for Windows].
How to Exit the Utility
Right-click the
(Utility icon) in the task tray, and then click [End]. The Utility screen closes.
How to Open the Utility Window / Exit the Utility
Basic Information
11
Содержание VersaSTUDIO BN-20A
Страница 6: ...The Basics 5...
Страница 27: ...Printing 26 Basic Operations...
Страница 37: ...Fully Utilizing the Machine 36...
Страница 57: ...Maintenance 56...
Страница 60: ...RELATED LINKS P 64 Replacing the Waste Cartridge Important Notes on Handling and Use Introduction 59...
Страница 80: ...Troubleshooting Methods 79...
Страница 99: ...13 Install the driver again according to Preparation Before Use Installation is impossible 98 Driver Problems...
Страница 109: ...Appendix 108...
Страница 117: ...Unit mm Dimensional Drawing 116 Main Specifications...
Страница 120: ......


