168
Chapter 9 Various Settings
Chapter 9
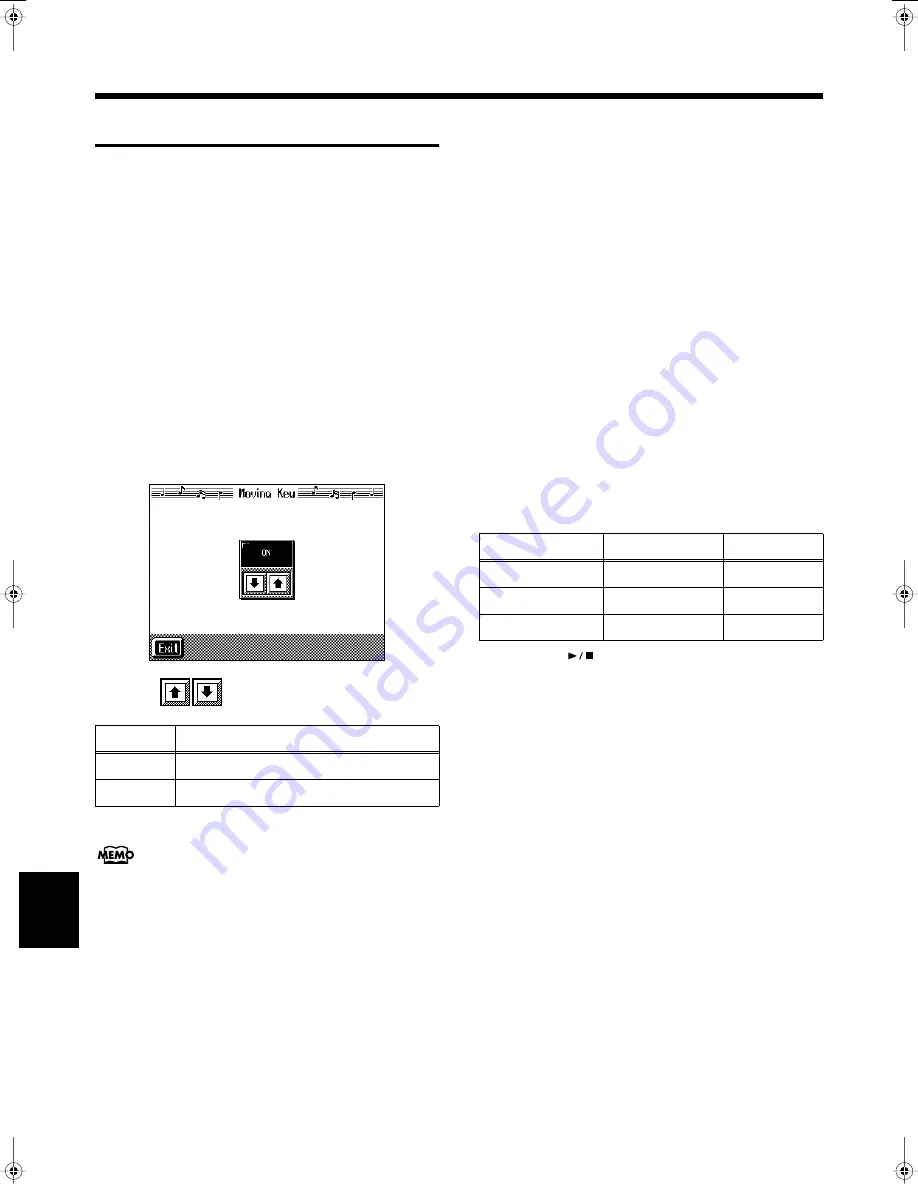
Enabling the Moving Key
■
Changing the Moving Key
Settings
You can have the keyboard play automatically along with the
performance.
1.
Switch to the Basic screen, or press the One Touch
Program [Piano] button.
2.
Touch <Functions>.
When you touch <Functions> on the Basic screen, the
first page displayed shows the parameters for the
Automatic Accompaniment settings (p. 155).
When you touch <Functions> on the Piano screen, the
parameters for the piano performance settings continue
into the second page (p. 152).
3.
Touch <Moving Key>.
4.
Touch
to turn the setting ON, or OFF.
5.
Touch <Exit> to return to the Functions screen.
You can also select <Moving Key> from the Menu
screen.
1.
Press the [Menu] button.
The Menu screen appears.
2.
Touch <Moving Key>.
The Moving Key screen appears.
■
Changing the Part That Makes
the Keys Move
Using the Track Buttons to Choose the Part
That Makes the Keys Move
Upon power-up, the instrument is set so the keys move along
with the performances of the Whole, Upper, and Lower
tracks. You can choose a different part to make the keys
move by pressing the Track buttons, and changing the
buttons that are lighted.
1.
Choose the song to play (p. 77).
2.
Press the Track button you want to have associated
with key movement a number of times, until the
button’s light is flashing.
Each time you press a Track button, its light changes to
the next state, in this order: lighted
→
extinguished
→
flashing
→
lighted
→
....
The following shows the relationship between the Track
buttons, played parts, and keyboard movement.
3.
Press the [
(Play/Stop)] button.
Song playback starts, and the keys move along with
what is played as a result of the flashing Track button or
buttons.
Display
Keyboard Function
ON
The keys play along with the performance.
OFF
The keys do not move.
Indicator
Keyboard
Sound
Indicator flashing
Movement
Sound
Indicator on
No movement
Sound
Indicator off
No movement
No sound
KR-17_15_e.book 168 ページ 2004年12月6日 月曜日 午後1時54分


