68
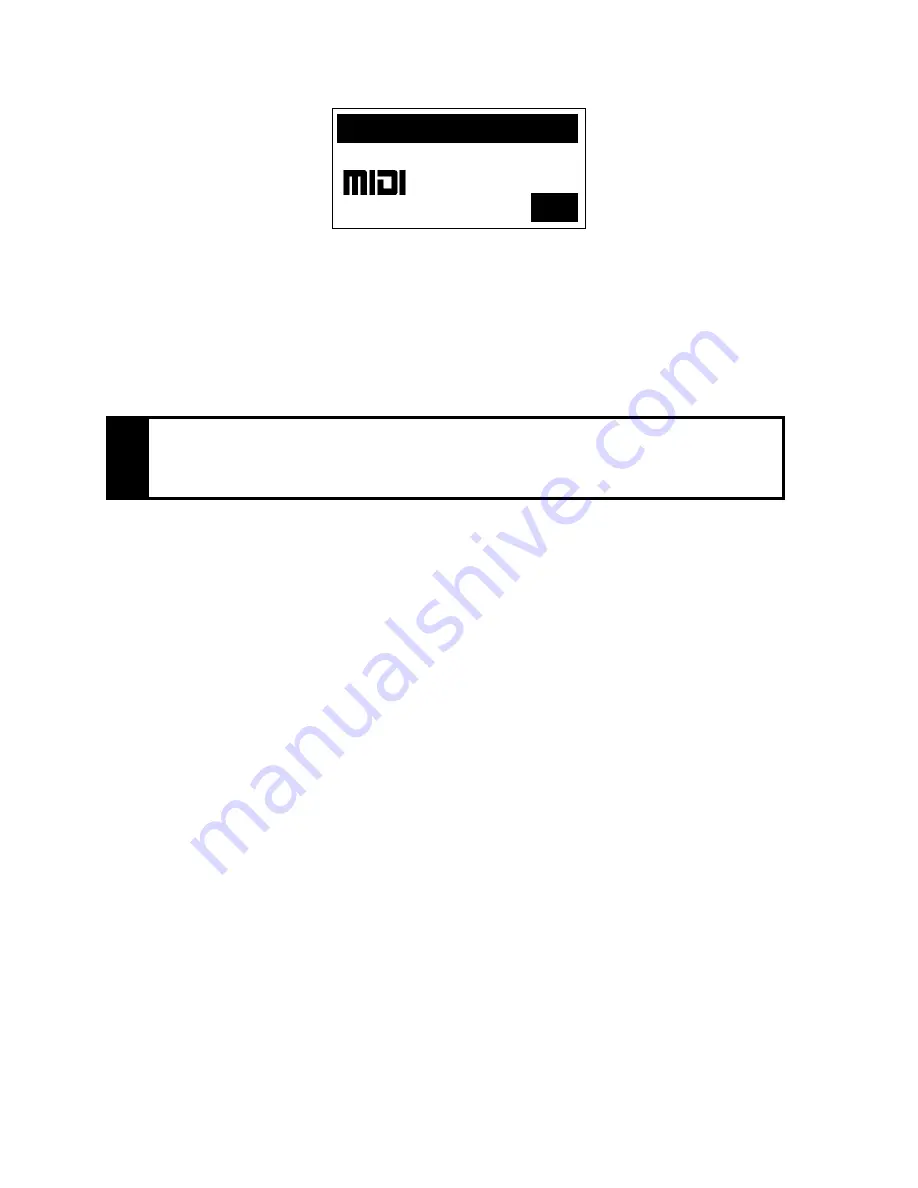
M I D I C o u p l e r G T A
F o o t S w
R e v e r b
C h o r u s
O F F
0
0
3. Rotate the Alpha dial to select the desired Chorus value.
4. Press either the flashing MIDI coupler or General Cancel (‘
0
’) to exit.
The Chorus selection procedure is complete. Combination pistons which are set
while the MIDI coupler is activated will also store the Chorus value. A MIDI Save
may be performed to save this setting as the default. See “MIDI Save” on page 80.
Expression
The MIDI language specifies two separate messages for setting the level of a tone:
Expression (CC#11) and Volume (CC#7). It is possible to send either of these messages on a
MIDI coupler when the corresponding shoe is moved. This setting can be made
independently for each MIDI coupler.
Most newer MIDI modules respond to either message, causing changes in the level of a tone.
In most MIDI applications, Volume (CC#07) is used to set relative balances among the
various parts while Expression (CC#11) is used to create changes in the level of each part.
Because it was the first message of this type, the T967 factory default specifies the Volume
(CC#7) message for all couplers; typically, this setting is able to be used with most MIDI
sound modules. However, any coupler can be set to use the Expression (CC#11) message if
desired. If you don’t want to send either Volume or Expression from the shoes for a given
MIDI coupler, set this parameter to OFF.
Setting the Expression/Volume Parameter for a MIDI Coupler
To set the Expression/Volume parameter for a MIDI coupler:
1. Hold
SET
and press the MIDI coupler piston. (The MIDI coupler will flash).
2. Rotate the Select knob to highlight the
Expression
parameter:
Instead of saving, you may press and hold General Cancel (‘
0
’) and momentarily press
SET
to return MIDI couplers to their last saved status. This also returns Voice
Palette selections to their defaults.
!


