www.ritm.ru
85 of 93
Operating Manual. Contact GSM-9N
/А/М
Adding to GEO.RITM
Go to
eu.ritm.ru
or another URL provided by your monitoring service
provider.
!
To add the panel to the account you must enter IMEI of
the built-in GSM modem. IMEI is indicated on the GSM
modem enclosure and in the section "Global Settings".
If you do not yet have a user account, perform the registration procedure
by following the “
Registration
” hyperlink.
i
Follow the wizard hints during the registration procedure. In case
of questions, please refer to “GEO.RITM” document. User Manual.
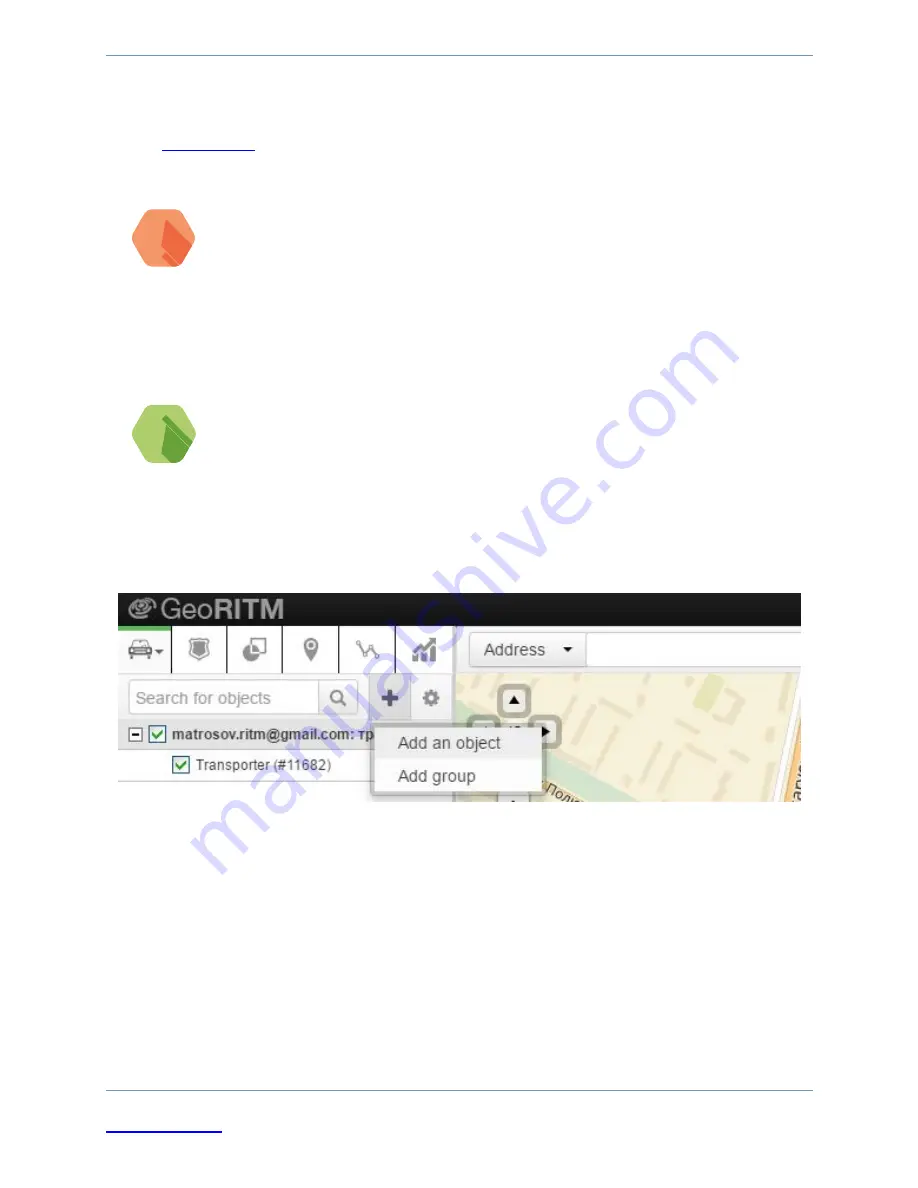
Log into your account. In the main menu select the “Stationary Objects”
section. Click “
Add an object
” (Fig. 35).
Figure 35. "Add an object" button
Follow the instructions given by the Configuration Wizard. After you finish
the add object procedure the new object appears in the “Stationary
Objects” section of the main menu.
To show the object on the map please select “Set objects coordinates” and
enter the necessary coordinates, or use the mouse to indicate the position
of the device on the map. The panel will be shown on the map.
Содержание Contact GSM-9?
Страница 16: ...www ritm ru 16 of 93 Operating Manual Contact GSM 9N Figure 6 Contact GSM 9...
Страница 32: ...www ritm ru 32 of 93 Operating Manual Contact GSM 9N Figure 11 Driver Check...
Страница 35: ...Operating Manual Contact GSM 9N Figure 15 Configuration software window...
Страница 37: ...Operating Manual Contact GSM 9N Figure 16 Global Settings section...
Страница 41: ...Operating Manual Contact GSM 9N Figure 17 System Events section...
Страница 44: ...Operating Manual Contact GSM 9N Figure 18 GPRS parameters section...
Страница 48: ...Operating Manual Contact GSM 9N Figure 19 Communication channels section...
Страница 51: ...Operating Manual Contact GSM 9N Figure 20 Hardwired zones properties section...
Страница 55: ...Operating Manual Contact GSM 9N Figure 21 Areas Configuration section...
Страница 59: ...Operating Manual Contact GSM 9N Figure 24 Hardwired zones settings resistive hardwired zones...
Страница 61: ...Operating Manual Contact GSM 9N Figure 25 Hardwired zones settings dry contacts...
Страница 63: ...Operating Manual Contact GSM 9N Figure 26 Keypads section...
Страница 67: ...Operating Manual Contact GSM 9N Figure 27 Keypad codes section...
Страница 71: ...Operating Manual Contact GSM 9N Figure 28 Touch Memory Keys section...
Страница 73: ...Operating Manual Contact GSM 9N Figure 29 Outputs section...
Страница 75: ...Operating Manual Contact GSM 9N Figure 30 Engineering Numbers section...
Страница 77: ...Operating Manual Contact GSM 9N Figure 31 SMS messages section...
Страница 80: ...Operating Manual Contact GSM 9N Figure 32 History section...
Страница 82: ...Operating Manual Contact GSM 9N Figure 33 Updates Section...
Страница 84: ...Operating Manual Contact GSM 9N Figure 34 Service Section...
Страница 86: ...Operating Manual Contact GSM 9N Figure 36 GEO RITM Service...


