__________________________________
【
【
【
【
2
】
】
】
】
2. HARDWARE INSTALLATION
This chapter explains how to configure the system main board
hardware. After you install the main board, you can set jumpers and
make case connections. Refer to this chapter whenever you
upgrade or reconfigure your system.
_________________________________________________
CAUTION :
Turn off power to the main board, system chassis,
and peripheral devices before performing any work on the
main board or system.
_________________________________________________
2.1. Jumper Setting Summary
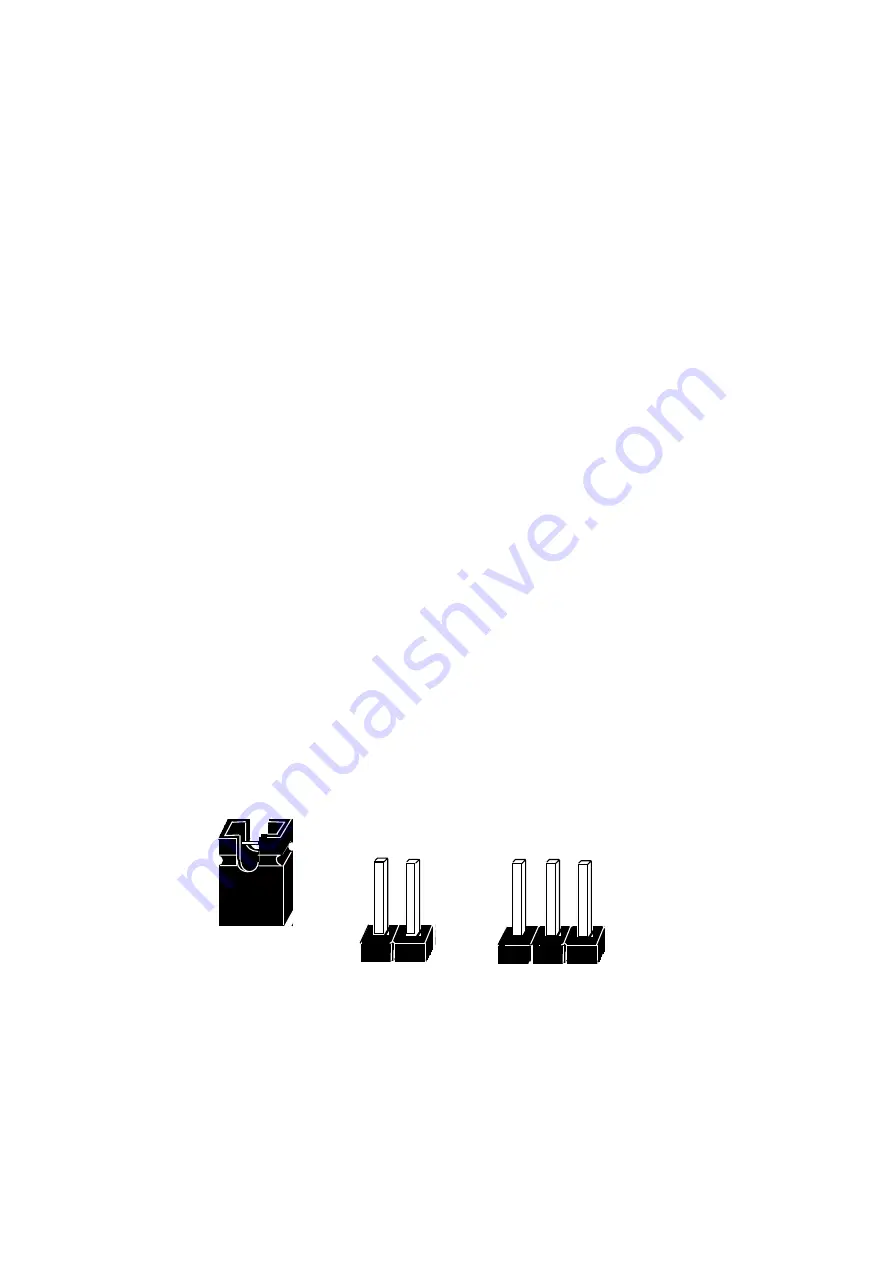
Regarding hardware settings on the board. They specify configuration
options for various features. The settings are made using something
called a "Jumper". A jumper is a set of two or more metal pins in a
plastic base attached to the mainboard. A plastic jumper "cap" with a
metal plate inside fits over two pins to create an electrical contact
between them. The contact establishes a hardware setting.
Some jumpers have two pins, other have three or more. The jumper are
sometimes combined into sets called jumper "blocks", where all the
jumpers in the block must be set together to establish a hardware setting.
The next figures show how this locks.
Jumpers and caps
Jumper cap 2-Pin Jumper 3-Pin Jumper
_______________________________________________________________
2-1


