


58
FAXING
●
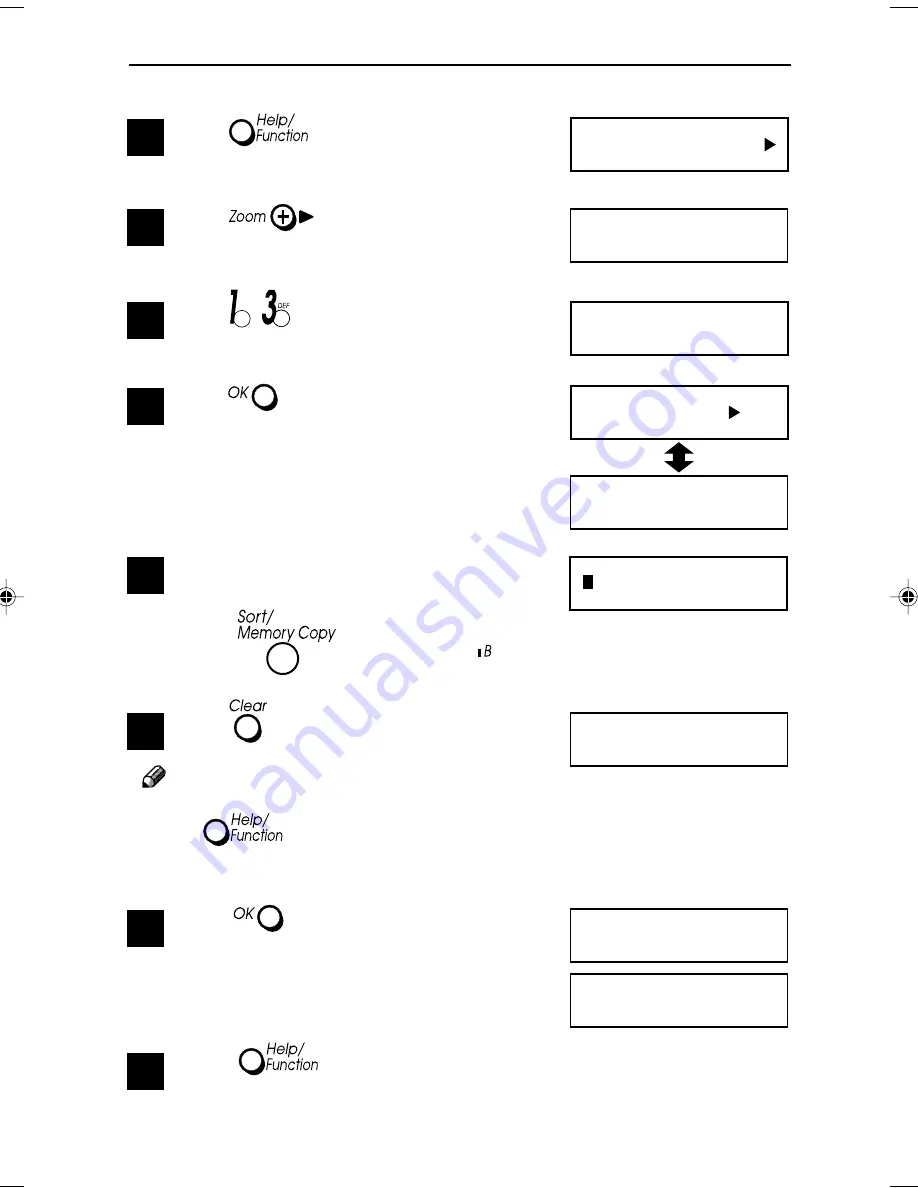
Clearing Quick Dials
1
Press
.
2
Press
.
3
Press
.
4
Press
.
5
Press the Quick Dial key you wish to
delet
E.g. press
to select Quick dial ( ).
6
Press
.
Note
If you do not wish to clear this Quick Dial,
press
twice to return to standby
mode.
7
Press
.
8
Press
twice to return to
standby mode.
Prt Help List
Function no.: _ _
13 Quick Dial
O
K
Print List
Press Quick or
Blink
Delete?
B:
■
111
2345
Deleted
b(GB)6.5_Chapter 04_p54-58
99.8.3, 1:16 PM
58
Содержание BizWorkz 106
Страница 18: ...xvi This page is intentionally blank...
Страница 23: ...5 SETTING UP 1 SETTING UP Preparing the Output Tray 1 Pull out the output tray extension as shown...
Страница 130: ...INDEX 112 EE G025...
Страница 131: ...Operation Manual al carefully before you use this product and keep ture reference For safety please follow the is manual...
Страница 145: ......
Страница 210: ......
Страница 224: ...xii...
Страница 308: ...xvi This page is intentionally blank...