


RENA XPS-80/90
User Guide
5-37
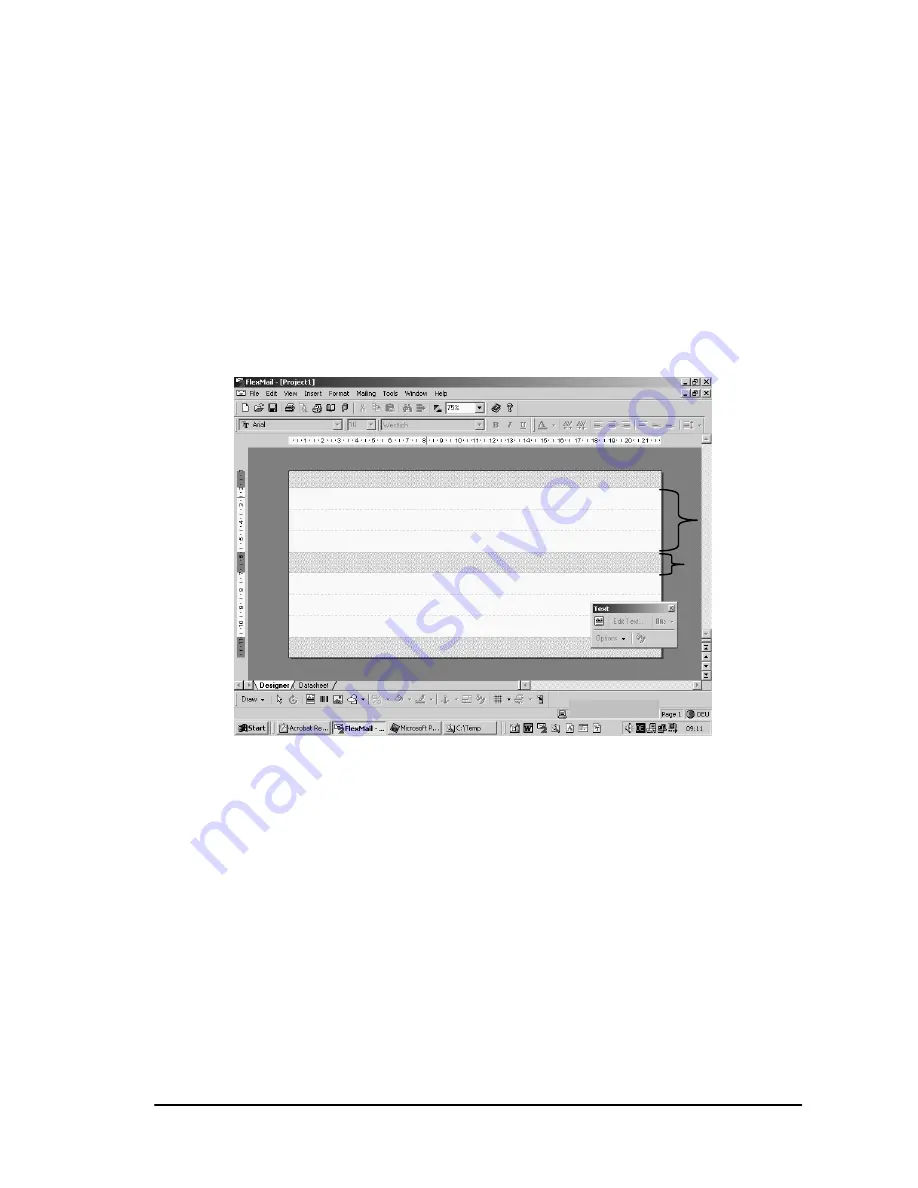
Setting the print position
In the preview, the white fields indicate the printable area, the
gray bars the non-printable margins and/or intermediate areas.
The print positions can be set either:
a) by entering values in this dialog box, or
b) more conveniently by using the mouse to click and drag the
print area of the print units to the desired location. Click and
drag vertically, using the white area of the ruler, located at
the left side of your screen.
•
Set the position of the print units to correspond to the way that
you would like the print-out to appear on the print media.
The designer, initially without data, might look as shown above.
Notice again that the white fields indicate the printable area, while
the gray bars represent the intermediate areas of the print units.
The gray striped lines (printer guide lines) separate the individual
cartridges of a print unit from each other.
Printable area
Non-printable
area
Содержание XPS-80
Страница 1: ...M 3301 June 12 2003 RENA XPS 80 90 Tabletop Console Printer User Guide...
Страница 45: ...RENA XPS 80 90 User Guide 5 16 Satisfactory test print shown below Unsatisfactory test print shown below...
Страница 67: ...RENA XPS 80 90 User Guide 5 38 Alternatively you can enter the print areas directly with a number Cancel Cancel...
Страница 70: ...RENA XPS 80 90 User Guide 5 41 Cancel...
Страница 88: ...RENA XPS 80 90 User Guide 6 4 6 2 Menu overview...


