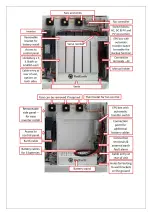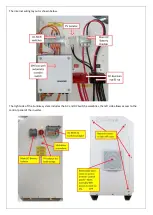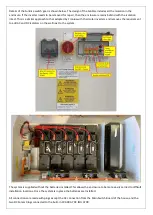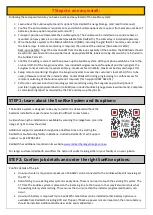
Following these steps will ensure you have a quick and easy install of the SunRise system:
1.
Learn about the SunRise system and its options from RedEarth Energy Storage. (and read this manual)
2.
Confirm the end-customers’ requirements, and which SunRise options are required. (for example, number of
batteries, backup option required, wall-mount?)
3.
Transport, position and assemble the SunRise system. The SunRise can be installed on a concrete base or
mounted on heavy duty air-con brackets (available from RedEarth). The solar array is installed separately.
4.
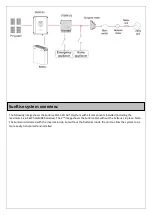
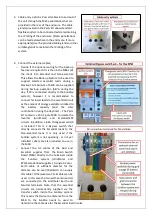
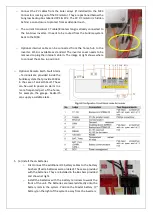
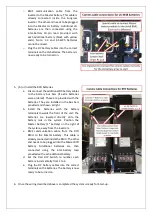
Wire the SunRise system to the Main Switch Board (MSB), including the grid feed CT monitor, and connect
the Solar arrays. If remote monitoring is required, then connect the internet (hard-wired or WiFi)
Back-up capability: To get the most benefit from the Back-up capability of the SunRise, the MSB loads should
be split into essential and non-essential loads. Appropriate MCBs, labels and a By-Pass switch are included in
the SunRise Parts kit.
5.
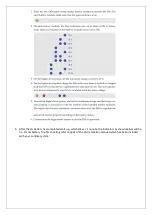
Confirm the wiring is correct and then power-up the SunRise system. With your phone establish a link to the
on-board Wi-Fi of the Sungrow inverter. (see included Sungrow manual if required) and then program the
Sungrow to meet customer requirements (e.g. maximum feed-in Watts, maximum battery discharge SOC)
6.
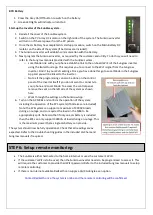
Setup remote monitoring: Program the Sungrow inverter to access the customer’s local Wi-Fi (if it is to be
used, otherwise connect the internet cable). Contact RedEarth during programming to confirm access for
remote monitoring of the SunRise system if required. (Tech support 0487 002 451)
7.
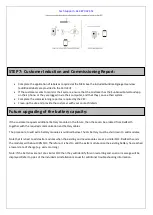
Perform a customer induction (including system monitoring using the Sungrow app on their phone if
possible). Apply appropriate labels in/on MSB (see included SunRise Signage Overview document). Complete
a commissioning report as required by the CEC and clean-up the job site.
The SunRise system is designed to be easy to install. It is delivered without the
batteries installed to make it easier to install in difficult to reach areas.
A video showing the installation is available by scanning the image here. (scan the
image at right to view the video)
Additional support is available through video link/face time or by visiting the
RedEarth manufacturing facility in Brisbane, Australia. RedEarth’s Tech Support
number is +61 487 002 451.
RedEarth has additional material on its website,
www.redearthenergystorage.com.au
For larger customers RedEarth also offers the option of onsite training either in your facility or on your jobsite.
Confirm details of the job:
•
How much solar is required (a maximum of 6.65kW can be connected to the SunRise while still receiving all
the STC’s).
•
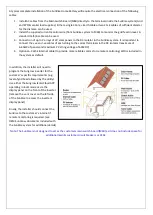
Retro fitting to an existing solar system is easily done. There is no need to touch the existing PV system. The
CT from The SunRise system is placed on the incoming line to the house. In that way it also monitors what
the existing solar system is doing. This ensures that no more than the installer programmed feed-in, can
occur.
•
How much battery is required? Up to 5x3.3kWh LG batteries can be installed (other battery options are
available from RedEarth including BYD and Troppo). If back-up power is more important, then more battery
should be installed. Additional batteries can be easily added later.
STEP 1: Learn about the SunRise System and its options:
STEP 2: Confirm job details and order the right SunRise options:
7 Steps to an easy install:
Содержание SunRise 1-PH
Страница 1: ...SunRise Home Battery System Model SGS 1 PH AUTO with LG BYD battery Installation Manual...
Страница 6: ......
Страница 19: ......
Страница 22: ......


