RAM-6021 Wired Router
61
Network Tab
When
set
to
No
,
the
route
will
take
effect
only
when
a
network
change
occurs
on
the
configured
interface.
For
exam
‐
ple,
if
the
configured
interface
is
eth1,
then
the
route
will
be
assigned
only
when
eth1
has
a
network
change
to
an
active
state.
Select
Route
Type:
Select
the
type
of
route
to
be
created
by
choosing
one
of
the
available
options
from
the
provided
drop
‐
down
list.
The
choices
are
Host
or
Network.
Select
Host
to
create
a
route
to
a
specific
device.
This
will
require
setting
the
T
arget
IP
Address
and
Gateway
parame
‐
ters.
Select
Network
to
create
a
route
to
a
remote
network.
This
will
require
setting
the
Network
IP
Address
,
Netmask
and
Gateway
parameters.
Enter
Target
IP
Address
(Required):
Enter
the
IP
Address
of
the
destination
host
to
which
the
route
should
be
created.
Enter
Gateway
(Required):
Enter
the
IP
ADdress
of
the
gateway
for
the
specified
host
or
network.
A
gateway
is
a
device
(typically
a
router)
used
to
gain
access
to
another
network.
For
example,
if
a
device
is
attached
to
a
LAN
whose
a
network
address
is
192.168.1.0
with
a
netmask
of
255.255.255.0,
than
it
can
communicate
directly
with
any
other
device
on
that
network
with
a
range
of
addresses
of
192.168.1.1
through
192.168.1.254
(with
192.168.1.255
reserved
for
a
broadcast).
An
address
outside
of
that
range
is
on
a
differ
‐
ent
network
which
would
need
to
be
accessed
indirectly
through
a
router
and
that
router
would
be
the
gateway
to
the
network
on
which
the
remote
target
device
resides.
In
order
to
communicate
with
it,
it
would
mean
sending
and
receiving
via
the
gateway
device.
The
address
must
be
one
within
the
valid
range
for
the
network
on
which
the
desig
‐
nated
interface
resides.
Enter
Metric:
Enter
a
value
for
the
route
metric
in
this
field.
Recommended
value
is
0.
•
Click
on
the
Finish
button.
You
will
return
to
the
Static
Routes
dialog
window
and
the
Static
Routes
table
will
now
be
populated
with
the
recently
entered
data.
•
To
delete
a
static
route,
select
it
in
the
table
and
click
on
the
Delete
button.
To
edit
an
existing
rule,
select
it
in
the
table
and
click
on
the
Edit
button.
•
Click
on
the
“Save”
button
for
changes
to
be
saved
without
activating
the
interface
until
you
reboot
the
unit,
the
“Apply”
button
will
save
your
settings
and
apply
them
immediately.
To
revert
to
the
previous
defaults,
click
on
the
“Revert”
button.
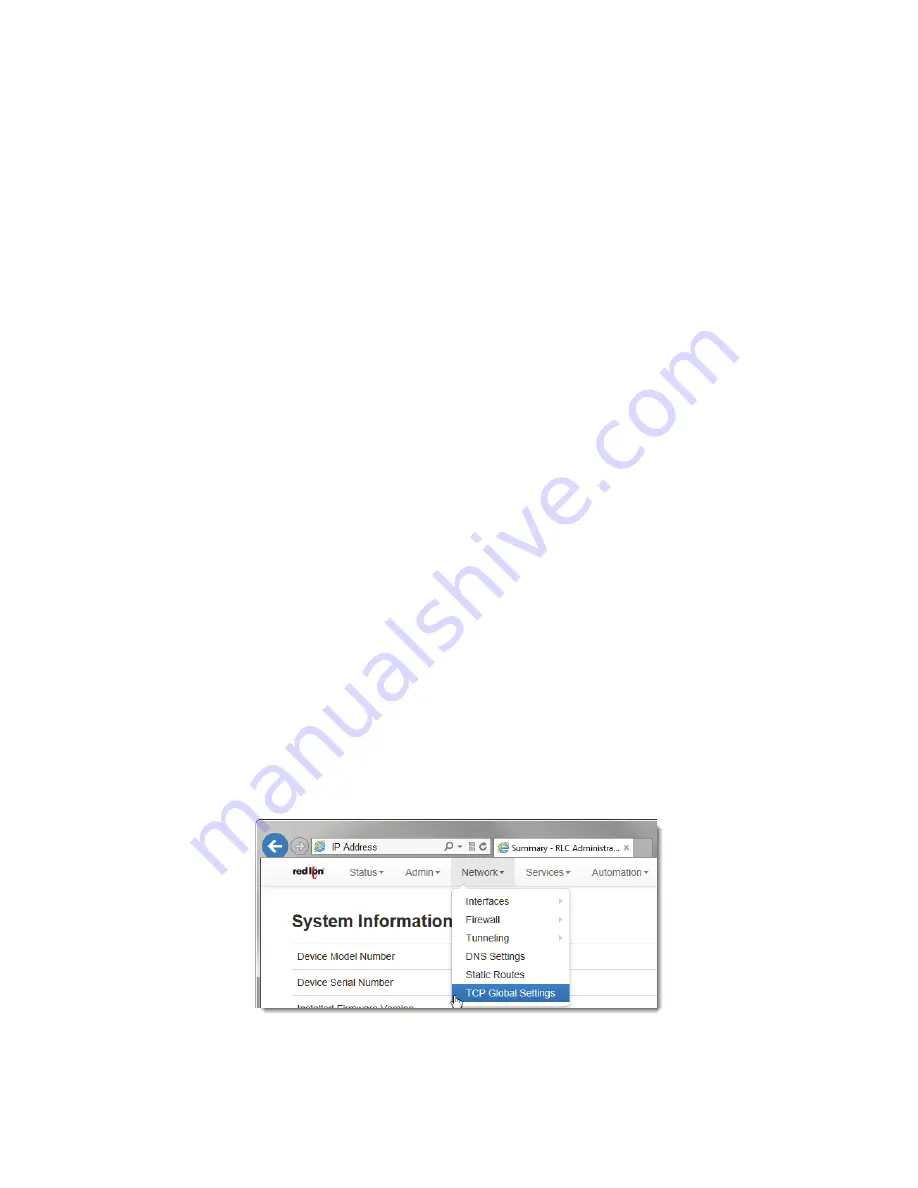
2.4.6
TCP
Global
Settings


