16
Edge planing
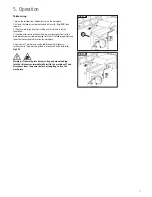
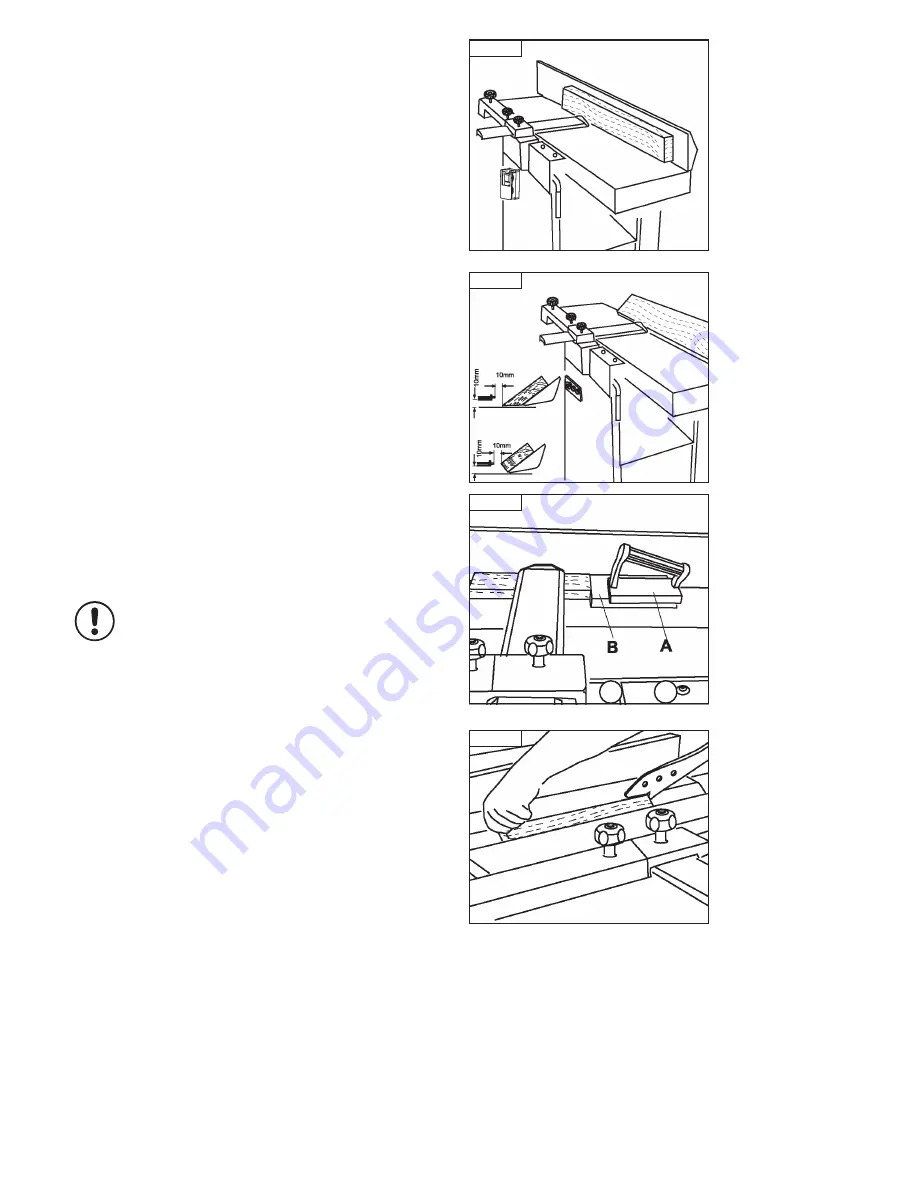
Allow the planer bridge guard to rest on the planer table and cover the
cutter block and allow for the width of the work-piece,
Fig. 5.11
.
Press the work-piece against the planer fence and guide evenly over the
cutter block.
As soon as the work-piece extends far enough into the out feed table,
place your left hand onto it and push it over the planer cutter block without
stopping
Tapering/edge beveling
In this mode, the longitudinal edges of a work-piece are beveled or tapered
at any required angles.
Set protective bridge guard,
Fig 5.12
.
Set the joiner fence to required angle and press the work piece against the
planer fence and guide evenly over the cutterblock.
To prevent the work-piece from slipping from the angled surface, press the
workpiece mainly against the fence and only lightly against the
planing table.
Planing/surfacing of small work-piece
When surfacing or planing small work-pieces, use pushing strips A and a
push block B,
Fig. 5.13
.
The push strip should not be thicker than the workpiece.
Tapering /beveling small work-piece
You must always use a special jig for beveling small, narrow work-pieces.
This device can also be used to bevel long work-piece.
Attach the jig to the planer fence. Set the planer bridge guard all the way
down and let the bridge guard contact the jig.
Note:
When surface planing, always feed the workpiece with a slow
and consistent feed rate. Feeding the workpiece too quickly will
reduce the quality of finish of the planed surface. Fine ridges or
marks across the width of the workpiece are an indication that
the feed rate is too fast.
Fig. 5.11
Fig. 5.12
Fig. 5.13
B
A
Fig. 5.14
5. Operation
i
Kg
Содержание PT107
Страница 29: ...29 10 Parts List Diagrams cont ...
Страница 33: ...33 ...


