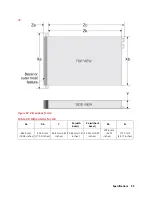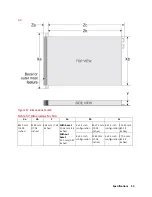
Specifications 54
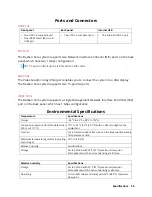
Weight
V8,12,14
System
Maximum weight (with all drives/SSDs)
8 x 3.5 inch
25.4 kg (55.99 lb)
12 x 3.5 inch
29.68 kg (65.43 lb)
A8
System
Maximum weight (with all hard drives/SSDs)
3.5 inch hard drive systems 28.6 kg (63.05 lb)
M4
System configuration
Maximum weight (with all drives/SSDs)
8 x 2.5-inch configuration
12 kg (26.5 lb)
4 x 3.5-inch configuration
13.6 kg (29.98 lb)
Processor Specifications
The Razberi Core Appliance supports up to two Intel Xeon Scalable processors, up to 20
cores per processor.
Supported Operating Systems
The Razberi Core Appliance supports the following operating systems:
•
Red Hat Enterprise Linux
•
SUSE Linux Enterprise Server
•
Canonical Ubuntu LTS
•
Microsoft Windows Server with Hyper-V
•
VMware ESXi
•
Citrix XenServer
PSU Specifications
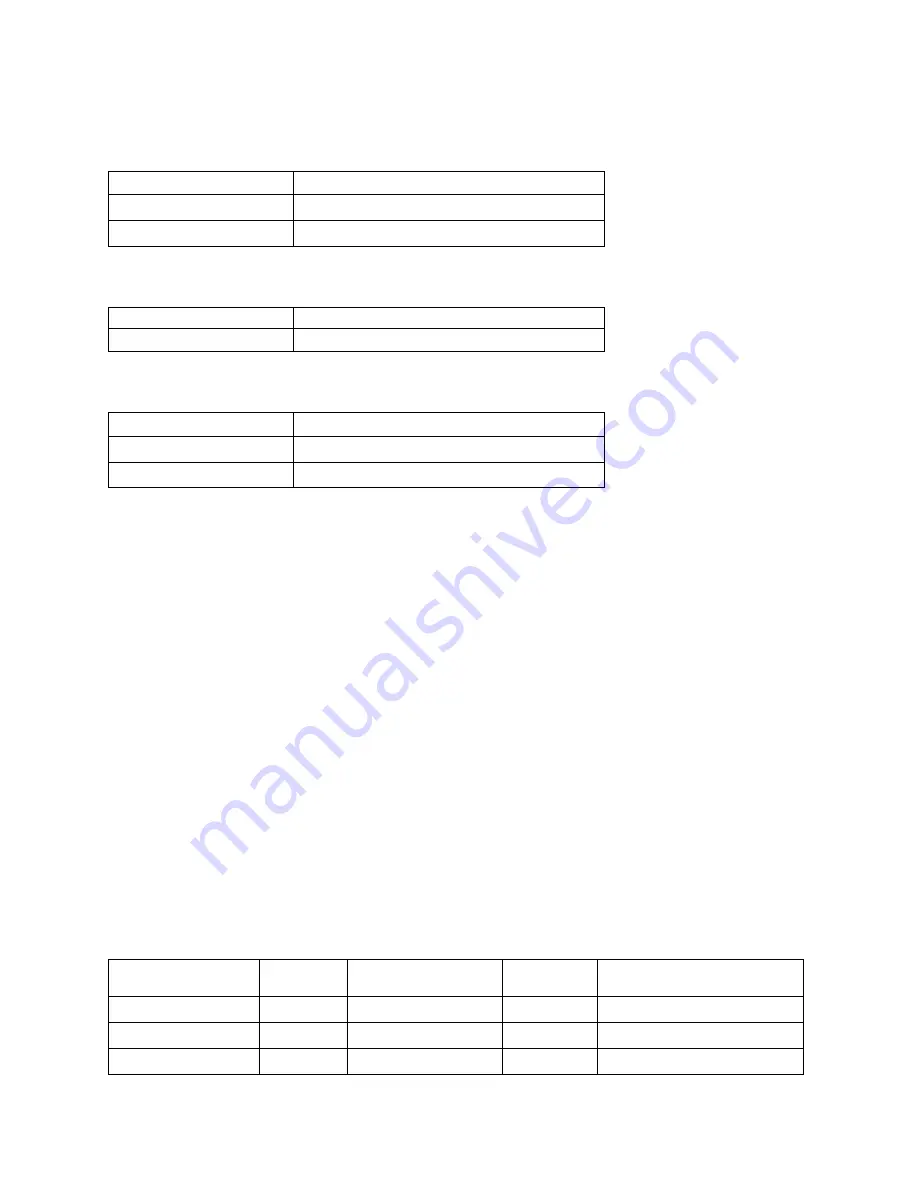
PSU
Class
Heat dissipation
(maximum)
Frequency
Voltage
1100 W AC
Platinum
4100 BTU/hr
50/60 Hz
100
–
240 V AC, autoranging
1100 W DC
Platinum
4416 BTU/hr
50/60 Hz
200
–
380 V DC, autoranging
750 W AC
Platinum
2891 BTU/hr
50/60 Hz
100
–
240 V AC, autoranging
Содержание A8
Страница 1: ...rcgs20200916 2020 2020 2020 2020 2020 2020 2020 2020 2020 ...
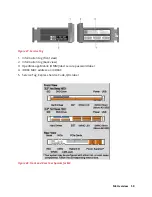
Страница 27: ...V12 Overview 26 Figure 21 Service Information with System Touch Points ...
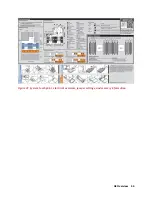
Страница 45: ...A8 Overview 44 Figure 39 System touchpoint electrical overview jumper settings and memory information ...
Страница 73: ...RAID Storage 72 Click or Choose Integrated RAID Controller 1 Figure 61 BIOS Device Settings Menu ...
Страница 75: ...RAID Storage 74 Select Virtual Disk Management Figure 63 PERC Adapter Server Profile View ...
Страница 77: ...RAID Storage 76 Under Operation choose Delete Virtual Disk Figure 65 Virtual Disk Management Select Go ...
Страница 78: ...RAID Storage 77 And Confirm that you want to Delete Figure 66 Virtual Disk Management Confirmation ...
Страница 79: ...RAID Storage 78 Once the operation has been completed click OK Figure 67 Virtual Disk Management Job Complete ...
Страница 81: ...RAID Storage 80 Select Create Virtual Disk Figure 69 Create Virtual Disk ...
Страница 82: ...RAID Storage 81 Select RAID level Figure 70 Select RAID Type ...
Страница 83: ...RAID Storage 82 Select Physical Disks Figure 71 Select Physical Disks ...
Страница 85: ...RAID Storage 84 Scroll up and Click Apply Changes Figure 73 Apply Changes ...
Страница 86: ...RAID Storage 85 Select OK Figure 74 Confirm Completion ...
Страница 88: ...RAID Storage 87 Once you have completed your settings click Create Virtual Disk Figure 76 Create Virtual Disk ...
Страница 89: ...RAID Storage 88 Confirm and Click Yes Figure 77 Confirm Operation ...
Страница 96: ...RAID Storage 95 Verify all settings and if correct click Finish Figure 84 Complete the Wizard ...

