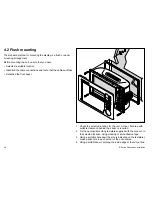
5. Ensure that the unit fits into the removed area and then file
around the cut edge until smooth.
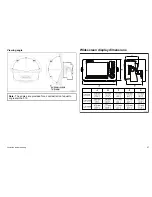
6. Drill four 4.5 mm (3/16 in) holes as indicated on the template
to accept the securing bolts.
7. Place the gasket onto the display unit and press firmly onto the
flange.
8. Connect the power, data and other cables to the unit.
9. Slide the unit into place and secure using bolts provided.
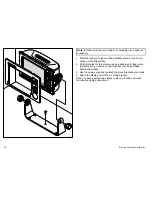
Once you have secured the display in place, proceed and attach
the front bezel.
4.3 Bracket (trunnion) mounting
The display can be mounted on an optional bracket.
REQUIRES THE OPTIONAL MOUNTING BRACKET ACCESSORY.
Before mounting the unit ensure that you have:
• Selected a suitable location
• Identified the cable connections and route that the cables will take
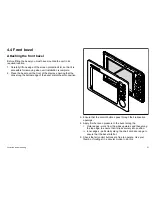
• Attached the front bezel
Location and mounting
49
Содержание E90W
Страница 2: ......
Страница 4: ......
Страница 12: ...12 E Series Widescreen installation...
Страница 80: ...80 E Series Widescreen installation...
Страница 84: ...84 E Series Widescreen installation...
Страница 92: ...92 E Series Widescreen installation...
Страница 103: ......
Страница 104: ...www raymarine com...


