22
SERVICING INSTRUCTIONS
REPLACING PARTS
7.12 • Replace the vidaflex protective sleeve from the old
control onto the new one, ensuring that it protects the
phial from coming into contact with other connections
behind the oven
7.13 • Reassemble the fan assembly panel in reverse order
8.1
In order to change the Lower Oven thermostat:
• Remove the Fan Oven Fan Assembly plate to provide
sufficient access following steps 2.1 to 2.4 of
Replacing
Parts
, but leave the wires attached
8.2
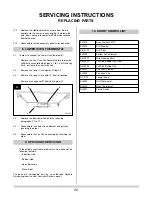
• Remove the Lower Oven element, Step 6.2
8.3
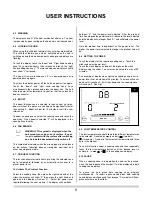
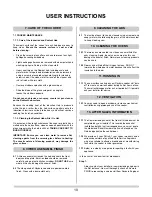
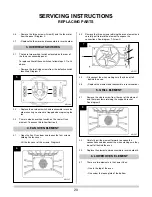
• Remove the Lower Oven phial 'A' from its location
• Remove access panel 'B' behind, Diagram 13
8.4
• Replace the thermostat and phial by following
paragraphs 7.2 to 7.12
8.5
• Reassemble the Lower Oven element and phial by
reversing the order
8.6
• Reassemble the Fan Oven assembly by reversing the
order
In the unlikely event that a problem occurs with any of the
following features:
- Induction Hob
- Radiant Hob
- Neon Indicators
- Warm Front
The parts are serviceable only by an authorised Rayburn
Service engineer; contact your local Rayburn agent.
13
8. LOWER OVEN THERMOSTAT
10. SHORT SPARES LIST
9. SPECIALIST SERVICING
EL0314
Oven Pre-set 220
o
C
EL0298
Grill Element
C610138
Grill Trivet
EL0299
Bottom Oven Element
C610077
Wire Cooking Shelf
C610335
Full Size Baking Tray Trivet
C610334
Full Size Baking Tray
EL0301
Fan Oven Element
EL0300
Fan Oven Fan
GC0113
Control Knob
EL0309
Grill Thermostat
EL0310
Oven Thermostat
EL0412
Rotary Switch
AR1559
A
B
B
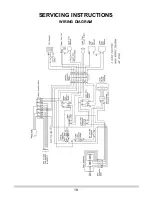
Содержание Two-Oven
Страница 18: ...SERVICING INSTRUCTIONS WIRING DIAGRAM 18 ...


