Replacing Modules
R&S SM300
Version 04
52
Service Manual SM300: 1147.1652.00
Instrument Part No SM300: 1147.1498.03
1.4 Replacing Modules
1.4.1 Replacing the Control PC Module
A step by step guide
for the replacement
of a control PC
module
1.
Change the control PC module (see section 1.3.3.12).
2.
Connect the SM300 to the mains.
3.
Switch on the SM300 at the rear (power supply AC switch); if the
SM300 is in standby mode, switch it on using the button at the front.
4.
The SM300 will now boot. You will see a blue “Booting....“ screen on
the MMI display, then a screen “Loading application …” and finally a
screen indicating “remote”. Now the instrument is ready for software
download.
Note
The
control
PC
module
spare
part
is
delivered
with
MMI
software for the FS300 on it, not for the SM300. Therefore please bear in
mind that the software, before use, must be replaced with that of the
SM300.
Installing the MMI
Software
5.
Using a USB cable, connect the SM300 to the PC which is running the
“Series 300 Software Manager” software.
6.
Start the “Series 300 Software Manager” software as described in
section 1.2.2 “Installation of Software Updates”.
7.
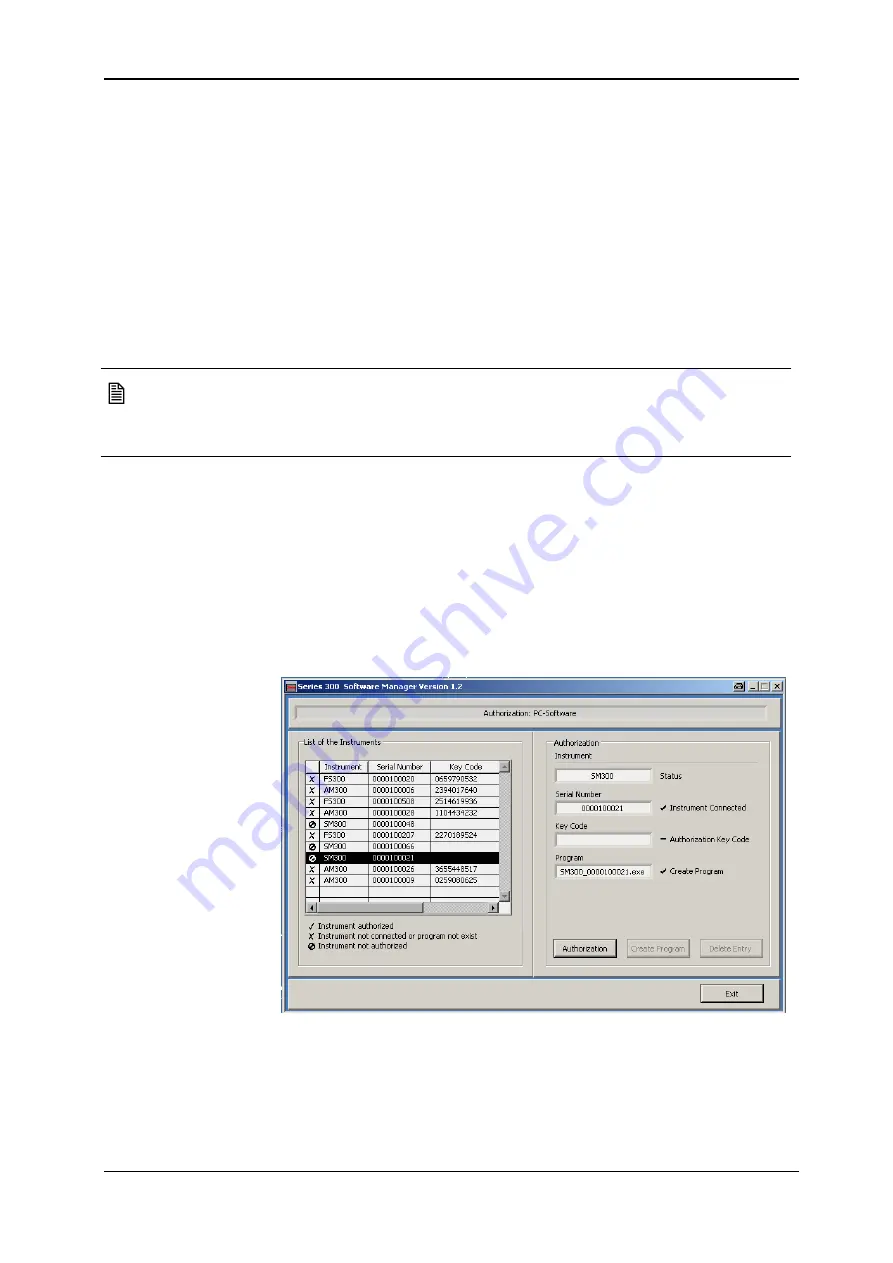
After the software window has opened on the screen, it will show
an entry for the SM300 which has just been connected to the PC.
The serial number of the device will appear next to it.
8.
Click on the serial number of the SM300 you wish to repair. The
table entry will be marked black and there will be a check mark in front
of the text “Instrument connected”.
9.
As described in section 1.2.2, open the “Update function” of the “Series
300 Software Manager” by clicking the large button at the top of the
window.
10.
Click the update button, and a dialog box will appear asking you to
select an update file (*.out file).


