2.
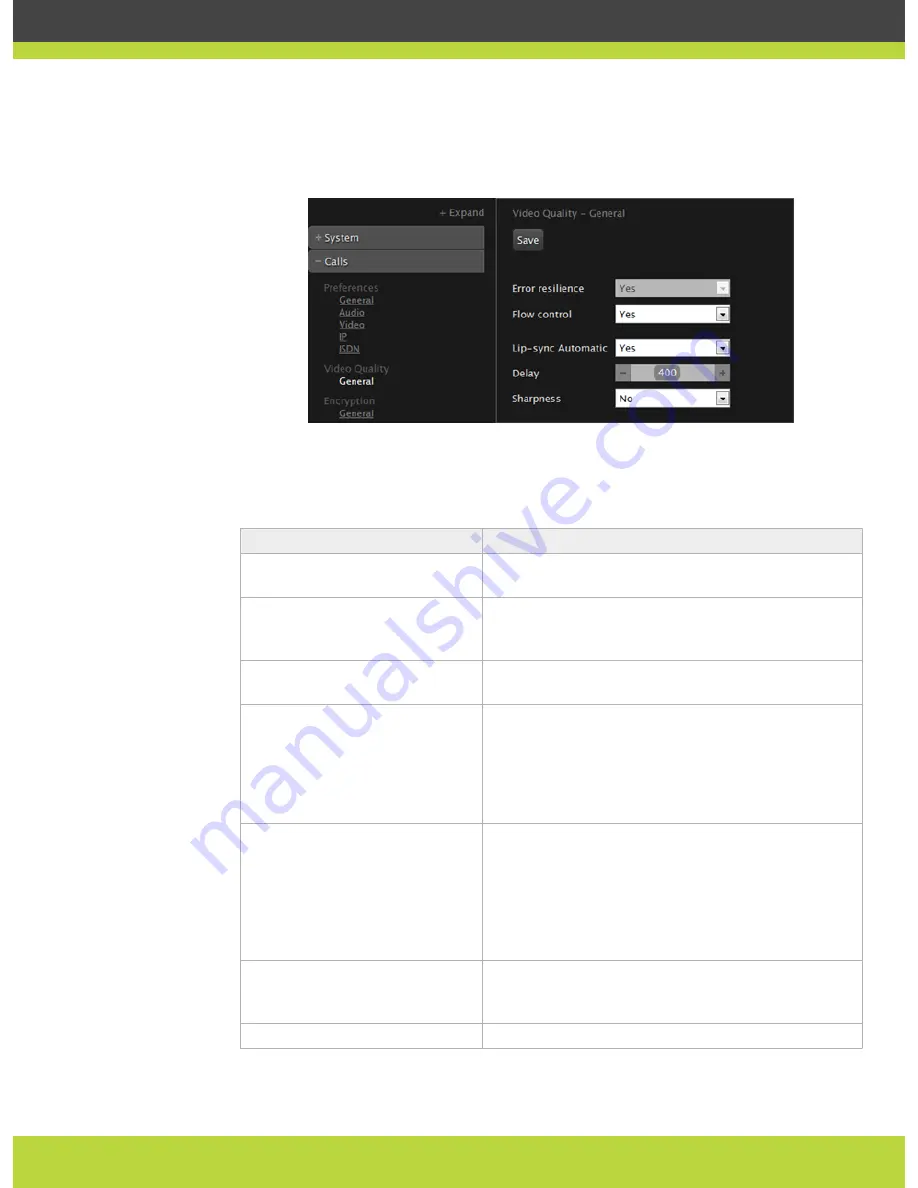
In the Administrator settings tab, select Calls > Video Quality > General.
Figure 3-5
Configuring the lip sync settings
3.
Set the fields as described in
Table 3-1 on page 30
Table 3-1
Configuring video quality settings
Field Name
Description
Error resilience
Set to Yes to minimize error in case of packet loss
(for example, due to network congestion).
Flow Control
If set to Yes, a Flow Control (bandwidth reduction)
request is sent to the remote terminal in case of
packet loss.
Error strategies
If set to Yes, you may set the number of allowed line
errors before video is frozen.
Fluency
Indicates the number of allowed line errors, if the
Error strategies field is set to Yes. Drag the slider to
the required value. At minimum setting, video frames
freeze at the first occurring error. At maximum
setting, video frames never freeze and errors are
allowed to pass through.
Lip-sync automatic
Allows synchronizing audio with video. To have a
perfect synchronization between audio and video,
you must adjust according to the type of connection.
If set to Yes, the system will perform automatic
synchronization (strongly recommended setting). If
set to No, adjust manually by dragging the Delay
slider until you obtain the best synchronization.
Delay
Received audio delay in milliseconds. If Lip-sync
automatic is set to No, drag the slider until you
obtain the best synchronization.
Sharpness
Enable/disable video sharpness.
4.
Select Save.
RADVISION | Administrator Guide for SCOPIA XT4000 Series Version 3.0
Troubleshooting | 30


