Setting Up and Programming the Digital Receiver
Version 1.0
Page 23
•
Cautiously realign the antenna until the triangular figure reaches
maximum size.
You will then have the best-possible reception of the broadcast signal.
If the legend “[UNLOCK]” should appear following “[STATUS],” check the cabling
interconnecting the antenna and the receiver and the parameter settings covered
in the preceding sections.
•
Press the EXIT-key to exit this menu.
7.5.5
Automatic Channel Search
Once the settings covered under Sections 7.5.1 through 7.5.4, above, have all been made, you may
conduct an automatic channel search over those downlink frequency bands that have been set.
•
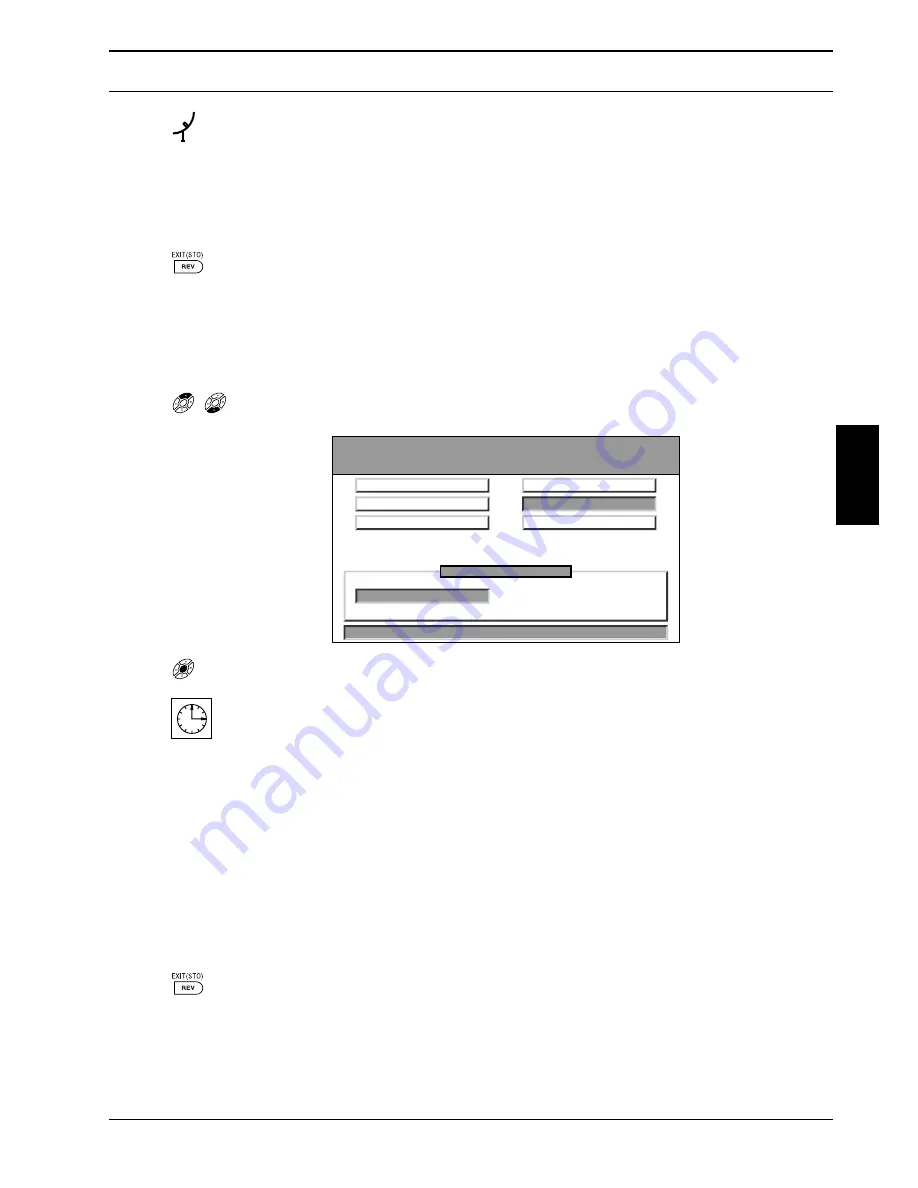
Use the
p
and
q
keys to highlight the “Auto Search“ field:
•
Press the MENU-key to start the search.
While the search is in progress, a clock will appear at the lower right-hand corner of
the screen. You will also see a blue bar indicating the extent of the frequency band
that has thus far been searched. The other items appearing onscreen have the
following meanings:
DF: .... -
The satellite down-link frequency involved
SR:.... -
The symbol rate
.../...
-
The ratio of the total number of transponders found to the total number
of transponders available within the preset frequency band involved
New:... -
The total number of new channels saved to the receiver’s memory
When the search has been concluded, the clock will disappear from the screen and
the message “Search OK“ should appear onscreen. If instead of this message the
message “Search fail” should appear onscreen, then the settings made above will
have to be checked, one after the other, in the order in which they were made and
corrected wherever necessary until the search is successful.
•
Press the EXIT-key to exit this menu and view a list of those
channels that were found.
GB
EXIT
Setup Value
Satellite
Installation
1 - 3 - 5
Signal Strength
DiSEqC/22KHz
Auto Search
DF:3734 SR:5.832 3/26 New:5
LNB Lokal-Freq
Manual Search
Search complete


