The Sirius and MIDI
112
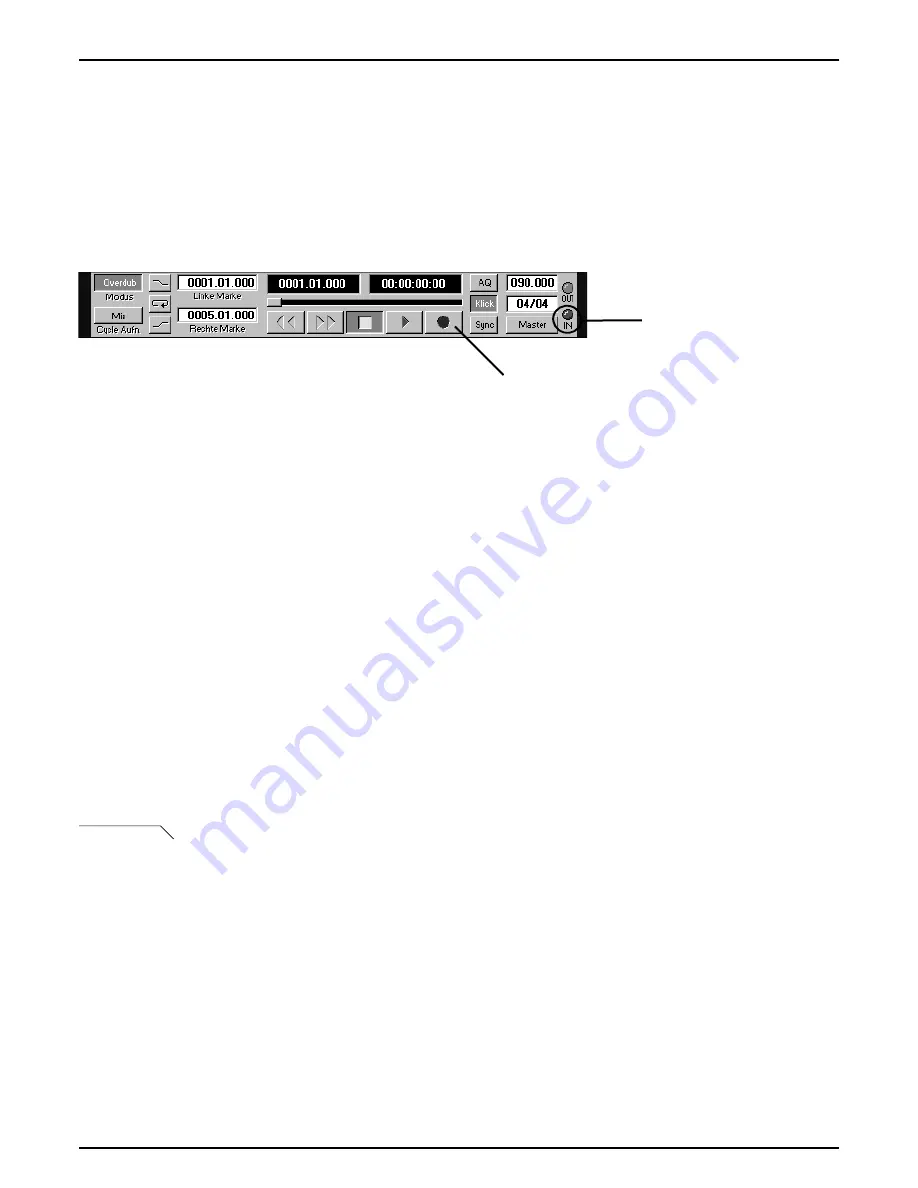
Now start the recording in Cubase. Once the pre-count is finished and the recording starts in Cubase
press the F1 key under the Sirius-display [ok] to initiate the data-Dump. The display of the Sirius is
now showing that the data-Dump is being sent. An increasing bar informs you of the progress.
When the circled Cubase MIDI activity-indicator in the following diagram is constantly lit, the com-
puter is receiving the data-Dump.
Once the data-Dump is complete, the display of the Sirius is briefly showing "ok!" and then jumps
back to the previous page. A further indication that the data-Dump is completed is the activity indi-
cator in Cubase which will now be permanently off. Cubase now allows you to save this data-Dump
onto the internal hard drive of your computer or onto a floppy disk.
Naturally you will at some point want to send the stored data-Dump(s) back to the Sirius. Fortunately
this is much simpler than the recording. You need to have the MIDI-IN socket of the Sirius con-
nected with the MIDI-OUT of your computer or MIDI-interface. Once you have done this, load the
stored data-Dump from your hard drive or floppy into Cubase. All you have to do now is to start the
replay of Cubase. As soon as Cubase is running and sending the MIDI-data the Sirius is showing the
following message in the display:
That´s it! You will not have to set anything to receive a data-Dump on the Sirius. Just make sure that
you are receiving on the same system channel you used for data-Dumping. Setting the system chan-
nel is explained in the chapter about the System-menu of the Sirius.
Sending...
System-Exclusive
message received
How does the Data-Dump get back to the Sirius?
When this indicator is lit your
computer is receiving MIDI-data.
Click on this button to start the
recording in Cubase.
The transport window in Cubase
See page 94


