296
Chapter 9
Testing HDMI Sink Devices
3. Press the
Content
key and choose an audio image (for example, AudioLR).
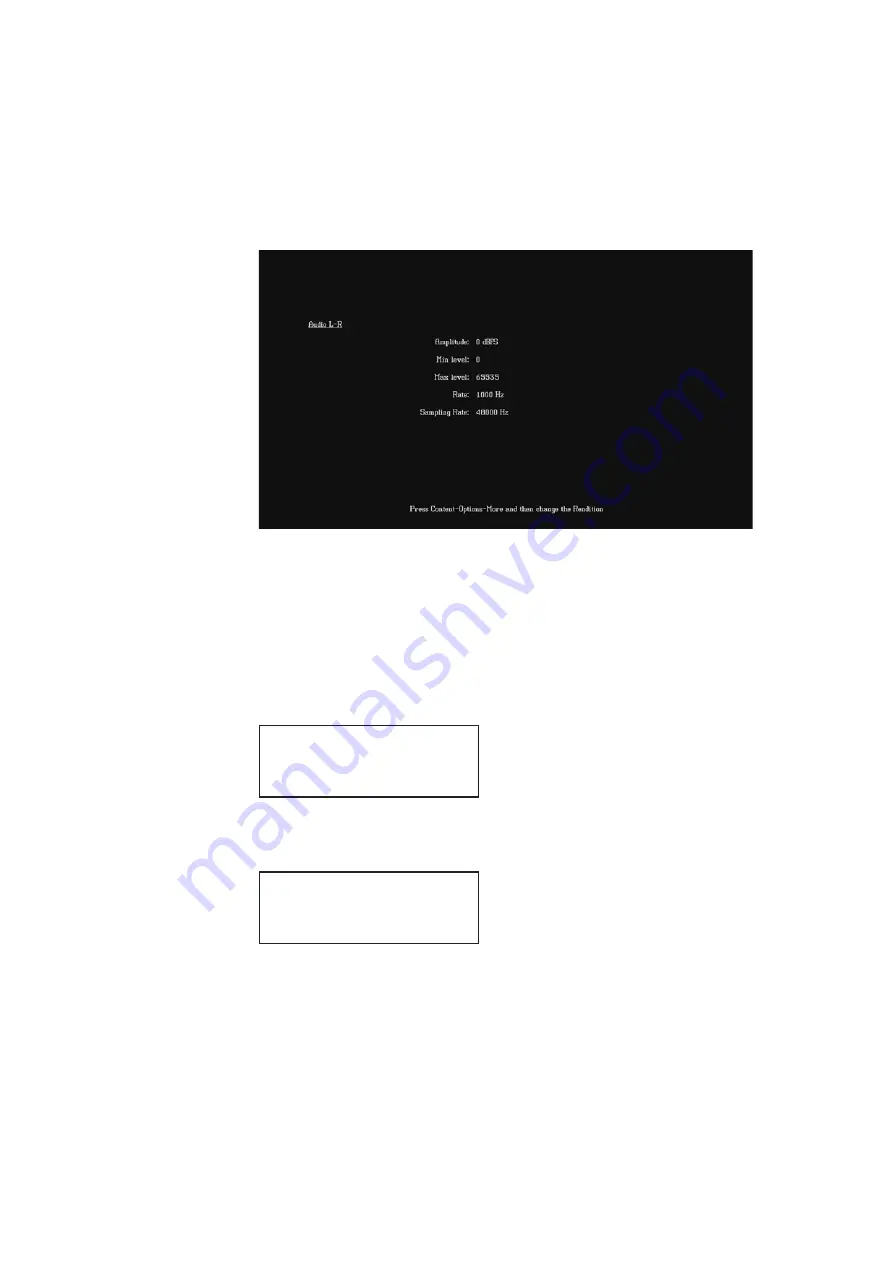
The selected image appears on the connected HDMI display. The image shows the
current settings for the HDMI audio output. For example, the AudioLR image is shown
below.
Alternatively, to select the audio image using the command line interface, enter the
following commands:
/tffs0/Library/Images
// Set image path to 882 memory
// Loads the AudioLR image
// Activates the AudioLR image
4. Enable and view image versions for the AudioLR image as follows:
a.
Press the
Options
key. The following menu appears on the 882’s display:
b.
Choose the
More
item by pressing the adjacent soft key until a + and Rendition
appears next to the item.
c.
Press the + and - keys to advance through the image versions.
Note: Depending on the selected image, pressing the + and - keys will change the
amplitude or frequency of the HDMI audio output.
Alternatively, to enable and view an image version using the command line interface,
enter the following commands:
-More
Red+
-NoGamma
Green+
-Noise
Blue+
+More Rendition: 000
Red+
-NoGamma
Green+
-Noise
Blue+
Содержание 881
Страница 1: ...881 882 Video Test Instrument User Guide 882E for HDMI ...
Страница 12: ...10 Contents ...
Страница 50: ...38 Chapter 1 Getting Started ...
Страница 84: ...72 Chapter 2 Testing Video Displays ...
Страница 99: ...882 Video Test Instrument User Guide Rev A 35 87 ...
Страница 102: ...90 Chapter 3 Administrative Tasks ...
Страница 107: ...882 Video Test Instrument User Guide Rev A 35 95 ...
Страница 108: ...96 Chapter 3 Administrative Tasks 13 Power cycle the generator and it will boot the upgraded firmware ...
Страница 216: ...204 Chapter 5 Working with Formats ...
Страница 248: ...236 Chapter 7 Working with Images ...
Страница 264: ...252 Chapter 8 Working with Test Sequences ...
Страница 342: ...330 Chapter 10 Testing Lipsync 9 Navigate to your PC and double click on the report A sample is shown below ...
Страница 382: ...40 Chapter 11 Testing EDID for HDMI 2 Expand the EDID Block in the navigation view ...
Страница 388: ...46 Chapter 11 Testing EDID for HDMI d Click the OK button to save the data block that you added ...
Страница 446: ...104 Chapter 12 CEC Interactive Troubleshooting Environment ITE ...
Страница 493: ...882 Video Test Instrument User Guide Rev A 35 151 ...
Страница 494: ...152 Chapter 13 Testing HDCP on HDMI The following is an example of a report for the HDCP compliance test for a repeater ...
Страница 591: ...882 Video Test Instrument User Guide Rev A 35 213 Commands by name ...
Страница 649: ...882 Video Test Instrument User Guide Rev A 35 271 Related commands DCPX OUT1 DCPX OUT2 DCPX AV DCPX VGA DCPX ...
Страница 678: ...300 Appendix A Command Reference Example 7 Turn audio off DPTG 3 DPGU Example 8 Turn audio on DPTG 7 DPGU ...
Страница 687: ...882 Video Test Instrument User Guide Rev A 35 309 Example DVIC 23 FMTU ...
Страница 989: ...882 Video Test Instrument User Guide Rev A 35 551 B Image Reference Topics in this appendix Standard image descriptions ...
Страница 990: ...552 Appendix B Image Reference Standard image descriptions 3DCRTK Description Test image for testing 3D crosstalk ...
Страница 991: ...882 Video Test Instrument User Guide Rev A 35 553 3DCUBES Description Test image for testing 3D motion ...
Страница 1018: ...580 Appendix B Image Reference The EMITest5 image is shown below ...
Страница 1042: ...604 Appendix B Image Reference Imex1 Description InFocus1 Description Special test image developed per customer specifications ...
Страница 1094: ...656 Appendix B Image Reference ...
Страница 1095: ...882 Video Test Instrument User Guide Rev A 35 657 C Error Messages Topics in this appendix Error code descriptions ...
Страница 1124: ...686 Appendix C Error Messages ...
Страница 1140: ...702 Appendix D Format Reference ...


