background image

You can only see the tape-control menu when there is a cassette in the video recorder.

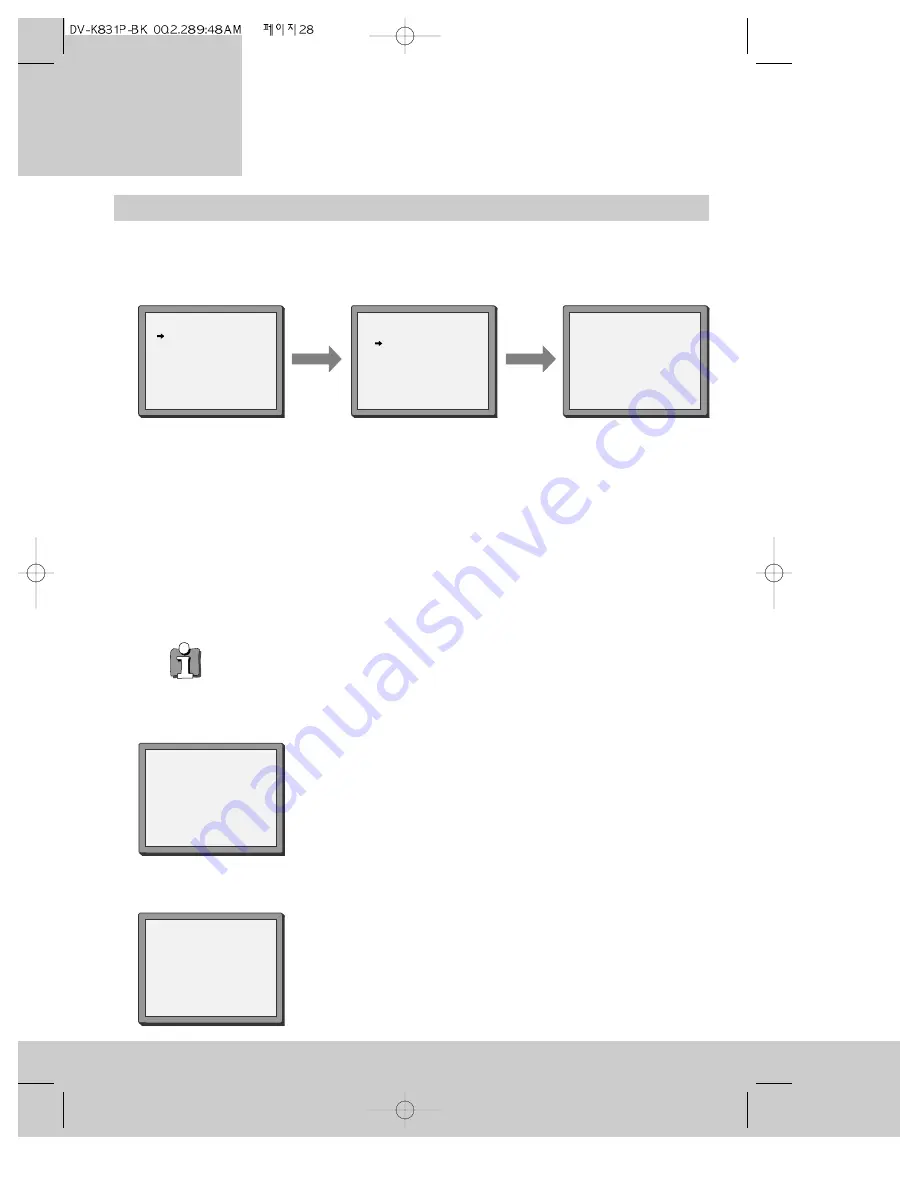
1 Press the MENU button. 

2  Press the PR+ button once to put the pointer on ‘Tape control’.

3  Press the OK button to display the tape-control menu. The pointer will be on ‘Tape remain’.

4  Press the OK button to see a table of cassette types (E-180, E-240, E-300). The cassette

type is usually marked on the back of the cassette or the cassette case. For more
information, please see ‘About video cassettes - types of video cassette’ on page 21.

5 Move the pointer to the type of video cassette you are using by pressing the PR+ and PR- buttons.

6  Press the OK button to confirm the type of cassette. The video recorder will display the

cassette type back to you for a few seconds.

28

At step 6, if you decide not to change the cassette type, press the MENU button

instead of OK.

How to see the remaining time is described in ‘On-screen information display’ on

page 26.

TAPE CONTROL

TAPE REMAIN

E-240  01:27

Tape Remain

Go To Zero
Counter Reset

E-180
E-240
E-300

PR+/-:select
OK:confirm        MENU:end

PR+/-:select
OK:confirm         MENU:end

1  Follow steps 1 to 3 above to get the tape-control menu.

2  Press the PR- button once to move the pointer to ‘Go to zero’.

3  Press the OK button. The video recorder will display the

picture opposite, and rewind or fast forward the cassette
until the counter is at zero.

1  Follow steps 1 to 3 above to get the tape-control menu.

2  Press the PR+ button once to move the pointer to ‘Counter

reset’.

3  Press the OK button. The video recorder will display the

picture opposite and set the counter to zero.

COUNTER  RESET

0:00:00

REW    SP                   
GO TO ZERO

0:02:13

video cassettes

P l a y i n g

Tape control menu

Resetting the counter to zero

Finding counter zero position of a cassette

Remaining time and cassette length

Содержание PROline VN2000

Страница 1: ......

Страница 2: ...ing recorded over 21 Playing video cassettes Load the cassette Play Picture scanning Stop Fast forward and Rewind Eject the cassette 22 Still picture and slow motion Commercial skip NTSC playback 23 C...

Страница 3: ...slots Important points Condensation can damage your video recorder If the video recorder is cold when you unpack it leave it for several hours to become room temperature Do not use the video recorder...

Страница 4: ...socket buy an adapter to match the moulded plug to your supply socket Or cut the moulded plug off and fit an appropriate plug in its place The plug you fit or the distribution board feeding your main...

Страница 5: ...Safety symbols This symbol means this unit is double insulated and does not need an earth connection This symbol means this unit meets European regulations concerning safety and electromagnetic inter...

Страница 6: ...battery cover on the back of the remote control Lift the cover off 2 Put two AAA size or LR3 type batteries into the battery compartment Make sure the and marks on the batteries agree with the and ma...

Страница 7: ...on see page 23 Not used for this model These buttons find the start of the next or previous recording see page 25 Selects the recording speed standard play or long play see page 21 Records see page 29...

Страница 8: ...confirm MENU end VCR SETUP Clock Set RF Output Set 2nd Scart Set 16 9 Set PR select OK confirm MENU end example The menus show you which button to press at the next step Some menus go off after a whil...

Страница 9: ...display will get brighter 6 Tune the television in the UHF waveband until a picture like the one below appears and memorise it under the video programme number Please read the instruction book for you...

Страница 10: ...button again In step three if you are not sure which scart socket to use you will have to read your television instructions or find out which scart socket lets you see a picture from the video record...

Страница 11: ...ideo recorder picture If you don t have automatic video channel selection select the video channel with your television remote control Connecting extra equipment 10 Typical connections for a satellite...

Страница 12: ...ou how to use a decoder with this video recorder Through the front AV input You can connect a camcorder video game and so on to the front audio and video AV input sockets if you have a connecting cabl...

Страница 13: ...llow After auto set below Change the modulator channel number by pressing the number buttons 0 to 9 on the remote control You must choose a number from 21 to 69 The new modulator channel number will s...

Страница 14: ...r order 4 To allow you to use VIDEOPlus it is important that the programmes are stored in standard order BBC1 on programme number one BBC2 on programme number two ITV on programme number 3 Channel 4 o...

Страница 15: ...et VCR Setup PR select OK confirm MENU end Manual channel search Select the video channel on your television so that you can see the menus See Automatic video channel selection on page 10 In certain c...

Страница 16: ...f it is the wrong picture press the PR or PR buttons to continue searching as before 9 Press the OK button to set the broadcast channel to the programme number you choose 10Press the MENU button to fi...

Страница 17: ...PR button once This moves the pointer to PR preset 3 Press the OK button to see the programme pre set menu 4 Press the PR button once The pointer will move to PR align 5 Press the OK button to see th...

Страница 18: ...t If you want to check the picture again press the button 4 Press the button to see the name change menu under Manual set 5 You can pick a ready made name by pressing the PR and PR buttons You can mak...

Страница 19: ...button to display the erase warning shown opposite 8 If you want to erase the programme press the OK button If you don t want to erase the programme press the menu button 9 Press the MENU button to f...

Страница 20: ...your television so that you can see the pictures from the video recorder If you connected the television and video recorder together with a scart cable you will probably have to press the TV VCR butt...

Страница 21: ...ss the OK button You will see the main menu again 8 Press the MENU button to finish You do not normally need to set the time and date because the video recorder gets this information from the televisi...

Страница 22: ...tecting cassettes from being recorded over All video cassettes have a safety tab to prevent them from being accidentally recorded over When you remove the tab you cannot record onto the cassette If yo...

Страница 23: ...s The video recorder changes from one to the other when you keep pressing the rewind or fast forward button To stop picture scanning press the stop button on the remote control or the STOP EJECT butto...

Страница 24: ...il you get the best picture 23 video cassettes P l a y i n g VCR VCR If still picture or slow motion lasts longer than five minutes the video recorder will stop to protect the video tape Commercial sk...

Страница 25: ...ys plays the programme as a normal recording 5 Press the OK button to memorise your chosen setting or press the MENU button to finish without saving the setting 24 VCR SETUP Clock Set RF Output Set 2n...

Страница 26: ...atically adjusts the video heads until they accurately track the original recording This gives you the best picture If you still get picture interference when you are playing a cassette hold the PR or...

Страница 27: ...l has been selected AV F shows that the audio and video input sockets on the front of the video recorder have been selected Please see Recording from other equipment on page 30 It takes about 30 secon...

Страница 28: ...rewind the tape to the zero position please see Tape control menu on page 28 The counter is automatically set to zero when you put a cassette into the video recorder When the cassette is stopped the...

Страница 29: ...he cassette type press the MENU button instead of OK How to see the remaining time is described in On screen information display on page 26 TAPE CONTROL TAPE REMAIN E 240 01 27 Tape Remain Go To Zero...

Страница 30: ...0 to 9 to select the channel you want to record for example PR01 BBC1 3 Press the RECORD OTR button on the video recorder or the record red dot button on the remote control just once REC will appear...

Страница 31: ...isplay panel AU1 means the lower scart socket EURO AV1 is being used for the recording AU2 means the upper scart socket EURO AV2 DECODER is being used for the recording After a few seconds AU will cha...

Страница 32: ...on which you are assembling the recordings in this video recorder to search for the position where you want the next recording to start and then press the pause button PLAY will flash in the video rec...

Страница 33: ...to record You can record for up to 10 hours if there is enough tape on the cassette The video recorder display confirms the recording time For example R1 30 in the video recorder display panel means...

Страница 34: ...ting the timer on page 35 You can get advice on PDC from teletext r e c o r d i n g s P r o g r a m m e d 33 Programmed recording with VIDEOPlus All the information your video recorder needs to make a...

Страница 35: ...e VCR off TMR Programmed recording with VIDEOPlus continued 6 Press the OK button to confirm your choice in step 5 and display the timer programme information If you do not press another button within...

Страница 36: ...u want to record from other equipment that is connected with a scart cable press the PR button on the remote control to make AV appear on the PR line 7 Press the OK button and enter the start time end...

Страница 37: ...to select and change rather than fill entries in the timer programme 4 Finish with steps 10 and 11 How to erase a timer programme 1 Switch your television on and select the video channel 2 Press the M...

Страница 38: ...ll timer programmes have already been programmed will appear on the television screen for a few seconds After you have set a recording and switched the video to stand by if TMR is flashing in the fron...

Страница 39: ...teries have run out Problems The video recorder will not play You change programme number channel on the video but the television picture does not change Possiblecauses The video channel on your telev...

Страница 40: ...the EURO AV2 DECODER socket Please read the decoder instructions Appendix 1 Another way of changing the modulator channel This method steps through the control menus but you will only see the menus if...

Страница 41: ...se PR Align PR select OK confirm MENU end CANAL SET PR select PR view OK ON OFF MENU end PR01BBC1 PR08 SKYS PR02 BBC2 PR09 MTVE PR03 ITV PR10 P 10 PR04 CHA4 PR11 P 11 PR05 SKY1 PR12 PR06 SKYN PR13 PR0...

Страница 42: ...dB Signal to Noise Ratio 60dB General Temperature range 5 C to 35 C Humidity range Relative humidity less than 80 This technical information may change Serial number record Write the serial number fro...

Отзывы: