Seite 25
•
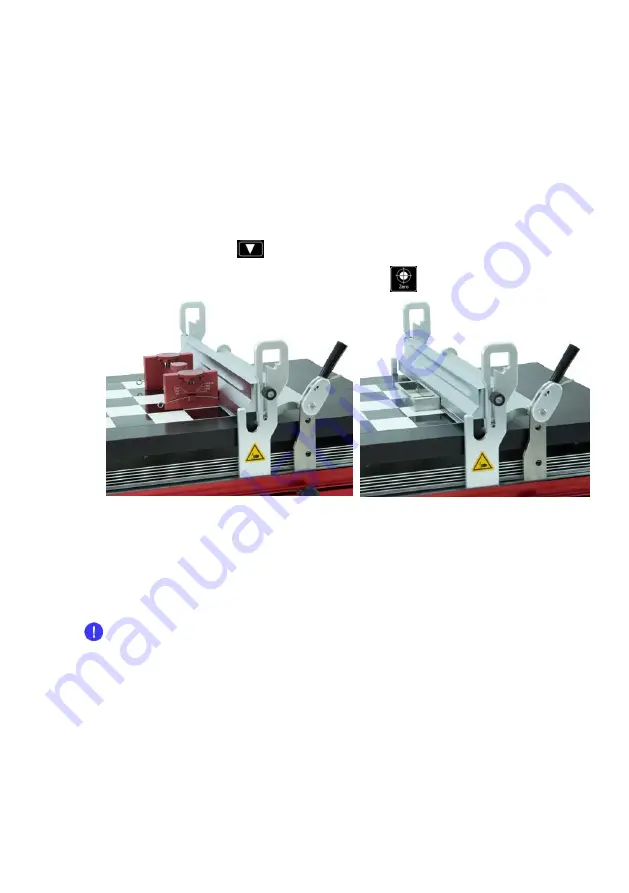
Place your substrate (e.g. test chart / film) at the desired position on the glass
plate and fix it with the clamping device (5), by pulling on the clamping grip (3).
Keep in mind that the gap applicator will be placed in front of the weight (7).
Hint: If the substrate is too small to use the clamping device (5), use a piece of
adhesive tape or an optional precision-vacuumplate to fix it.
•
Lower the weight (7) to the bottom position and move the holding device (8) to
the clamping device (5).
•
Set your gap applicator to the desired gap height and place it on the substrate
at the desired starting position of the application area.
•
Move the drawing unit (23) to the desired starting position behind the gap
applicator using the
button.
•
Set the starting position by tapping the
„Zero“
button on the touch screen.
Set the end stop (2) as follows:
•
Loosen the screw of the end stop (2).
•
Position the end stop (2) behind the desired drawing area and lock it by
refastening the screw. (The end stop (2) has a safety function.)
•
Set the drawing length using the touchscreen (refer to chapter 7.1.7
Refer to the separate instruction manual of the applicator you are using (e.g.
ZUA 2000) for any applicator specific considerations.
Hint: Place a piece of paper at the end of the substrate to absorb any excess
coating material.
•
Return the drawing unit (23) to the start position.
•
Set the desired drawing speed on the touch screen (refer to chapter 7.1.6
“Setting the drawing speed” on page 28).
•
Apply the desired quantity of coating material on the substrate in front of the
application blade.


