Seite 23
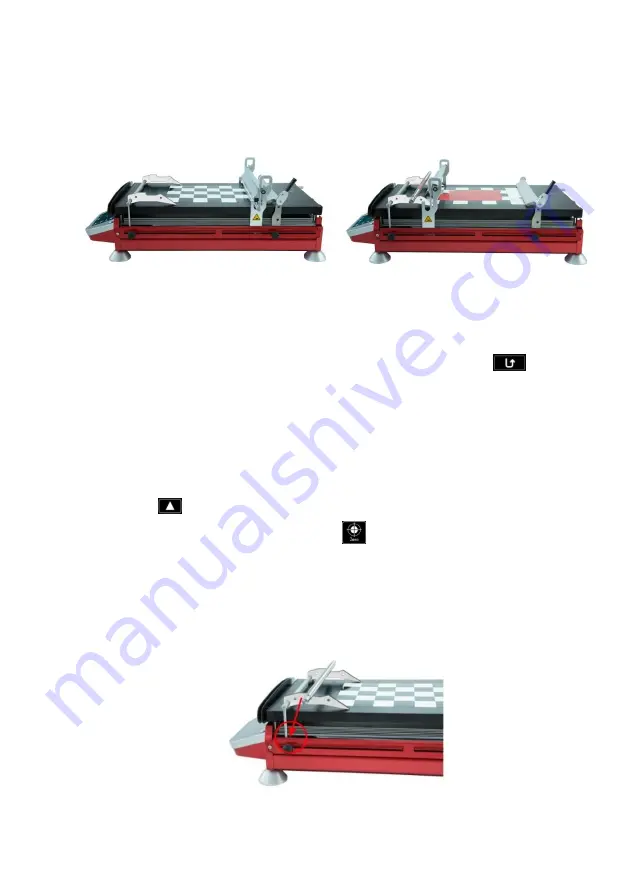
Using the collecting device, the application steps required when working with wire-
bar applicators and profile rods will be reduced significantly.
When using the collecting device, the applicator rod is lifted automatically off the
substrate after application and the drawing unit (23) moves back to the starting
position automatically. The applicator rod can then be easily removed and cleaned.
Use the collecting device as follows:
•
Make sure that the printing blanket side of the glass plate is facing up.
•
Ensure that the printing blanket is covered with the polyester mat.
•
Set the „Moving Mode” to „Reverse“, by tapping on „Menu“ and „Setup“ on the
touchscreen. The
„Reverse“ mode is indicated by a bent arrow
on the
main screen.
•
Lift the weight (7) and hinge it into the top position (6).
Set the starting position as follows:
•
Place your substrate (e.g. test chart / film) at the desired position on the glass
plate and fix it with the clamping device (5), by pulling on the clamping grip (3).
•
Move the drawing unit (23) to the start stop, by pr
essing the „Manual back“
button
.
•
Zero the device by tapping the
„Zero“
button on the touchscreen.
•
Place the applicator rod into the holding device (8).
Adjust the collecting device as follows:
•
Place the collecting device into the end stop (2) by sliding the mounting pins of
the device into the holes of the end stop (2). Lock the collecting device in
place by applying a light pressure to it. Proper locking is indicated by a click.
•
Position the end stop (2) behind the desired drawing area and lock it with the
screw. (The end stop (2) has a safety function.)


