8.
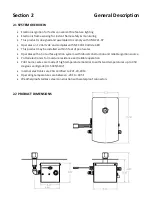
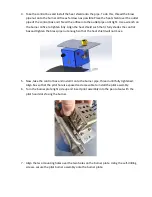
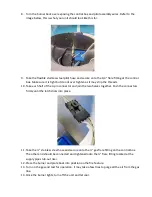
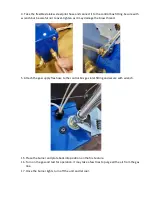
Turn the burner back over exposing the control box and pilot assembly wires. Refer to the
image below, this is what your unit should look like this far.
9.
Take the flexible stainless steel pilot hose and
secure onto the 1/4” flare fitting at the control
box. Make sure it is tight but do not over tighten as it may strip the threads.
10.
Take each half of the 4-pin connector and join the two halves together. Push the connectors
firmly until the latch clicks into place.
11.
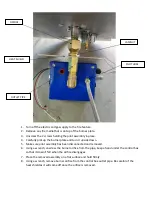
Take the ½” stainless steel hose and secure onto the ½” gas flare fitting on the control box.
The other end
should be connected and tightened onto the ½” flare fitting located at t
he
supply pipe stub-out riser.
12.
Place the burner and plate back into position on the fire feature.
13.
Turn on the gas and test for operation. It may take a few tries to purge all the air from the gas
line.
14.
Once the burner lights, turn off the unit and let cool.
Содержание Hardscapes Moderno 5
Страница 1: ...INSTALLATION OPERATION MAINTENANCE MANUAL For model PH Ignite 12VAC Auto Burner Ignition System...
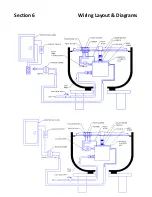
Страница 20: ...Section 6 Wiring Layout Diagrams...
Страница 23: ......


