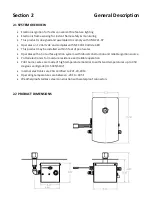
3.2 INSTALLATION
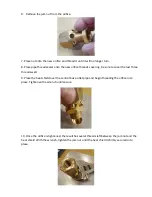
INSTALLATION SHOULD BE DONE BY A QUALIFIED GAS SERVICE PROFESSIONAL.
1.
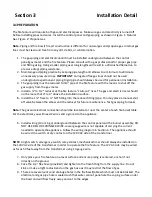
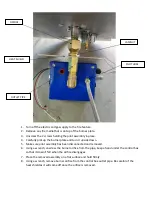
The Burner/pan and control will need to be connected to the gas and electrical lines coming up
from the fire feature. Make sure you have the correct orifices on the pilot and the burner inlet
for the gas you are using. You must use the proper orifices for natural gas or propane gas for
both the pilot burner and the main burner. Refer to Section 3.3 for orifice replacement.
2.
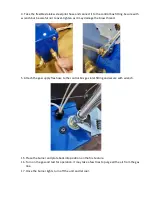
Connect the flexible gas hose to the inlet flare fitting on the control box. Using a wrench,
tighten the hose to the fitting to avoid gas leaks. If this fitting is not tightened correctly it will
leak and potentially ignite and can damage the control system.
3.
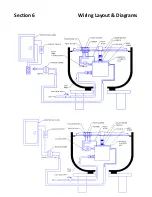
Connect the 12 VAC wires, from the control box, to the electrical wires coming out of the
conduit using wire nuts to secure connections. Link the copper ground wire to the
ground/bonding lug on the control box.
4.
Reposition the burner and pan onto the fire feature and turn on the gas to check for leaks.
Installing a control box on a non-Prism Hardscapes fire feature
Be sure to use only approved burners with fire feature as they have been pre-tested and rated
for the input and gas designated on the control box.
1.
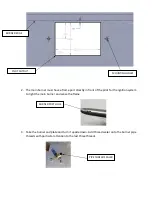
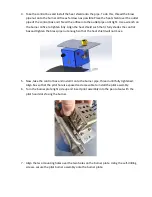
The burner plate must be cut and fitted for the pilot burner assembly in order for the main
burner to ignite and operate properly.
PILOT CUTOUT
HOLE
Содержание Hardscapes Moderno 5
Страница 1: ...INSTALLATION OPERATION MAINTENANCE MANUAL For model PH Ignite 12VAC Auto Burner Ignition System...
Страница 20: ...Section 6 Wiring Layout Diagrams...
Страница 23: ......


