Cleaning The Photoreceptor Drum
171
18. Wipe the drum surface again using a Toraysee cloth (listed on
page 143). Cleaning the drum may leave wiping stains to be
left on the surface of the drum. Stained areas may deteriorate
the drum surface if the drum is left unused in the printer for a
long time after cleaning. Thus, after cleaning and installing the
drum in the printer, use maximum size paper to print an image
repeatedly until no stains remain. Stains will usually be cleared
after printing a few dozen pages.
19. Temporarily pack the drum in its original packaging material
and close the box cover. Set the drum aside for now. (It will be
installed later.)
20. Remove the drum auxiliary rod from the drum shaft.
21. Wipe the drum shaft clean with a cloth.
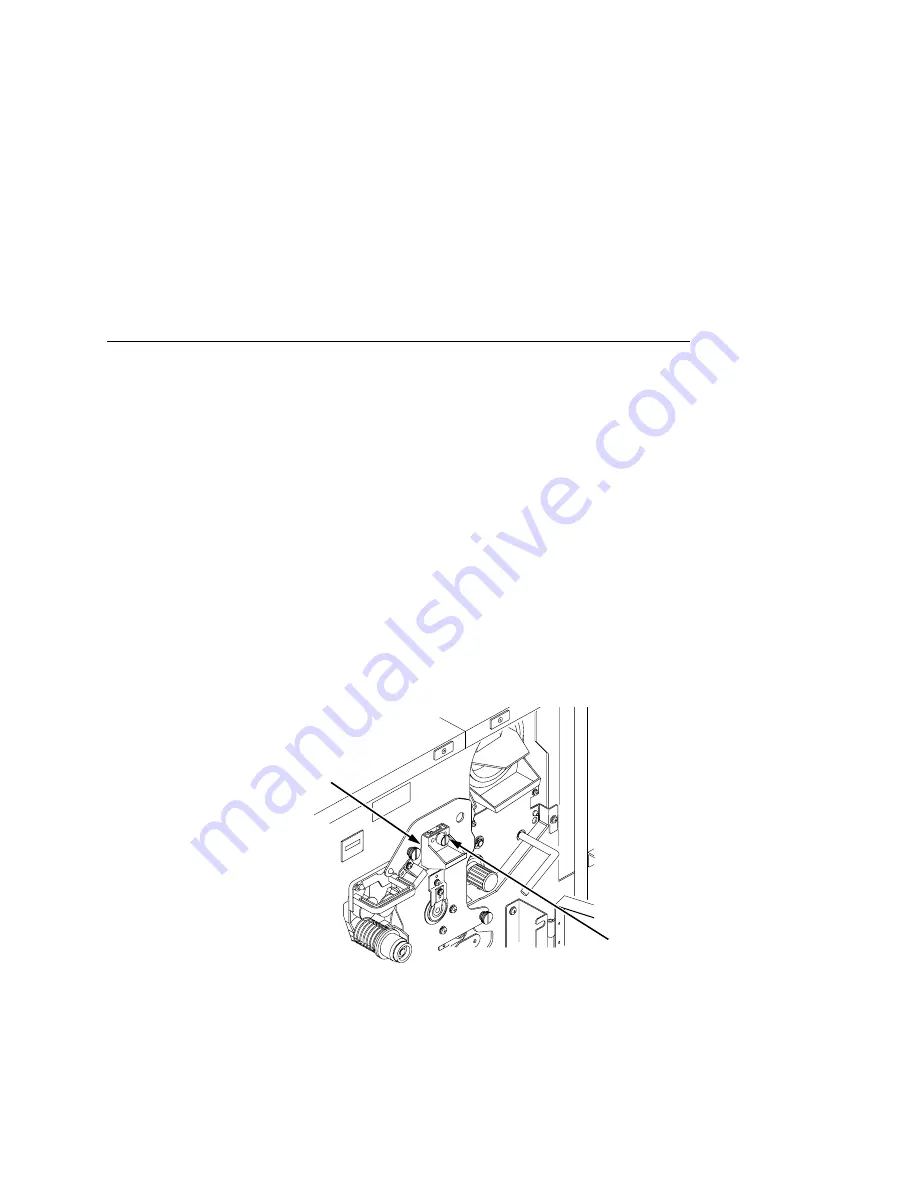
22. Loosen the thumbscrew and remove the main charger by
pulling it toward you.
23. Clean the developing unit area with a vacuum cleaner and a
soft cloth.
Screw
Main
Caherger
Содержание L5520
Страница 1: ...User s Manual The Printronix L5520 Multifunction Printer...
Страница 3: ...L5520 Multifunction Printer User s Manual 171517 001E...
Страница 10: ......
Страница 14: ......
Страница 26: ...Chapter 1 About The Printer 26...
Страница 116: ...Chapter 3 Loading Flash Memory 116...
Страница 142: ...Chapter 4 Consumables Replacement 142...
Страница 155: ...Vacuuming The Printer 155 16 Using a vacuum clean up the toner paper dust etc in the tractor area Vacuum Tractor...
Страница 198: ...Chapter 6 System Status And Error Messages 198...
Страница 234: ...Appendix C Host I O Interfaces 234...
Страница 244: ...Index 244...
Страница 245: ......


