20
1.
Prior to doing the ODV2D Calibration Adjustments, enter the Tools menu and print a Grey test pattern to verify all
printhead elements are functioning correctly (no vertical white lines or voids).
2.
Press PAUSE
key to take printer OFF-LINE
.
3.
Press the ENTER
key control panel will display, panel should display
.
4.
Press the right
Soft Key #2 Cancel / Back, panel will display
.
5.
Press the RIGHT ARROW
key
until “Tools” have been selected
.
6.
Press the ENTER
key control panel will display
.
7.
Press the ENTER
key control panel will display
.
8.
Press the ENTER
key control panel will display
.
9.
Press the DOWN
key
until “Grey” is selected
.
10.
Press the Press the ENTER
key, and Grey test pattern will begin to print. To stop the printing press the
Press the ENTER
key and printing will stop.
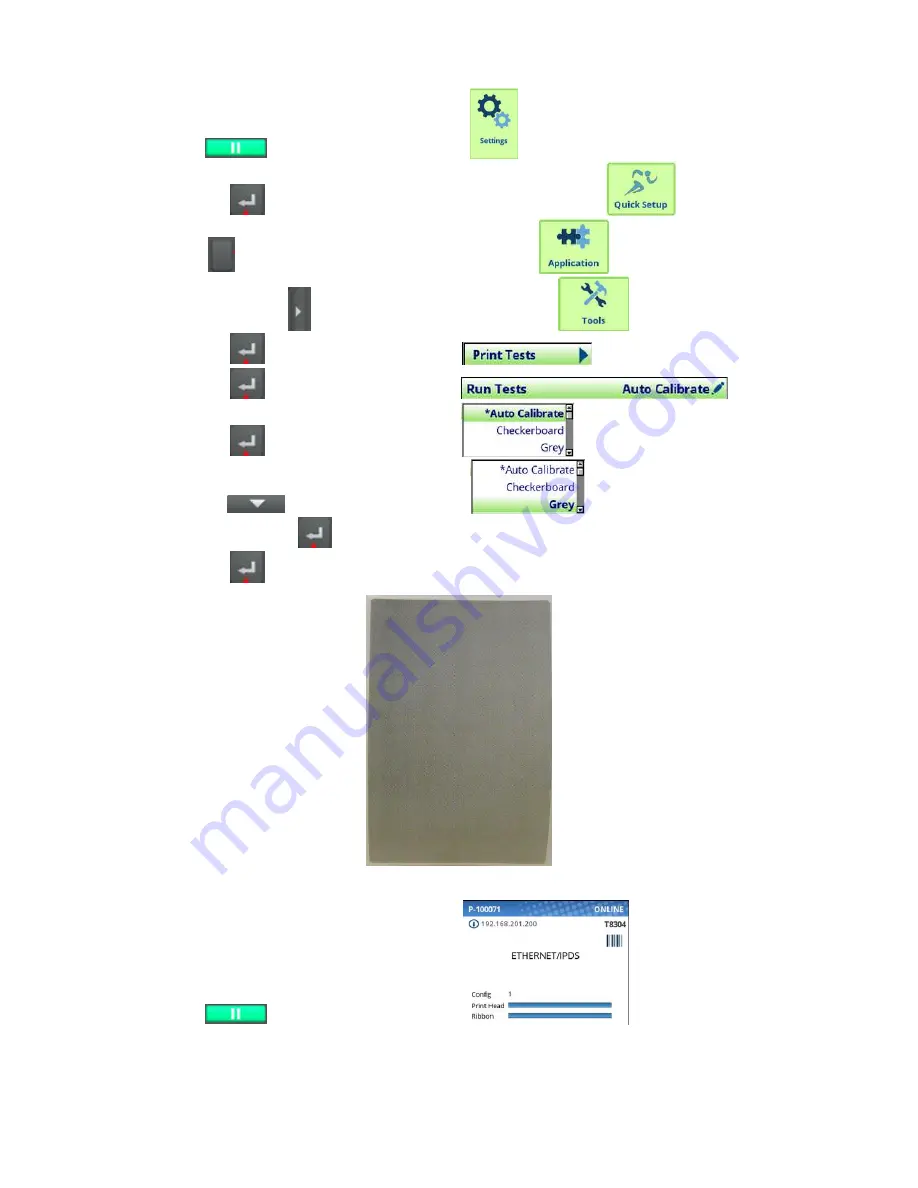
Figure 24:
Grey Test Pattern
11.
Press PAUSE
key to take printer ON-LINE
.
12. If white vertical lines or voids are present, use a Thermal Printer Cleaning Pen and thoroughly clean the brown
element area of the printhead, perform a re-test. If cleaning does not resolve voids or white lines during the re-
test, the printhead should be replaced.


