


P r i m a L u c e L a b i S r l
S p i d e r 2 3 0 u s e r m a n u a l
!
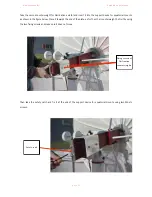
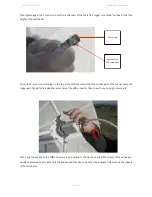
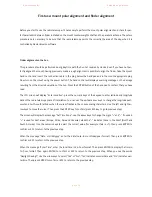
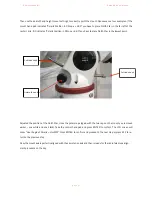
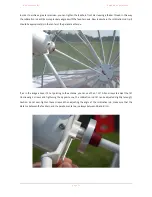
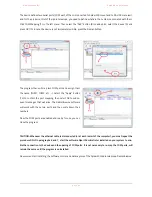
Then use the azimuth and height mount settings to correctly point the mount. Above we see two examples: If the
mount hand pad indicates "Polaris Position in P.Scope = 3:00" you have to place North Star in the far left of the
center circle. If it indicates "Polaris Position in P.Scope = 6:00“ you have to place North Star in the lowest point.
!
!
!
!
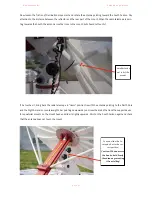
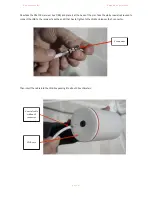
Adjusted the position of the North Star, close the polar scope (again with the two caps on the mount you removed
earlier - one white and one black). Take the control hand pad and press ENTER to confirm. The LCD screen will
show "Hour Angle of Polaris = HH: MM". Press ENTER to confirm and proceed to the next step or press ESC to re-
turn to the previous step.
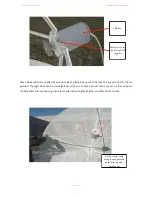
Now the mount axis is perfectly aligned with the sky rotation axis and then is ready for the radio telescope align-
ment procedure on the sky.
!
!
!
!
!
p a g e
!
3 5
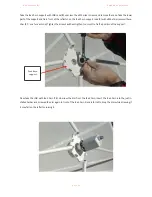
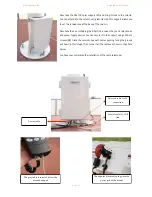
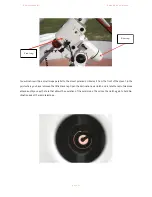
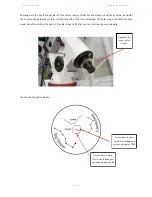
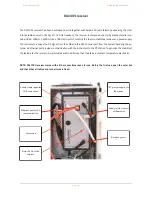
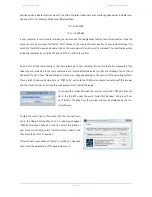
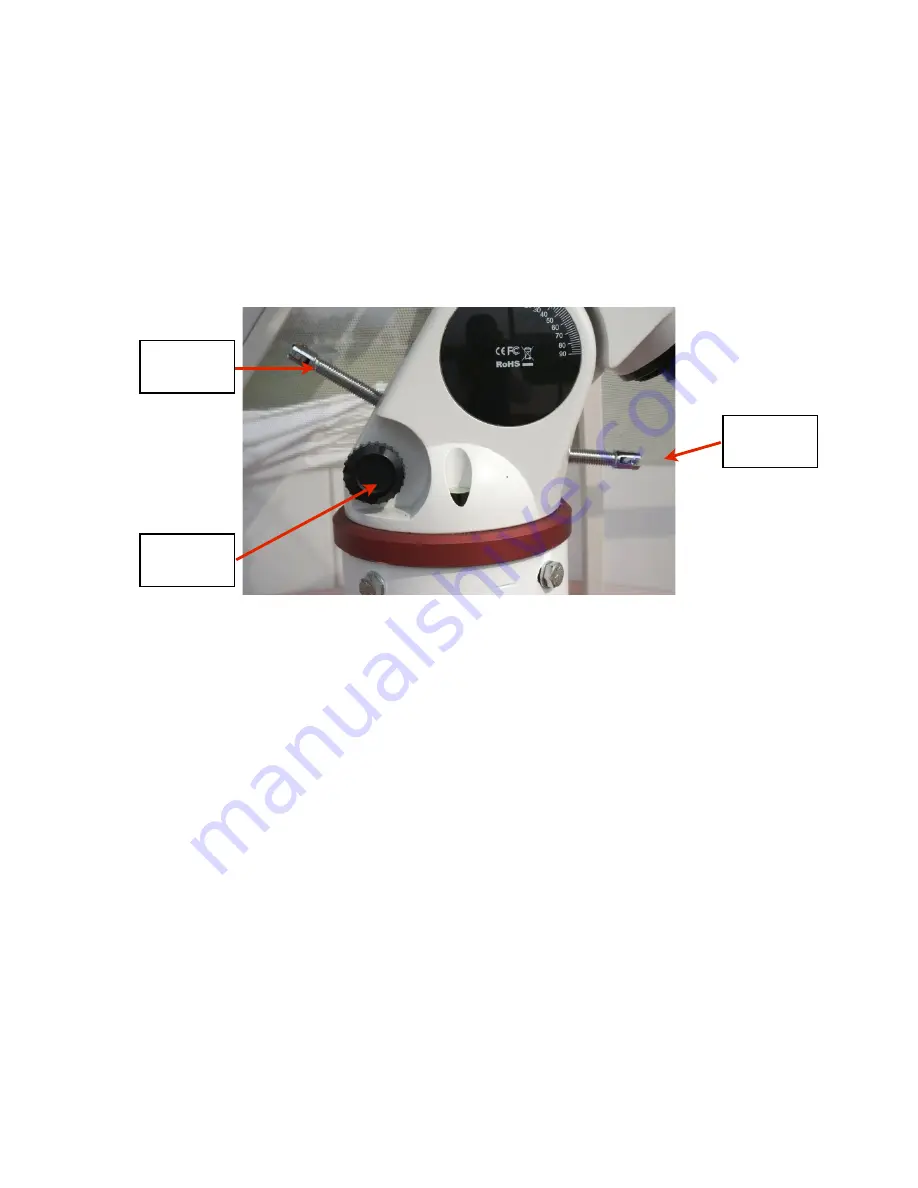
Latitude knob
Azimuth knob
Latitude knob


