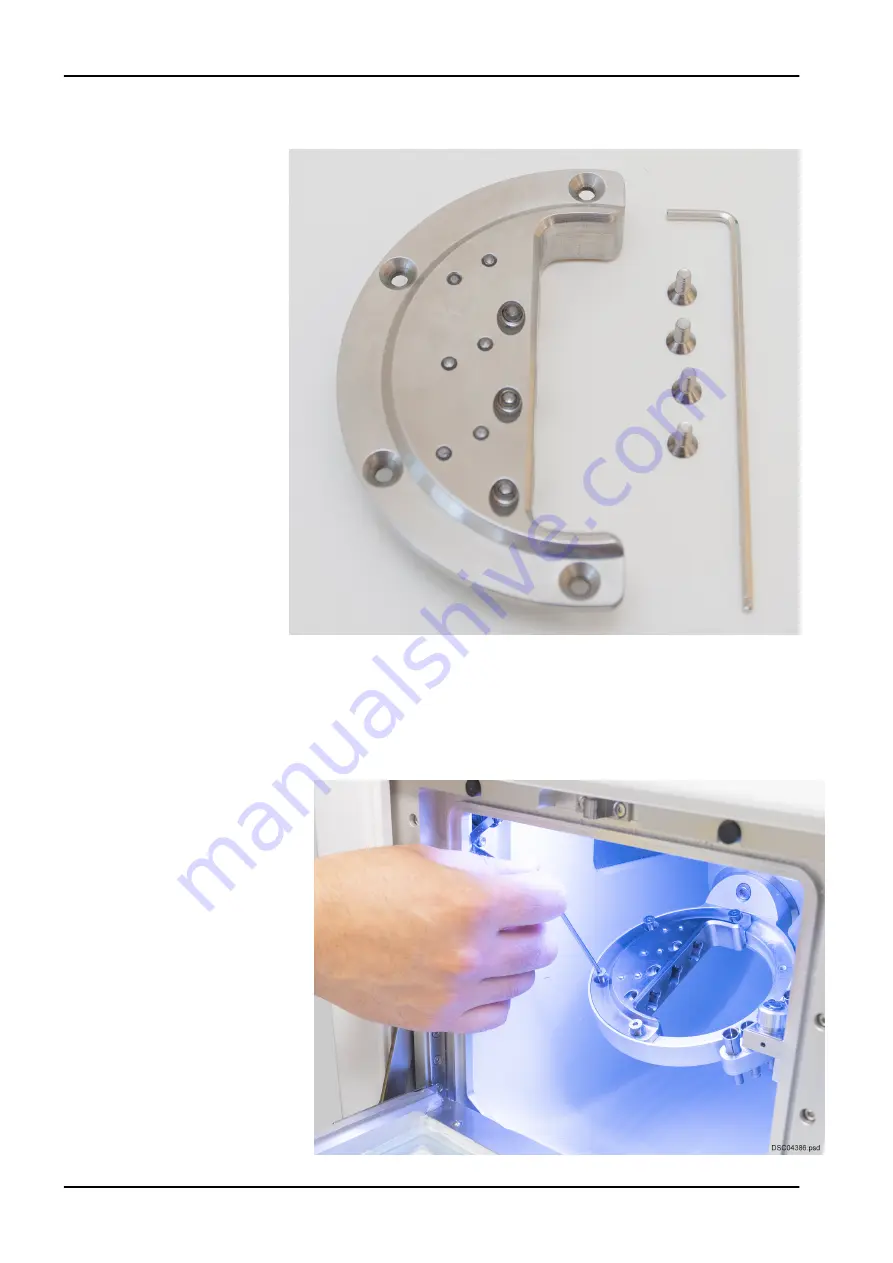
For attaching the glass ceramic adapter you’ll need an Allen key and four
screws.
2. Place the adapter on the left side of the adapter.
3. Insert the screws in the screw holes and tighten using an Allen key.
First, fasten the screws loosly, and when all screws are in place, tighten
them firmly.
The glass ceramic adapter does not require any calibration before
milling.
15 Adapters
56 Planmeca PlanMill 60 S
User's manual
Содержание PlanMill 60 S
Страница 1: ...Planmeca PlanMill 60 S user s manual EN 30040852...
Страница 100: ...21 2 Dimensions Front view 21 Technical information 94 Planmeca PlanMill 60 S User s manual...
Страница 101: ...Side view 21 Technical information User s manual Planmeca PlanMill 60 S 95...
Страница 112: ......
Страница 113: ......


