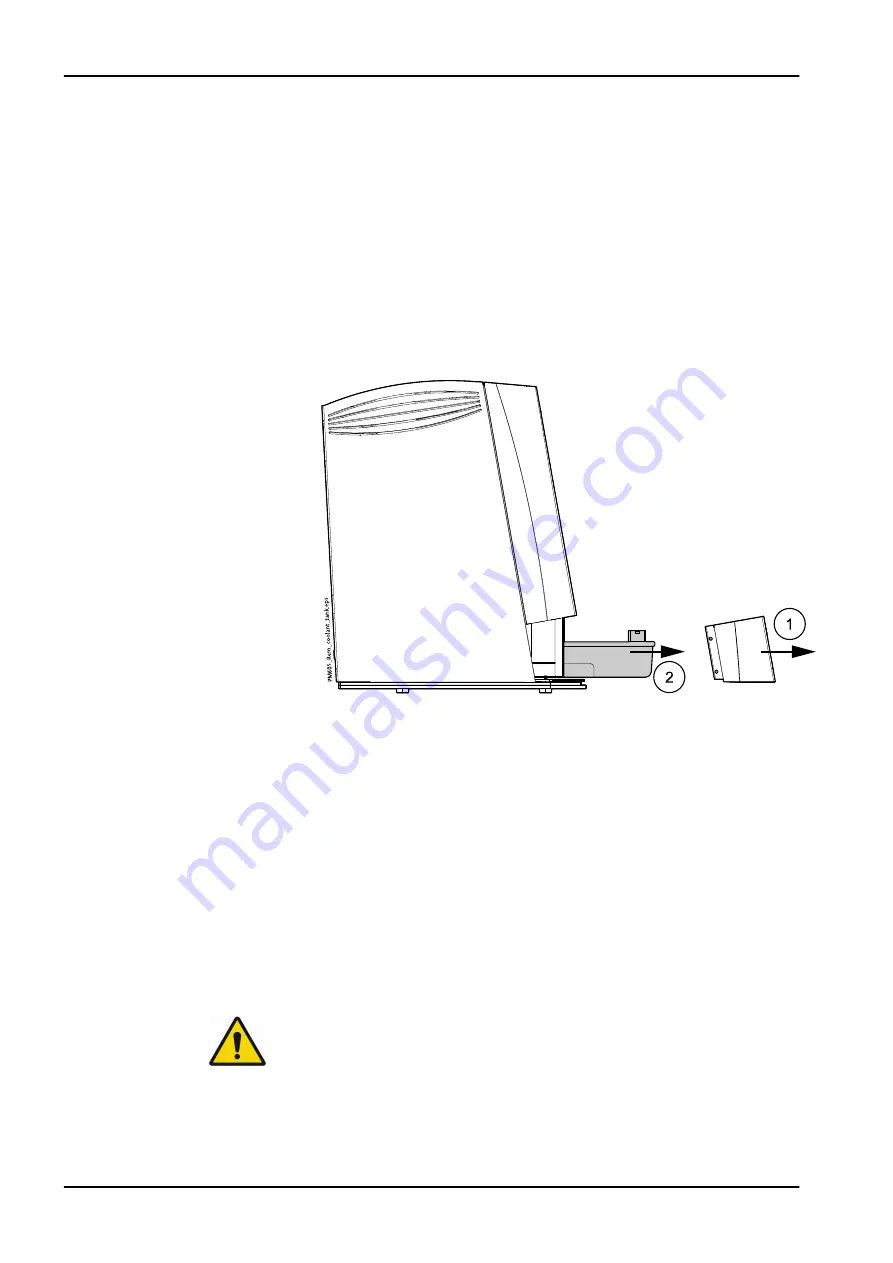
The coolant lubricant prevents the workpiece from overheating. The coolant
lubricant is stored in a tank in the milling unit and before starting wet milling,
ensure that there is enough coolant lubricant in the tank. The fill level must
be between the two markings MIN and MAX.
Steps
1. Put on protective gloves and safety goggles.
2. Open the protective door.
3. If the milling unit has last been used for dry milling, thoroughly clean the
milling unit interior, the filter fleece chips and dry milling dust.
4. Remove the access door (1) to the coolant lubricant tank by pulling it off.
5. Remove the coolant lubricant tank (2).
6. Thoroughly clean all filters and the sump of contaminants.
7. Fill the sump with 3.0 litres of diluted coolant lubricant mixture.
Observe the mixture ratio according to the coolant lubricant system
description.
8. Reinsert the coolant lubricant tank.
9. Close the access door to the coolant lubricant tank.
What to do next
Start the milling process with the coolant lubricant system switched on and
without an extraction system. The milling unit automatically starts cooling
when the milled material requires cooling. See section "Starting milling
16.8.4 Switching between wet and dry milling
WARNING
Thoroughly clean the interior of the milling unit when changing from wet to
dry milling and vice versa, or at least once a day, to prevent the build-up
of material residue and to ensure the proper functioning of the system.
Avoid any mixing of dry dust with the coolant lubricant as the dust / coolant
lubricant mixture can lead to severe contamination of the unit.
16 Operating milling unit
76 Planmeca PlanMill 60 S
User's manual
Содержание PlanMill 60 S
Страница 1: ...Planmeca PlanMill 60 S user s manual EN 30040852...
Страница 100: ...21 2 Dimensions Front view 21 Technical information 94 Planmeca PlanMill 60 S User s manual...
Страница 101: ...Side view 21 Technical information User s manual Planmeca PlanMill 60 S 95...
Страница 112: ......
Страница 113: ......


