Installing the Video Input Module (VIM)
14
m52L Installation Guide
8
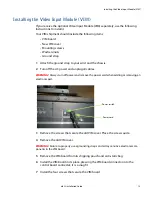
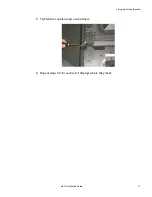
Slide the new VIM board cover in place, making sure the connectors are aligned
over the holes in the cover.
9
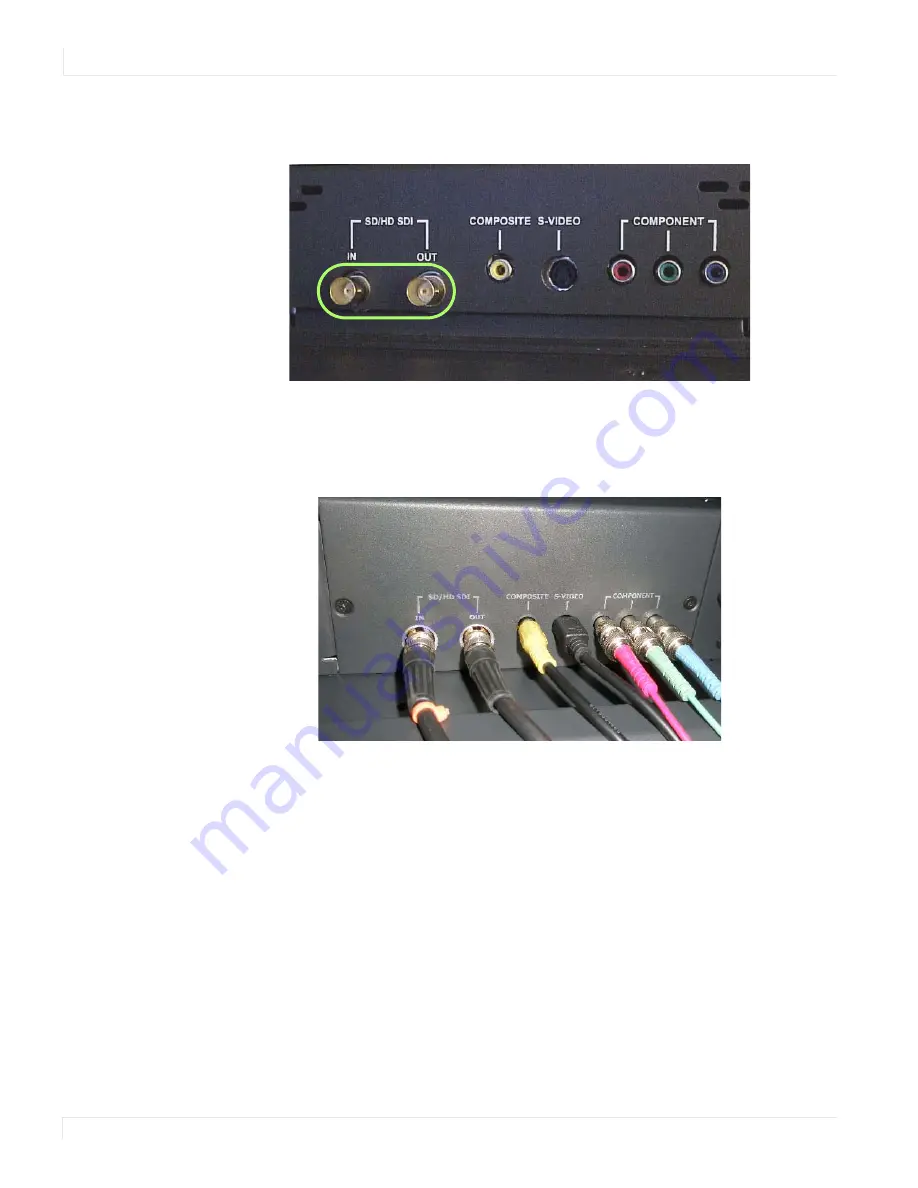
If you have a VIM with SDI, secure the washers and nuts on the SD/HD SDI
connectors. Otherwise, go to step
10
.
10
Install the screws that secure the new VIM cover.
Note:
If you ordered a VIM with SDI, the SD/HD SDI connectors will appear on the VIM. If your
VIM does not have an SDI, you will only see composite, S-video and component connectors.
11
Reconnect all cables, including the power cord. It is now safe to turn on the AC
power.
Содержание m52L
Страница 1: ...m52L Installation Guide ...
Страница 2: ......
Страница 4: ...iv m52L Installation Guide ...
Страница 10: ...Table of Contents vi m52L Installation Guide ...
Страница 20: ...Tools and Other Things You May Need 10 m52L Installation Guide ...
Страница 28: ...Lining Up Screen Brackets 18 m52L Installation Guide ...
Страница 32: ...About UPS Supplies 22 m52L Installation Guide ...
Страница 58: ...Sharpness Settings 48 m52L Installation Guide ...
Страница 60: ...Picture Position 50 m52L Installation Guide ...
Страница 64: ...Using Planar s Big PictureTM 54 m52L Installation Guide ...
Страница 68: ...Viewport Adjustment 58 m52L Installation Guide ...
Страница 74: ...Tips for Color Balancing 64 m52L Installation Guide ...
Страница 88: ...Turn Backlight Off With No Source and DPMS Delay 78 m52L Installation Guide ...
Страница 92: ...Controlling With RS232 Commands 82 m52L Installation Guide ...
Страница 102: ...Deleting a Configuration 92 m52L Installation Guide ...
Страница 106: ...Where to Go From Here 96 m52L Installation Guide ...
Страница 116: ...106 m52L Installation Guide ...
Страница 118: ...Rear View 108 m52L Installation Guide Rear View 0 3 0 7 5 7 2 7 21 0 00 3 ...
Страница 120: ...110 m52L Installation Guide ...


