checkmark in order to enable this function. If you enable this feature, old files will be deleted
Sync to TimeStamp : This feature en
z
ables the file to be saved according to the time. When the video file is
z
he location device.
to stop the recording.
– Select the Remote Device
era from
will
be selected as the Remote
on
era
trols a PTZ, c
displayed, the video will make a match between the frames and the time.
Apply: Click this button to save the changes made.
z
Return: Click this button returns to the live video of t
z
Record/Stop: Click [Record] button to start recording. Click [Stop] button
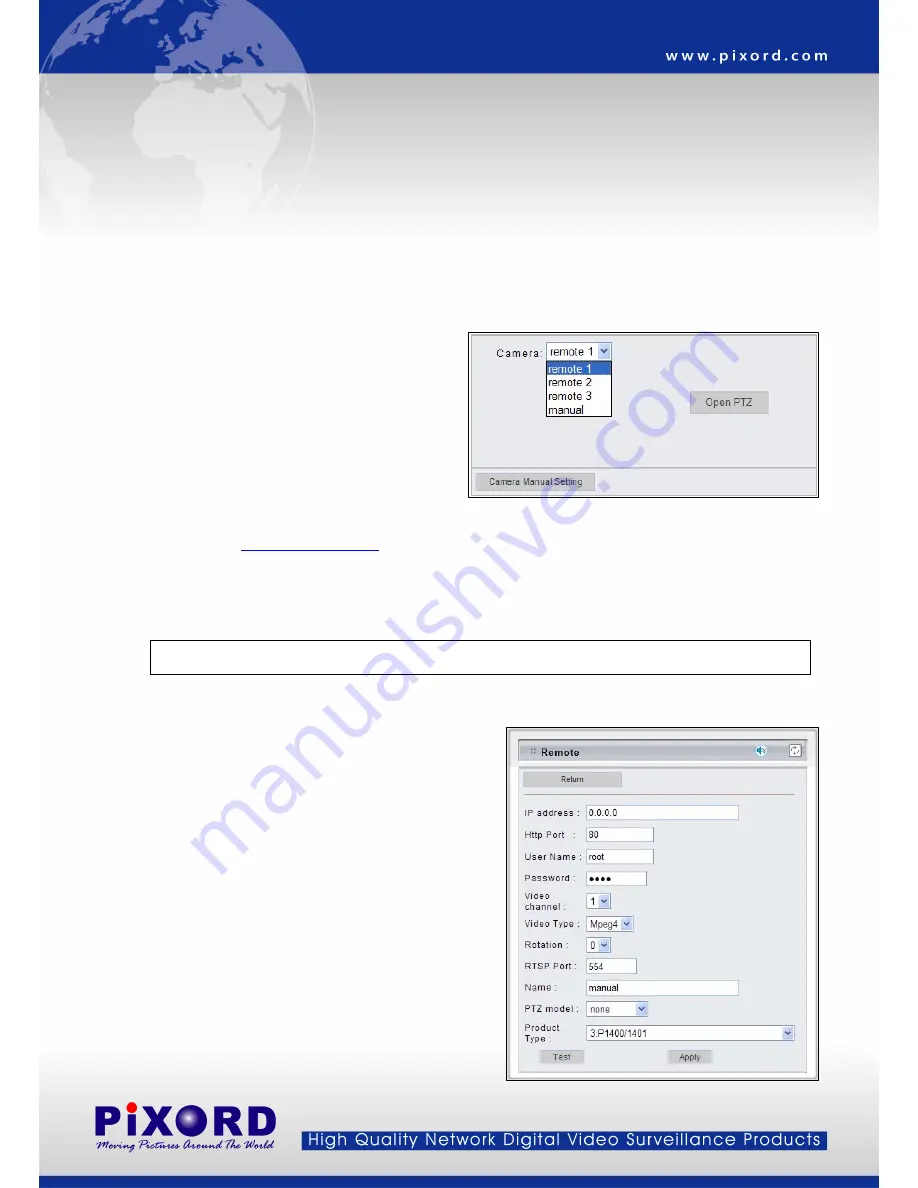
Click on the arrow button and select the cam
the pull-down list, the video of the remote device
be displayed.
There are 4 cameras can
device. The first three are set up in the Configurati
page; the last one can be set up by clicking [Cam
Manual Setting] button.
If the remote device is a PTZ model or con
lick [Open PTZ] button to open a PTZ control panel to control
the device. See
4.4 Control PTZ Devices
for the instruction.
– Manually Set Up Additional Camera
urce for the remote device.
Click on [Camera Manual Setting] button on the Remote window, and set up the following settings:
ource.
z
sword: Enter the respective Username
set for
e, the default value should be root and pass
z
z
lect MJPEG or MPEG4. The type must
z
ees run
egrees.
♦
1: 90 degrees
This feature allows the user to temporary set an additional video so
z
IP address: Enter the IP address of the external source.
Note:
This camera will be removed after leave or close the Web page.
z
Http Port: Enter the port number of the external s
Username/Pas
and Password if applicable. If no user has been
the devic
respectively.
Video Channel: If the selected camera is connected to a
Video Server, select the channel of the Video Server.
Video Type: Se
match the external source provided.
Rotation: Rotate the video for view. Rotation degr
from 0 to 270 d
♦
0: 0 degree
- 23 -


