www.pivotcycles.com
1.877.857.4868
1
2
3
4
1
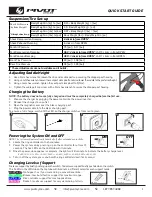
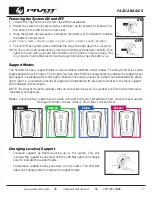
Powering the System ON and OFF
NOTE: The system will automatically turn itself off after extended non-activity.
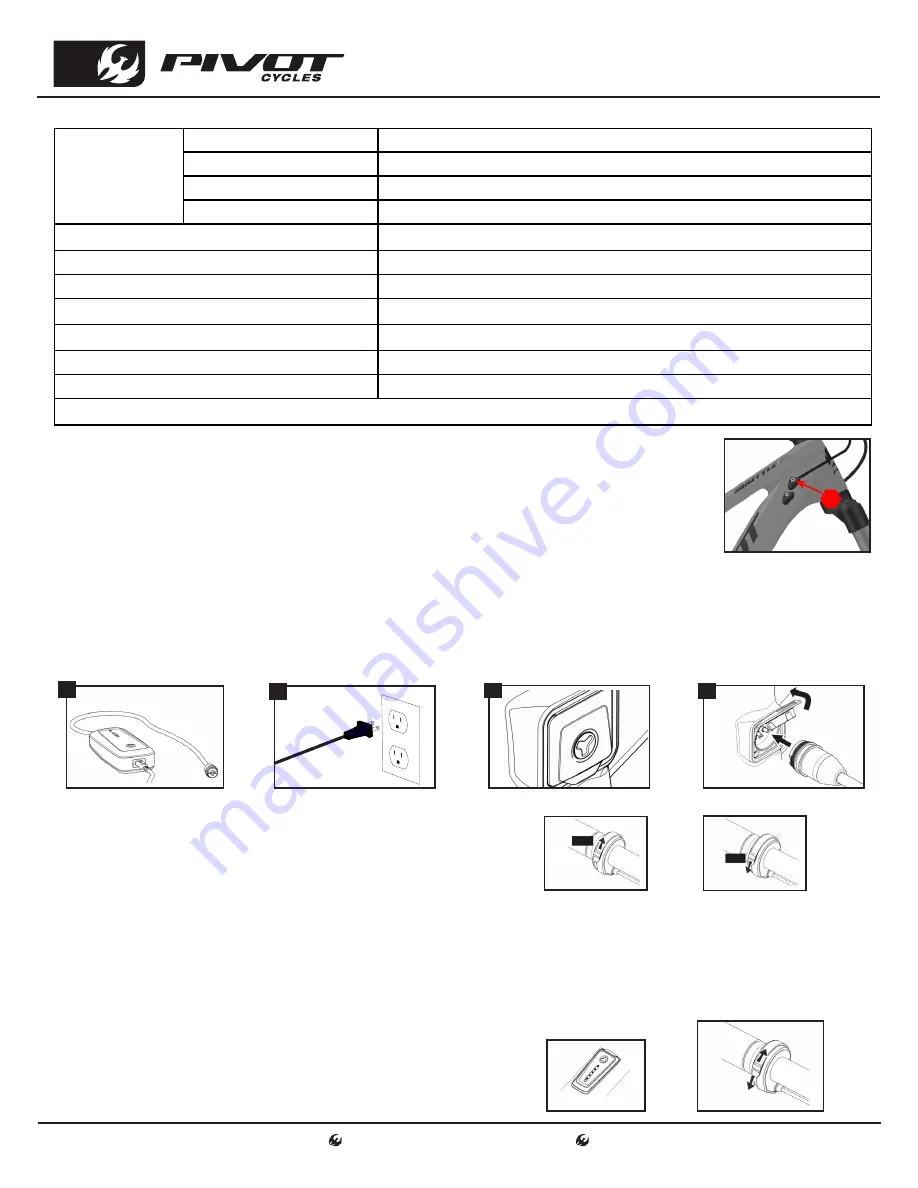
1. Locate the ring controller on the handlebar.
2. Power the system on by pressing up on the controller for at least 2
seconds. The five LEDs on the LED Hub will illuminate.
3. Once the power-up sequence is complete, the lights will illuminate to indicate the battery charge level.
(1 LED = 0-20%, 2 LEDs = 20-40%, 3 LEDs = 40-60%, 4 LEDs = 60-80%, 5 LEDs = 80-100%)
4. To turn off the system, press and hold the ring controller down for 1 second.
Changing Levels of Support
Increase support by briefly pushing up on the switch. To decrease support briefly push down on the switch.
The 5 LEDs in the LED Hub on the top tube will illuminate in different colors for each support mode.
White LEDs
White LEDs
No Support- as if you were riding a conventional bike.
Green LEDs
Green LEDs
Breeze- low but effective support for maximum range.
Blue LEDs
Blue LEDs
River- reliable support for most applications.
Red LEDs
Red LEDs
Rocket- maximum support for very demanding terrain.
Charging the Battery
NOTE: The battery does not come fully charged and must be completely charged before the first use.
1. Prepare the charger by plugging the power cable into the power inverter.
2. Connect the charger to an outlet.
3. Open the magnetic cover over the bikes charging port.
4. Plug the power cable into the bikes charging port.
To ensure a full charge, wait until the LED on the charger switches from red to green.
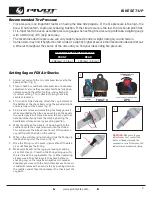
Adjusting Saddle Height
1. Use a 2mm hex wrench to loosen the drive side cable port cap securing the dropper post housing.
2. Using a 4mm hex wrench, loosen the seat post clamp bolt and raise/lower the saddle to the preferred height.
3. Using a 4mm hex wrench, tighten the seat post clamp bolt to 5 [Nm].
4. Tighten the cable port cap screw with a 2mm hex wrench to secure the dropper post housing.
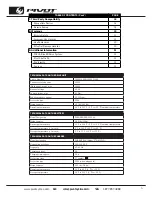
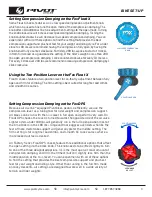
Shock Air Pressure
(by Body Weight)
*Always check sag
Body Weight in [kg] to [bar] 0.15 × Body Weight [kg] = [bar]
Body Weight in [kg] to [psi]
2.2 × Body Weight [kg] = [psi]
Body Weight in [lbs] to [bar] 0.07 × Body Weight [lbs] = [bar]
Body Weight in [lbs] to [psi] Body Weight [lbs] = Body Weight in [psi]
Shock Compression Damping
8 clicks in from OPEN*
Shock Rebound Damping
6 clicks in from OPEN
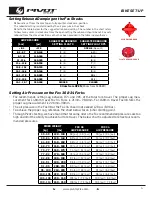
Fork Air Pressure
75 [psi] / 5.17 [bar]
Fork Compression Damping
HSC: 2 clicks in from OPEN*
; LSC: 5 clicks in from OPEN
Fork Rebound Damping
HSR: 3 clicks in from OPEN*
; LSR: 7 clicks in from OPEN
Front Tire Pressure
23 [psi] / 1.58 [bar]
Rear Tire Pressure
28 [psi] / 1.93 [bar]
* These Adjustments are not available on all builds.
Suspension/Tire Set-up
QUICK START GUIDE
ON
2 sec.
Ring
Control
OFF
Ring
Control
1 sec.
LED Hub
Ring Control
Decrease
Increase
2mm
Содержание SHUTTLE SL
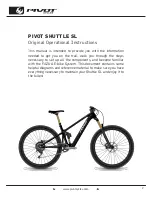
Страница 1: ...Original Operational Instructions SHUTTLE SL...
Страница 26: ...www pivotcycles com 22 Notes...
Страница 27: ...www pivotcycles com info pivotcycles com 1 877 857 4868 23 Notes...
Страница 28: ...6720 South Clementine Court Tempe AZ 85283 T 1 480 467 2920 info pivotcycles com www pivotcycles com...


